Delften 23 Hal 83 - B2390 Westmalle www.auto-access.eu
M I T S U B I S H I L 2 0 0 2 0 1 5
F I A T F U L L B A C K 2 0 1 6
B E D S L I D E T Y P E 3
Installation manual
Страница 1: ...Delften 23 Hal 83 B2390 Westmalle www auto access eu M I T S U B I S H I L 2 0 0 2 0 1 5 F I A T F U L L B A C K 2 0 1 6 B E D S L I D E T Y P E 3 Installation manual ...
Страница 2: ...lle www auto access eu 2 I N S T A L L A T I O N K I T Belangrijk installatie in combinatie met de Sportguard liner Important installation in combination with the Sportguard liner Important installation en combinaison avec le Sportguard liner A B C D E F G H J K I K L ...
Страница 3: ...R Retirez les caches en caoutchouc aux endroits indiqués NL Verwijder de originele bouten GB Remove the original bolts FR Retirez les boulons d origine NL Herhaal dit aan de rechterkant GB Repeat this on the right FR Répétez au côté droite NL Plaats onderdeel B in het originele gat GB Place part B in the original hole FR Placez la partie B dans le trou d origine 3 1 2 3 4 ...
Страница 4: ...support D above the hole and secure with parts I and E FR Placez le support métallique D au dessus du trou et fixez le avec les pièces I et E NL Herhaal dit aan de rechterkant GB Repeat this on the right FR Répétez au côté droite NL Zorg ervoor dat de afstand tussen beide schroefdraden 930mm bedraagt GB Make sure that the distance between both threads is 930mm FR Assurez vous que la distance entre...
Страница 5: ...make a second mark FR Mesurez 395mm à partir de la position indiquée et faites une marque Mesurez 100mm de cette position finale et faites une deuxième marque NL Boor twee gaten van 12mm op de gemarkeerde posities op een afstand van 20mm van de eerste verhoging in de laadbak GB Drill two 12mm holes on the marked positions at a distance of 20mm from the first elevation in the car bed FR Percez deux...
Страница 6: ... A en B zie stap 15 en 16 GB Drill holes at points A and B see steps 15 and 16 FR Percer des trous aux points A et B voir les étapes 15 et 16 NL Meet 80mm vanaf de achterzijde van de Sportguard en boor een gat van 12mm op punt X GB Measure 80mm from the back of the Sportguard and drill a 12mm hole at point X FR Mesurez 80 mm à l arrière du Sportguard et percer un trou de 12 mm au point X NL Herhaa...
Страница 7: ...B Make sure that the distance between the thread and the back of the Sportguard is 1070mm and this on both sides FR Assurez vous que la distance entre le filetage et le dos du Sportguard est de 1070 mm et ce des deux côtés NL Maak links en rechts door de gaten van onderdeel K een markering met potlood GB Make left and right a marking with a pencil through the holes of part K FR Faites une marque à...
Страница 8: ...ver de schroefdraad tegen de cabine GB Place part C over the thread against the cab FR Placez la partie C sur le filetage contre la cabine NL Herhaal dit aan de rechterkant GB Repeat this on the right FR Répétez au côté droite NL Plaats onderdeel A over de gaten geboord in stap 20 GB Place part A over the holes drilled in step 20 FR Placez la partie A sur les trous percés à l étape 20 8 21 22 23 2...
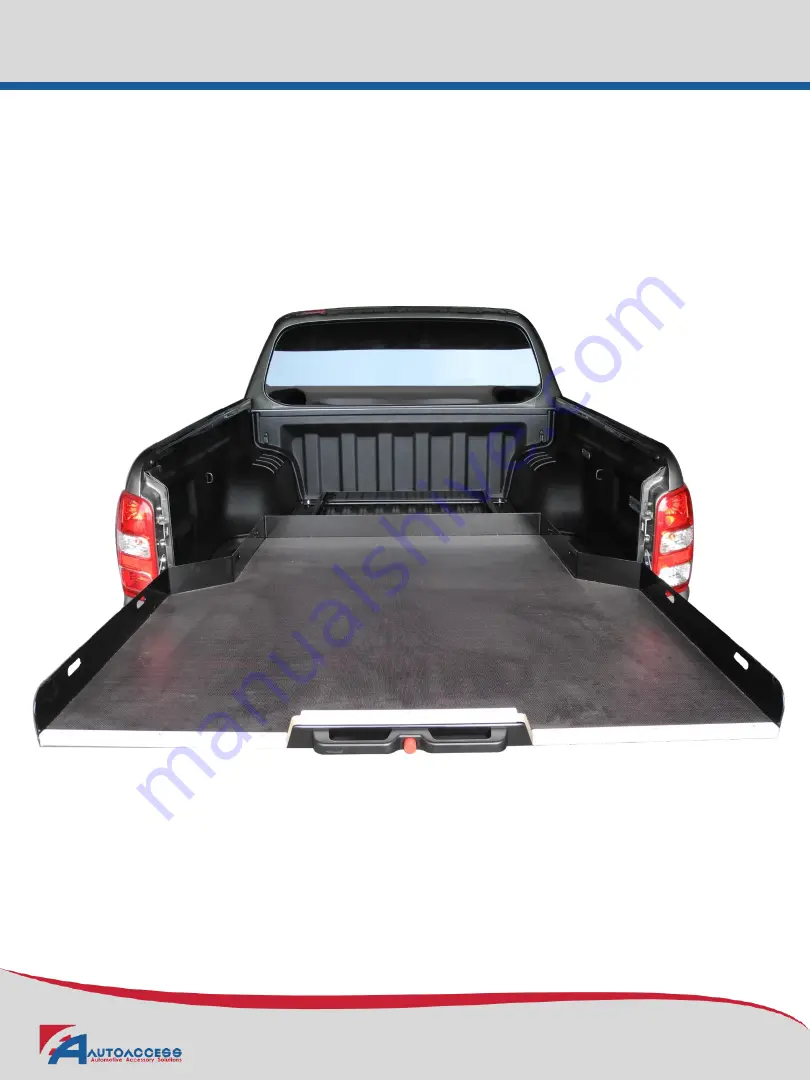
Страница 9: ...à gauche et à droite avec des rondelles J et des vis F NL Bevestig blokje A onderaan en rondellen J en moer G ter hoogte van dwarsbalk K GB Attach block A at the bottom of the car bed with washers J and nut G at the height of the lateral support K FR Fixez le bloc A en bas avec les rondelles J et ecrous G à la hauteur du support traverse K NL Plaats de bedslide L in de wagen met twee personen GB P...
Страница 10: ...sque la cabine avec la rondelle H et l écrou G NL Bevestig de zijkant van de bedslide aan onderdeel K door middel van rondellen H en moeren G GB Attach the side of the bedslide to part K by use of washers H and nuts G FR Fixez le côté du plancher mobile à la pièce K à l aide des rondelles H et des écrous G NL Herhaal dit aan de rechterkant GB Repeat this on the right FR Répétez au côté droite 10 2...
Страница 11: ...AUTOACCESS NV sales auto access eu www auto access eu ...