Installation Manual
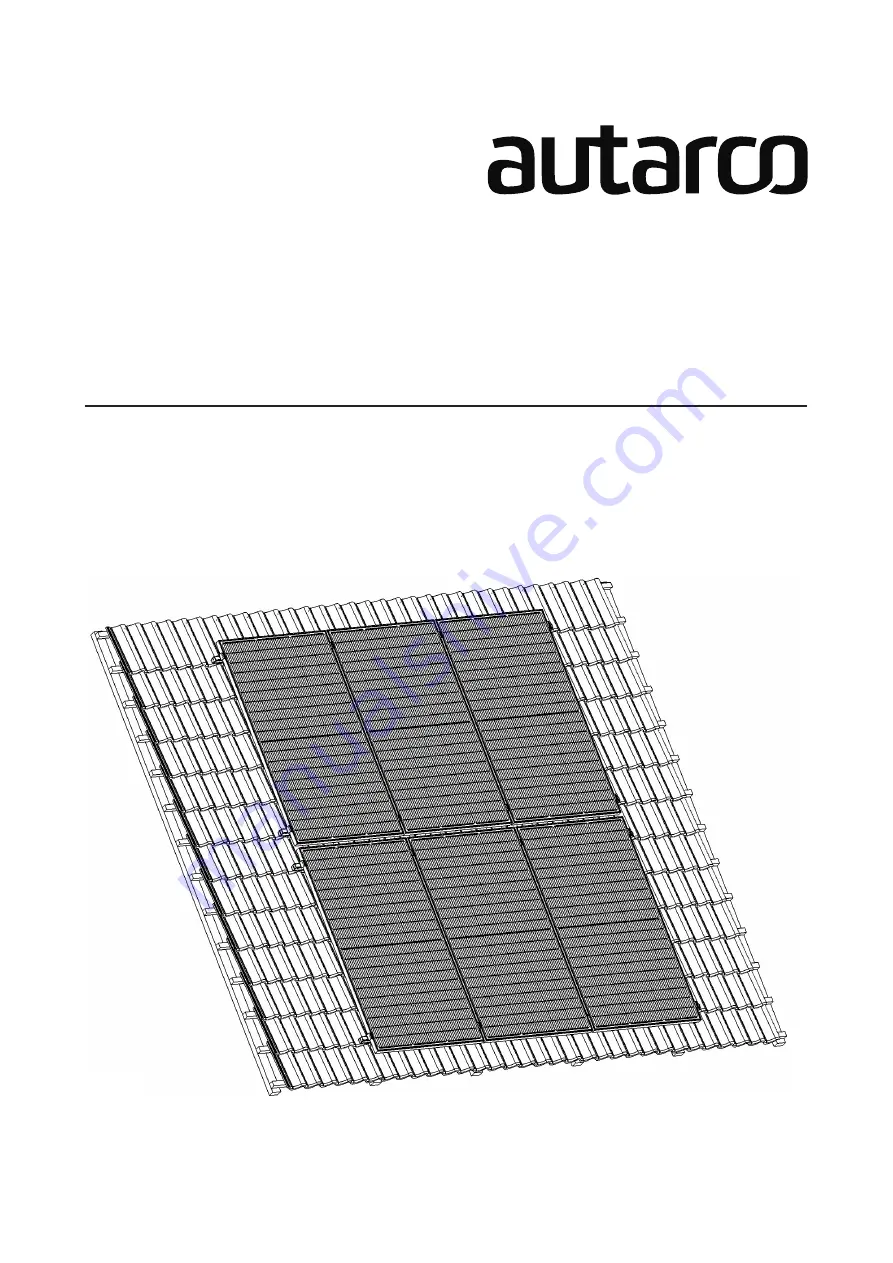
Apex R6 Pitched Roof Mounting System
© Autarco Group B.V.
IM-M1.R6-EN-V1.0
Portrait & Landscape Orientation
Страница 1: ...Installation Manual Apex R6 Pitched Roof Mounting System Autarco Group B V IM M1 R6 EN V1 0 Portrait Landscape Orientation...
Страница 2: ...2 R6 mounting system Portrait and landscape...
Страница 3: ...m info autarco com Other Information This manual is an integral part of the unit Please read the manual carefully before installation operation or maintenance Keep this manual for future reference Pro...
Страница 4: ...ls Position Guideline 10 3 Installation 11 3 1 Marking the position of mounting hooks 12 3 2 Mounting hooks onto the roof 13 3 3 Attaching rails onto the hooks 15 3 4 Clamping modules into the rails 1...
Страница 5: ...on with R6 pitched roof mounting systems Before any further action the installer must first read all safety regulations and be aware of the potential danger to operate high voltage devices such as PV...
Страница 6: ...en or fall DANGER Do not install this system on a roof with pitch 60 degrees WARNING The installation maintenance recycling and disposal of the mounting components must be performed by qualified perso...
Страница 7: ...ch can also be converted into the screwed 7b variation THX1 Mounting Hook M2 AR6WC 1 Please note the component numberings as they will be referenced in the installation section SOLIDWORKS Student Edit...
Страница 8: ...e Measure Marker or Chalk Ratchet Electric Screw Driver OR Saw 1 2 3 4 5 6 or S10 S10 Scaffold or stable safe ladder Ratchet with hexagon Battery operated drill keg or S10 S10 Scaffold or stable safe...
Страница 9: ...T install this system on a roof with pitch 60 degrees The minimum clearance of solar panels from the roof edges gutters and ridges is typically 30cm please check with your local building regulations 3...
Страница 10: ...0 80cm Refer to our calculator for specific value The distance between rails R2 is between 0 5 and 0 7 times the length of the module L Please check the allowed clamping position in the Solar Panel In...
Страница 11: ...ges 7 and 8 for component numberings An overview of the installation steps for the R6 Mounting System in exact order 3 1 Marking the position of mounting hooks 3 2 Mounting hooks onto the roof 3 3 Att...
Страница 12: ...and identify the position of the mounting hooks using a measuring tool C see section 2 5 pg 10 for the reccommended hook H1 and rail R2 distances Step 2 Use a chalk or marker pen B to mark the roof ti...
Страница 13: ...he installation procedure for the M2 AR6THX1 1 Hook 7a and M2 AR6THX1 1 Screwed Hook 7b Step 1 Remove the roof tiles marked in 3 1 by sliding it upwards and under the roof tile immediately above it Fo...
Страница 14: ...et portrait or landscape by untightening the screw and repositioning the bracket before retightening the screw Step 2 Place your rail over the bracket attachement Step 3 Adjust the height of the brack...
Страница 15: ...over the other extremity of the rail splice Step 4 Tighten the second screw to secure the second rail in place Step 5 Adjust the orientation of the bracket by untightening the screw and repositioning...
Страница 16: ...firmly down to snap the hinged legs in place Step 3 Slide the clamp into the desired position on the rail and screw bolt to fix position 3 4 2 Anchoring the rails portrait landscape Step 1 Adjust the...
Страница 17: ...g outwards from the end clamp Step 2 Position the solar module 1 in portrait on the rails and align against the end clamps 5 Step 3 Tighten the screws preassembled on the end clamps 5 to fix the solar...
Страница 18: ...left to align with the adjacent module 1 Do not tighten the clamps yet Step 2 Position the solar module 1 in portrait on the rails and align against the middle clamps 6 Step 3 Tighten the preassemble...
Страница 19: ...slide the end clamps left to align with the final module 1 Step 2 Tighten the screws preassembled on the end clamps 5 to fix the solar module 1 onto the rails 2 Step 3 If the rail is protruding outwa...
Страница 20: ...now complete 4 Disposal To comply with European Directive 2002 96 EC on waste Electrical and Electronic Equipment and its implementation as national law electrical equipment that has reached the end o...