YUNO-II user manual v1.1
35
6.3 Install other Attachment-type Peripherals
Attachment-type peripherals, including YUNO-MSRLONG, YUNO-SCANNER2D,
YUNO-DALLAS and YUNO-ADDIMAT Reader, may be easily installed at either side
of the system. YUNO-MSRLONG is used as an installation representative for
elaboration.
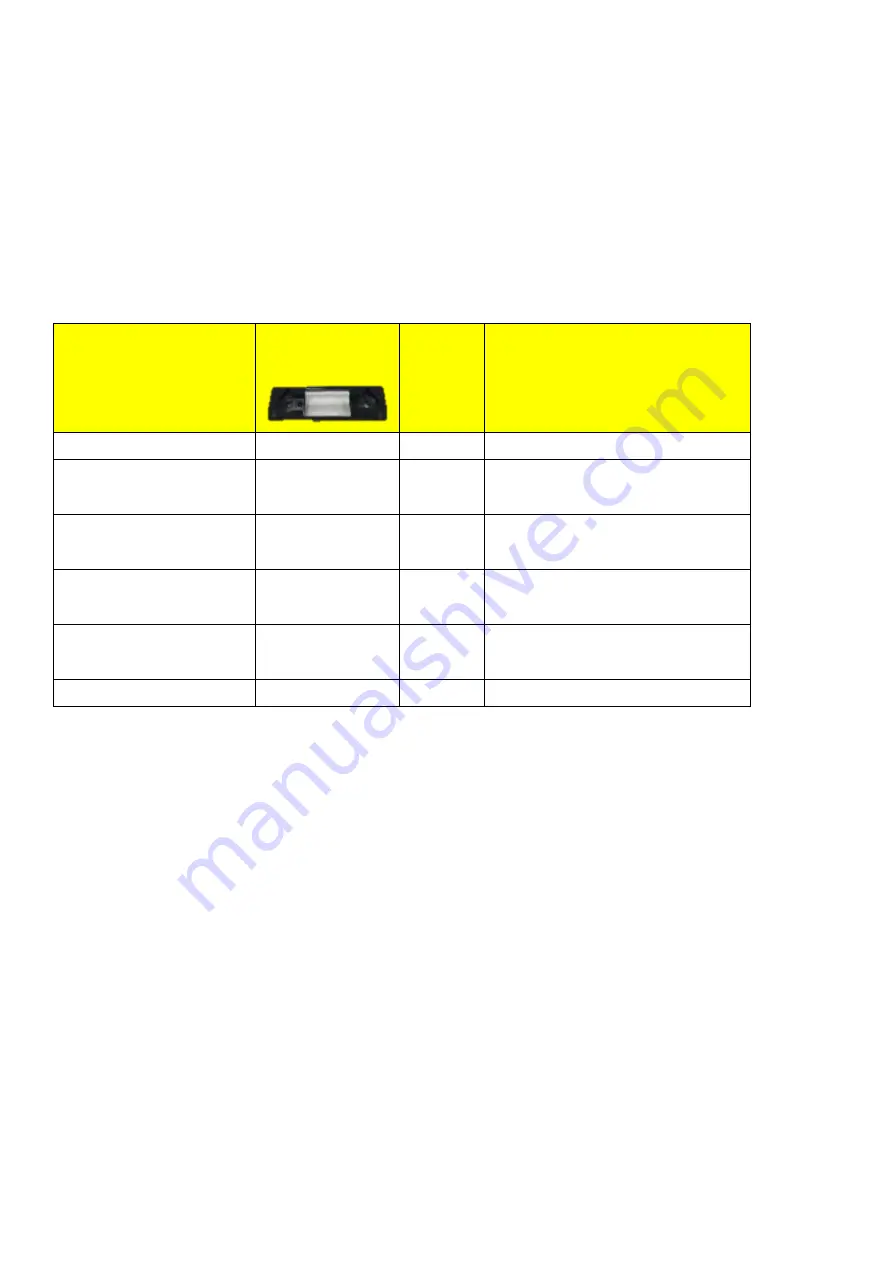
See the peripheral adapter control table for side peripherals:
Name
Peripheral
adapter needed
Screw
length
Screw in accessory’s box
YUNO-MSRLONG
Yes
8mm
8mm
YUNO-SCANNER2D
No
5mm
8mm for YUNO and 5mm for
YUNO-II
YUNO-DALLAS
No
5mm
8mm for YUNO and 5mm for
YUNO-II
YUNO-ADDIMAT
No
5mm
8mm for YUNO and 5mm for
YUNO-II
FINGERPRINT
READER
Yes
8mm
8mm
YUNO-MSR-RFID-SP
Yes
8mm
8mm
Make sure the unit is powered off before starting.
Please follow the below steps to finish the installation:
1.
Open the cover door of peripheral
2. Place the Peripheral Adapter and connect the peripheral with the connector of the
system. Locate this connection properly.
Содержание YUNO II
Страница 1: ...YUNO II user manual v1 1...
Страница 9: ...YUNO II user manual v1 1 5 2 3 Side View Number Description 11 USB 3 0 Type A...
Страница 10: ...YUNO II user manual v1 1 6 2 4 Dimension For YUNO II151...
Страница 11: ...YUNO II user manual v1 1 7 For YUNO II156...
Страница 13: ...YUNO II user manual v1 1 9 Right side View Number Description j 1 x USB 3 0 Type A h 1 x USB 3 0 Type A...
Страница 25: ...YUNO II user manual v1 1 21 2 Install the VESA bracket Fix VESA bracket by six M3 6 screws shown as below...
Страница 28: ...YUNO II user manual v1 1 24...
Страница 32: ...YUNO II user manual v1 1 28...
Страница 40: ...YUNO II user manual v1 1 36 3 Insert the peripheral in place and fasten the two pcs of screws to make it secure...


