


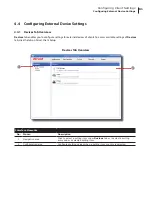

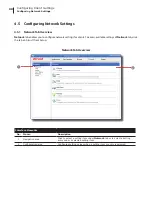


Configuring Client Settings
Configuring External Device Settings
88
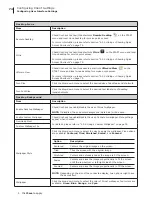
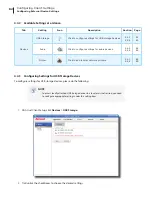
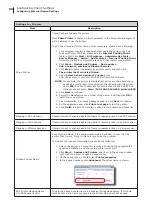
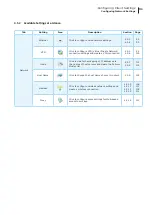
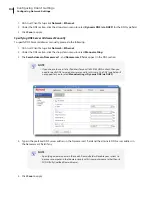
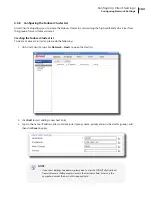
Settings for Printers
Item
Description
Share Printer
Check/Uncheck to share the printer.
Once
Share Printer
is checked, other computers in the same network segment
will be allowed to use the printer.
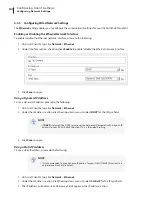
To add this shared printer for use on other computers, please do the following:
1.
For computers running a Windows Server operating system, such as
Windows Server 2008 R2, please add the
Internet Printing Client
feature first (Click
Start
>
All Programs
>
Administrative Tools
>
Server Manager
>
Action
>
Add Features
>
Internet Printing Client
,
follow the wizard to complete the task, and then restart your system).
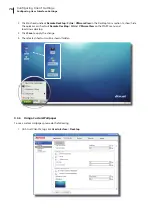
2.
Click
Start
>
Devices and Printers
>
Add a printer
>
Add a network, wireless or Bluetooth printer
.
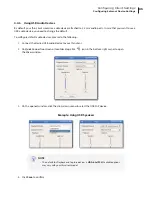
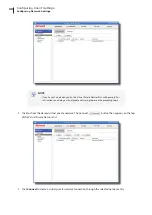
3.
Click
Stop
to cancel the automatic printer search, and then click
The printer that I want isn’t listed
.
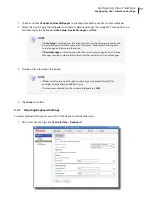
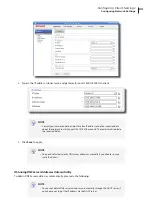
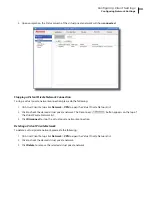
4. Under
Select a shared printer by name
, enter
http://IP address of your thin client:631/printers/Printer Name.
NOTE:
For example, if a printer is locally attached to your thin client and is
added as a local printer through Atrust Client Setup with the printer
name
EPS
, and the IP address of your thin client is 192.168.50.146.
Here you should enter:
http://192.168.50.146:631/printers/EPS
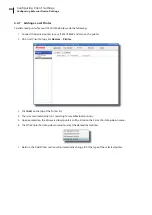
5.
Click
Next
to continue.
6.
Select the manufacturer and model of the printer, and then click
OK
to
install the correct driver.
7.
Upon completion, a success message appears. Click
Next
to continue.
8.
On the appeared page, click
Print a test page
to test the printer.
9.
Click
Finish
to apply. The printer is added to the Printers and Faxes list.
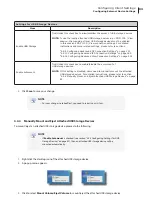
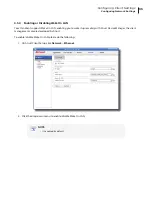
Mapping in RDP Sessions
Check/Uncheck to enable/disable the locally connected printer in an RDP session.
Mapping in ICA Sessions
Check/Uncheck to enable/disable the locally connected printer in an ICA session.
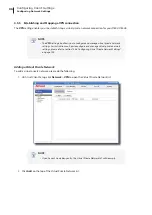
Mapping in VMware Sessions
Check/Uncheck to enable/disable the locally connected printer in a View session.
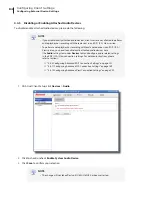
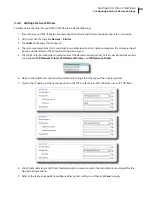
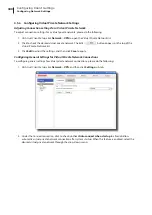
Windows Driver Name
Keep this field blank, if the printer works well in a session. In case that the
printer fails to work, filling in this field may solve the problem.
To find out the required information, please do the following:
1.
Attach the printer to a computer running a Windows OS, complete the
required installation, and ensure the printer works well.
2.
Click
Start
>
Devices and Printers
, and then, in the opened window,
right click the printer to open a popup menu.
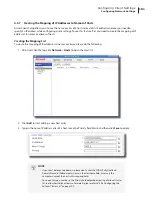
3.
On the popup menu, click to select
Printer properties
.
4.
In the opened window, click
Advanced
. The driver name is shown.
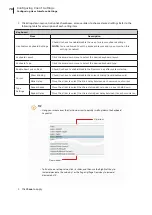
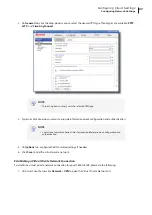
RDP Printer Mapping Name
(for RDP sessions only)
Type in the desired printer name in a session (Windows desktop). If this field
remains blank, the name you typed in the Printer Name field will be used.
Содержание T180L
Страница 2: ...UM t180L LB EN 16050510...
Страница 8: ...vi...
Страница 12: ......
Страница 20: ......
Страница 28: ......
Страница 48: ......
Страница 220: ...Configuring Client Settings 210...
Страница 222: ......
Страница 230: ...220...
Страница 234: ...224...
Страница 235: ...UM t180L LB EN 16050510...
Страница 236: ......