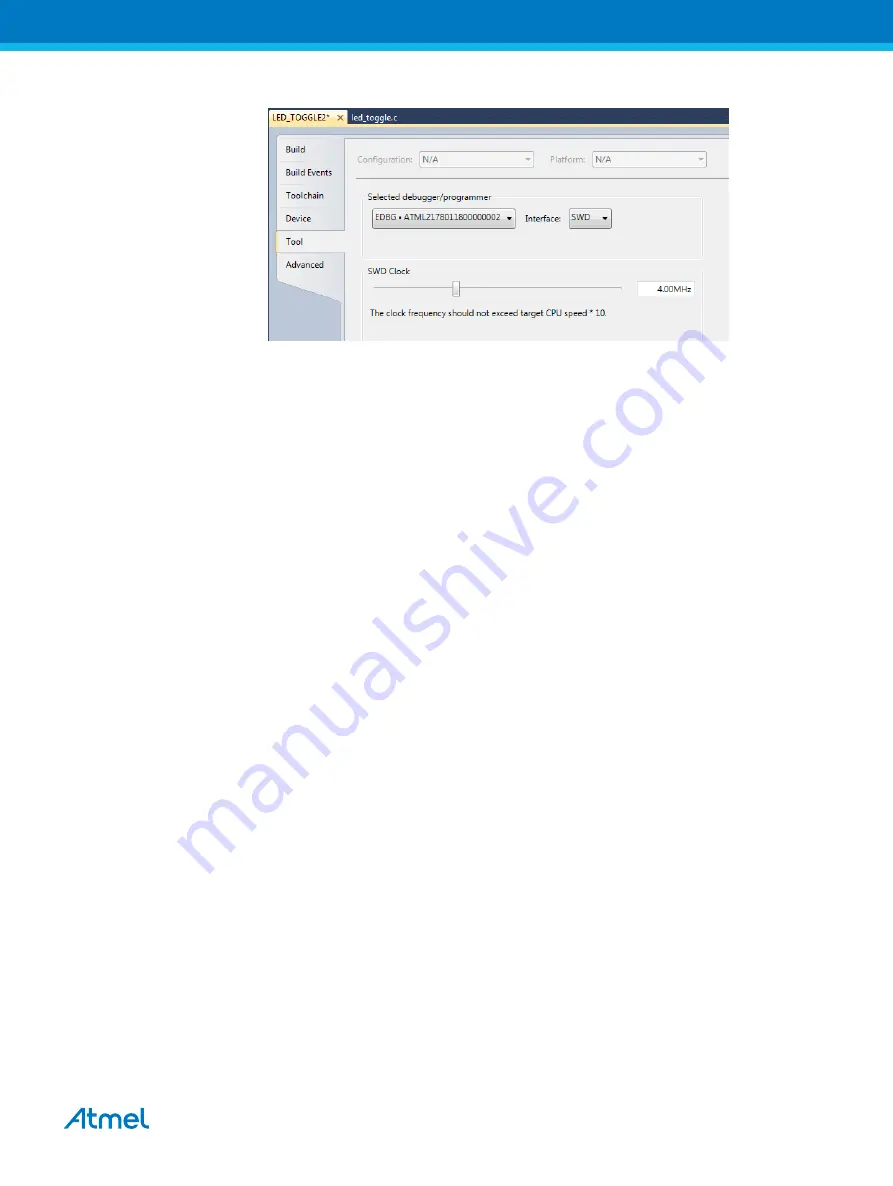
Figure 4-2 SAM D11 Tool Selection Window
9.
Build the project:
Build > Build solution or shortcut F7
.
10. To load the code in the SAM D11 Xplained Pro and debug, select
Debug > Start debugging and
break (shortcut Alt + F5)
.
11. The application is programmed and the debugger breaks in main.
12. To run the code, select
Debug > Continue (shortcut F5)
.
4.2.
Getting Started with SAM D10 Xplained Mini
Web page:
•
Atmel Studio 6.2 or later
•
ASF version 3.27 or later
•
SAM D10 Xplained Mini board connected to Atmel Studio 6.2 through the embedded debugger
USB connector. The kit will be powered by the USB.
Getting started
1.
Launch Atmel Studio 6.2 application.
2.
Connect the SAM D10 Xplained Mini board to the PC using a USB cable.
3.
A page on SAM D10 Xplained Mini description will open in Atmel Studio.
4.
This page contains external link to Device Technical Documentation, Datasheet, Kit user guide, and
Kit specific details, serial number, target name, etc. There is an option to open ASF example
projects.
5.
Go to,
File > New Example Project >
select the device family and filter it to relevant examples.
6.
Select the project “
LED Toggle Application
”, press
OK
and accept the license agreement. The
project will be created and opened.
Atmel AT06467: Getting started with SAM D09/D10/D11 [APPLICATION NOTE]
Atmel-42362B-Getting-Started-with-SAM-D09-D10-D11_AT06467_Application Note-11/2015
10


