


ENG
26
3. NVR
3.1. MAIN SCREEN
After booting up, which will take about one minute, the
Boot Wizard
screen will appear.
The NVR displays the Wizard every time it is rebooted. Change the OSD language in English then click on
Applica
.
The
User Login
screen will appear. Choose your default language and log in (
admin, atlantis
) then click
on
Login. There is a Tips
(for change the password), Click on
Modify later.
The NVR will display the
Date and Time Setup
screen, you can change
Time Zone, Date Format
and
Date/Time.
Deselect
Enable Wizard
to disable this wizard function at every reboot. Click on
Next
to continue.
The
Network
screen appears, in which you may choose how to obtain an IP address (via DHCP, which is
the recommended option, or by typing it in manually). Click on
Next
to continue.
[Optional] Select the HDD and click on
Format
to format the hard disk (this process will irretrievably erase
the entire contents). This will restart the NVR. Click on
Next
to continue.
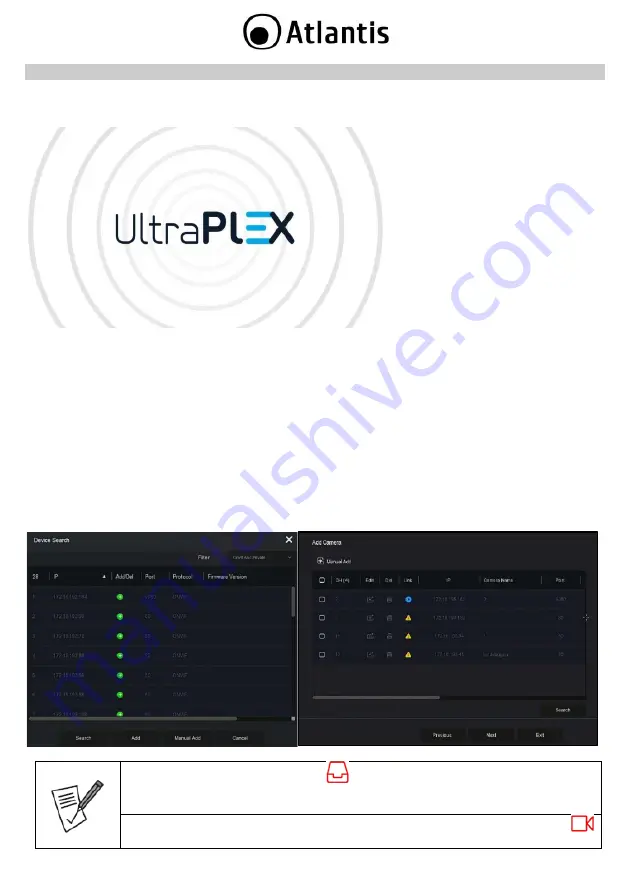
At this point the
Add
Camera Setup
screen appears, click
Search
then select the
Filter=Onvif & Private
combo box and
click on
Search,
and after a few minutes the NVR will display all the Onvif IP Cameras in the
network.
Select the IP Cameras you wish to import (selecting individual IP Cameras)
and click on
Add.
Click on
Next
to continue and finally click on
Finish.
After Login, click on right click then
[
]Storage->Storage Device
and then select
an HDD, then click
Format
to format the mounted and selected hard disk
(2.5” or 3.5”)
(this process will irretrievably delete all its contents).
You may repeat the operation to add more Onvif IP Cameras. To do this, in the [
]
Camera
and click
Search
button, select the
Filter=Onvif
combo box and
click on


