2. Hardware Setup
9
Installation
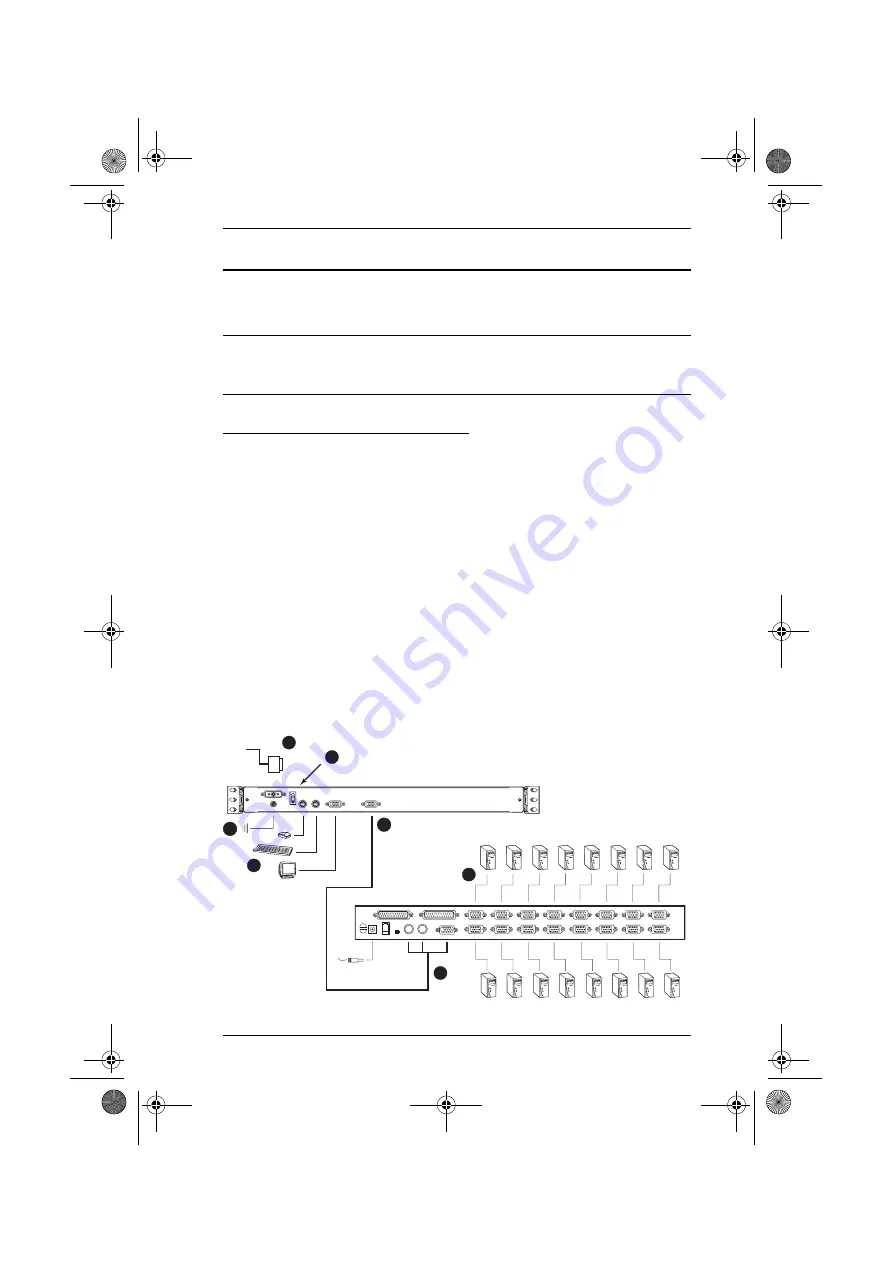
Refer to the installation diagrams as you perform the installation steps. The
numbers in the diagrams correspond to the numbers of the steps.
Note:
The diagrams are for example purposes. Depending on the KVM switch
you are connecting, its rear panel layout may be somewhat different
from the one shown in the diagrams.
CL5200C / CL5200D Installation
1. Ground the unit.
2. Plug the 15 pin connector end of the KVM cable provided with this unit
into the CL5200's KVM port.
3. Plug the keyboard, monitor, and mouse connectors of the KVM cable into
their respective ports on the Console Section of the KVM switch.
4. If you are installing an external console, plug your keyboard, monitor, and
mouse into their respective ports on the Console Section of the CL5200.
The ports are color coded and marked with an icon for easy identification.
5. Plug the power cord into the CL5200's power socket and into a DC power
source.
6. Power up your KVM installation.
7. Turn on the power to CL5200.
4
3
5
7
6
2
1
cl5200-aam-v1.book Page 9 Thursday, January 25, 2007 3:36 PM


