background image

                                                                                     ASUSTOR NAS M.2 SSD Drive Installation Guide


   Page 4 of 9 


2. 

I

I

n

n

s

s

t

t

a

a

l

l

l

l

a

a

t

t

i

i

o

o

n

n


G

G

u

u

i

i

d

d

e

e


2.1.  Removing the Cover 

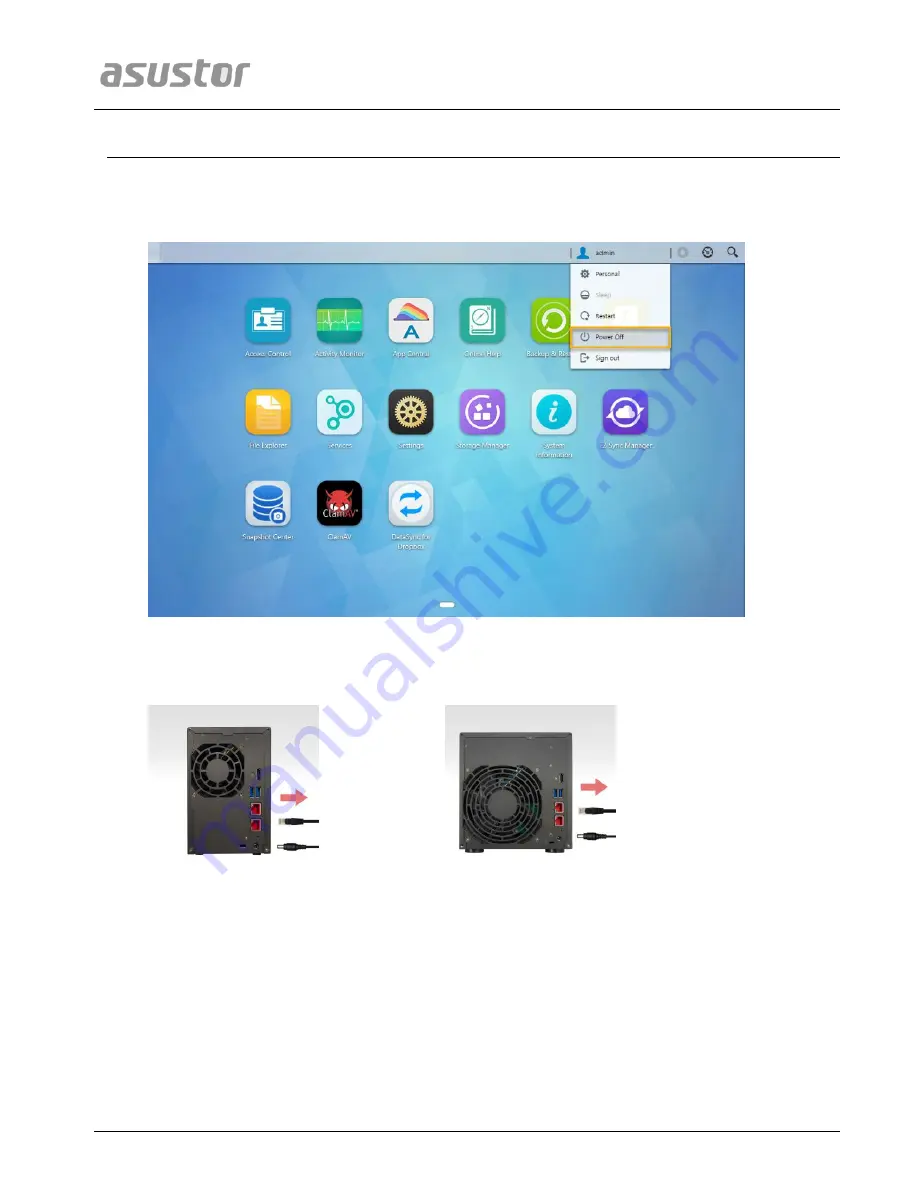
  Shutdown the NAS by selecting 

[Shut down]

 from the ADM User Menu. 


  Disconnect all cables and devices connected to the NAS including the power cord. 

AS6602T                                                 AS6604T 


  Use a screwdriver to loosen the three screws found on the rear of the NAS as shown in the illustration. 

AS6602T                                                 AS6604T 

Содержание AS66 Series

Страница 1: ...M 2 SSD Drive Installation Guide For ASUSTOR AS66 Series NAS Ver 1 0 4 0515 ...

Страница 2: ...f Contents 1 Introduction 3 1 1 Notes and Precautions 3 1 2 Parts and Tools Needed 3 2 Installation Guide 4 2 1 Removing the Cover 4 2 2 Installing M 2 SSD Drives 5 2 3 Replacing the Cover 7 3 Appendix 9 3 1 Troubleshooting 9 3 2 Contact ASUSTOR Technical Support 9 ...

Страница 3: ...ged Be careful not to injure your hands or fingers with sharp edges of the M 2 SSD Drive inner components or circuit boards of your NAS ASUSTOR does not guarantee that third party M 2 SSD Drive will work in your NAS Be sure to turn off your NAS and peripherals and disconnect all attachments and connection cables before adding or removing M 2 SSD Drive To prevent damage from electrostatic discharge...

Страница 4: ...d de e 2 1 Removing the Cover Shutdown the NAS by selecting Shut down from the ADM User Menu Disconnect all cables and devices connected to the NAS including the power cord AS6602T AS6604T Use a screwdriver to loosen the three screws found on the rear of the NAS as shown in the illustration AS6602T AS6604T ...

Страница 5: ...wo hands and then gently push it back to remove it from the chassis AS6602T AS6604T 2 2 Installing M 2 SSD Drives Remove the two screws to free the SSD carrier board as shown in the figure below AS6602T AS6604T Firmly grasp the SSD carrier board and gently pull it out of its slot AS6602T AS6604T ...

Страница 6: ... SSD carrier board Slot2 is facing up when installed Remove screws from the M 2 standoffs Insert the SSD into the slot at an angle and push into the slot gently Once in lower the SSD and screw it into the standoff Repeat the above steps to install a second M 2 SSD Insert the SSD carrier board into the SSD carrier board slot as shown below ...

Страница 7: ...604T Fasten the SSD carrier board using two screws as shown below AS6602T AS6604T 2 3 Replacing the Cover Replace the cover and tighten the three screws that were removed previously AS6602T AS6604T Reconnect all cables including the power cord and then start up the NAS ...

Страница 8: ...ASUSTOR NAS M 2 SSD Drive Installation Guide Page 8 of 9 AS6602T AS6604T ...

Страница 9: ...u have used M 2 SSD Drive that is compatible with the system Also please reinstall the M 2 SSD Drive in order to confirm that it has been installed properly 3 If your NAS still does not operate normally please remove the newly installed M 2 SSD Drive module and then restart the NAS to see if it is able to operate normally 4 If the previous steps have not solved your problem please contact your loc...

Отзывы: