3-30
Chapter 3: BIOS setup
Chapter 3
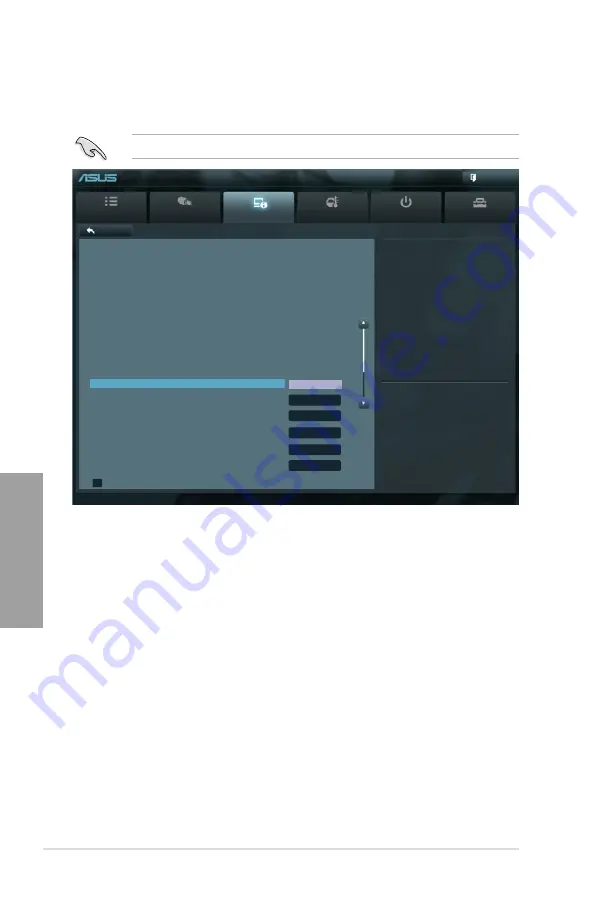
3.5.1
CPU Configuration
The items in this menu show the CPU-related information that the BIOS automatically
detects.
The items shown in this screen may be different due to the CPU you installed.
Intel Adaptive Thermal Monitor [Enabled]
This function includes TM1, TM2, and EMTTM.
[Disabled]
Disables the CPU thermal monitor function.
[Enabled]
Enables the overheated CPU to throttle its clock speed to cool down.
Hyper-threading [Enabled]
The Intel Hyper-Threading Technology allows a hyper-threading processor to appear as two
logical processors to the operating system, allowing the operating system to schedule two
threads or processes simultaneously.
[Disabled]
Only one thread per activated core is enabled. Disabled for other OS (OS
not optimized for Hyper-Threading Technology).
[Enabled]
Two threads per activated core are enabled. Enabled for Windows XP and
Linux (OS optimized for Hyper-Threading Technology).
Main
Ai Tweaker
Advanced
Monitor
Boot
Tool
Exit
Version 2.10.1208. Copyright (C) 2011 American Megatrends, Inc.
Includes TM1, TM2 and EMTTM
→←
: Select Screen
↑↓
: Select Item
Enter: Select
+/-: Change Opt.
F1: General Help
F2: Previous Values
F3: Shortcut
F5: Optimized Defaults
F6: ASUS Ratio Boost
F10: Save ESC: Exit
F12: Print Screen
Back
Advanced\
CPU Configuration >
UEFI BIOS Utility - Advanced Mode
CPU Configuration
Genuine Intel(R) CPU @ 2.00GHz
CPU Signature
206d2
Microcode Patch
8000020c
Max CPU Speed
2000 MHz
Min CPU Speed
1200 MHz
Processor Cores
6
Intel HT Technology
Supported
Intel VT-x Technology
Supported
L1 Data Cache
32 kB x 6
L1 Code Cache
32 kB x 6
L2 Cache
256 kB x 6
L3 Cache
15360 kB
64-bit
Supported
Intel Adaptive Thermal Monitor
Enabled
Hyper-threading
Enabled
Active Processor Cores
All
Limit CPUID Maximum
Disabled
Execute Disable Bit
Enabled
Intel Virtualization Technology
Enabled
> CPU Power Management Configuration
Содержание P9X79 WS
Страница 1: ...Motherboard P9X79 WS ...
Страница 16: ...xvi ...
Страница 18: ...ASUS P9X79 WS Chapter summary 1 1 1 Welcome 1 1 1 2 Package contents 1 1 1 3 Special features 1 2 ...
Страница 65: ...9 7 8 5 6 Triangle mark B A B A ASUS P9X79 WS 2 37 ...
Страница 67: ...1 2 3 To remove a DIMM 2 3 4 DIMM installation B A ASUS P9X79 WS 2 39 ...
Страница 69: ...DO NOT overtighten the screws Doing so can damage the motherboard 3 ASUS P9X79 WS 2 41 ...
Страница 70: ...2 3 6 ATX Power connection 1 2 OR 2 42 Chapter 2 Hardware information ...
Страница 71: ...2 3 7 SATA device connection 2 OR 1 ASUS P9X79 WS 2 43 ...
Страница 75: ...Connect to Stereo Speakers Connect to 2 1 channel Speakers Connect to 4 1 channel Speakers ASUS P9X79 WS 2 47 ...
Страница 76: ...Connect to 5 1 channel Speakers Connect to 7 1 channel Speakers 2 48 Chapter 2 Hardware information ...
Страница 80: ...2 52 Chapter 2 Hardware information ...
Страница 184: ...5 14 Chapter 5 Multiple GPU technology support ...


