27
for patches for the Upper/Lower parts; then
you can use the Patch knob, the Left/Right
arrows, and their [SHIFT] combinations without
selecting a new Multi. For more information,
Browsing in Multi Mode (p. 29).
Display contents
Let’s look at the displays on the Multi mode
Home page. To get there from Single mode,
press [MULTI]. If you’re already in Multi mode,
select Both by pressing [UPPER] and [LOWER]
at the same time. Either of these actions takes
you to the Multi mode Home page.
Left display: Names & numbers
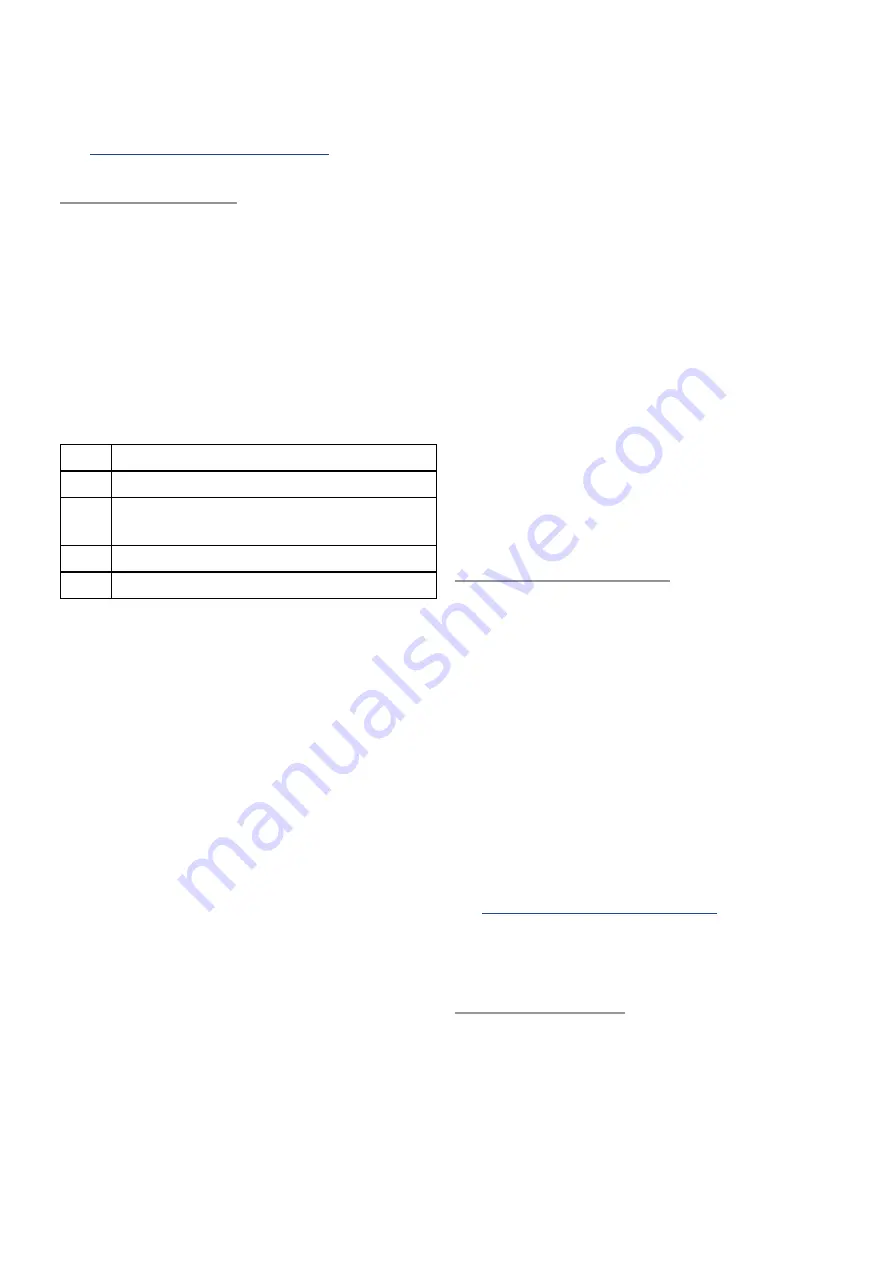
On the Home page the Left display contains
information about the current Multi.
Row Contents
1
Multi name
2
Multi bank, program number, and
category
3
Up arrow and name of Upper patch
4
Down arrow and name of Lower patch
When a new Multi patch is selected with
the Patch knob or arrows the Left display
temporarily shows the names of 5 adjacent
Multis, including the current Multi. After 2
seconds of inactivity the screen returns to the
Home page.
Right display: Macro routing
On the Home page the Right display provides
information about what the Macro controls
will do when activated. When the Macro
label is “Macro (1-8)”, that could mean that
1) neither part uses that Macro, or 2) it is
controlling the Upper and Lower parts, but the
Upper and Lower names for that Macro don’t
match. (Their assignments may not match
either, which could be fun!)
A specific name for a Macro can mean several
things:
• The Macro is controlling only the Upper or
Lower part.
• Both the Upper and Lower parts are being
controlled, and their Macro assignments
match (or at least their names do).
To the left of each Macro name there are
arrows that point up, down, or both up and
down. This tells you at a glance whether a
Macro is controlling both parts or only one
(and which one). And as always, the current
values of the Macros are always shown
beneath the Macro labels.
How to route a Macro
The Macro Assign page lets you route the
Macro controls to a specific part or to both
parts. Assuming you’re already in Multi mode,
here’s how to do it:
1. Select Both by pressing [UPPER] and
[LOWER] at the same time. This takes you
to the Home page.
2. Press [MACRO ASSIGN] to enter the
Macro Assign page.
3. Turn the Control knob for the specific
Macro you want to route, then select
Both, Upper, or Lower.
4. Save the Multi to preserve the routing
assignment change.
Multi mode controls
There are four controls that are dedicated to
Multi mode:
• The Multi button switches from Single
mode into Multi mode, and then cycles
between the Multi Edit pages.
• The Balance control sets the relative levels
of the Upper and Lower parts. It is inactive
in Single mode.
• The Lower and Upper part select buttons
select one of the parts for top-panel
editing, and also allow you to browse the
patch banks and select a patch for the
selected part. For details about that see
Browsing in Multi Mode (p. 29)
Note that when Single mode is selected, these
four controls are inactive.
Multi Edit mode
The Multi Edit pages contain parameters that
let you tailor the settings for the Upper and
Lower parts. These are described in the next
two sections.
You can jump to Multi Edit mode from
any page by holding [SHIFT] and pressing
[MULTI]. If you’re already in Multi mode and


