OPERATION and MAINTENANCE
INSTRUCTION MANUAL
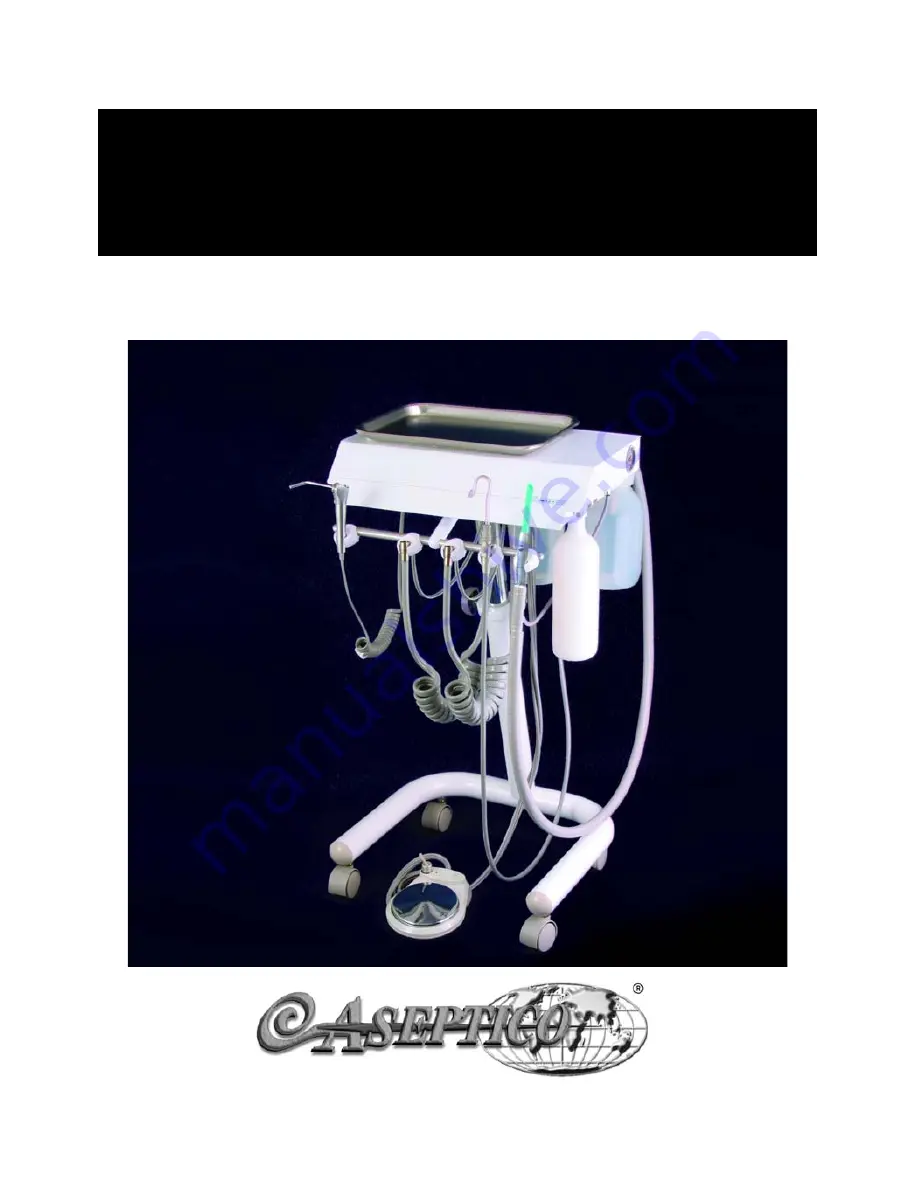
ADU-20B CompriCart
Страница 1: ...OPERATION and MAINTENANCE INSTRUCTION MANUAL ADU 20B CompriCart ...
Страница 2: ...oot Control 4 Fig 9 Water Tank Removal 5 Fig 10 Right Side of Chassis 6 Fig 11 HVE Vacuum Assembly 6 Fig 12 Saliva Ejector Assembly 7 Fig 13 AA 290CK Central Vacuum Kit 4 Routine Adjustments 8 Fig 14 Syringe Flow Adjust Block 8 Fig 15 Handpiece Press Cntrl Block 8 Fig 16 Air Pressure Regulator Valve 8 Maintenance 9 Warranty Back Cover SPECIFICATIONS Chassis Head Dimensions 18 W x 12 L x 3 5 H 45 7...
Страница 3: ...eliable service Please read the instructions provided in this manual to receive the best and longest service from your Aseptico equipment Separate manuals may be provided to cover the operation and maintenance of hand held pieces or other accessories for your unit PACKAGE CONTENTS System Chassis TA 90D Three Way Syringe Automatic Highspeed Handpiece Control Automatic Lowspeed Handpiece Control Sal...
Страница 4: ...GAUGE AA 21 HIGH VOLUME EVACUATOR ASSEMBLY THREE WAY SYRINGE NWS 8 HDPE WATER SUPPLY TANK HIGHSPEED HANDPIECE CONTROL SALIVA EJECTOR SYSTEM REMOVABLE INSTRUMENT TRAY 3 The ADU 20B unit must be connected to a dry filtered 70 100 psi air source Simply extend the 1 4 grey air supply line from the ADU 20B cart and connect the quick disconnect into the compressed air source Fig 2 LOWSPEED HANDPIECE CON...
Страница 5: ...ear of the delivery head Fig 4a Note manual release lever on disconnect Insert metal fitting on top of bottle into quick disconnect Locking ring will snap into place Press release lever on disconnect to remove bottle from unit Fig 4b 6b Insert vacuum line hose into plastic quick disconnect on top of bottle Fig 4c Hang the saliva ejector valve in the holder located next to high volume vacuum handpi...
Страница 6: ... press on the locking collar surrounding the tip socket and pull the used tip straight out of the socket see Fig 6 To insert a new tip press locking collar and push tip into socket as far as it will go Release collar and gently tug on tip before using to ensure that tip is securely locked into socket Syringe Tip Sterilization 1 Remove contaminated syringe tip 2 Remove all visible signs of contamin...
Страница 7: ...control 7 FLUSH TOGGLE Fig 10 The flush toggle located on the right side of the chassis allows you to quickly and completely flush your handpieces washing away contaminants which may have accumulated in the handpiece and tubing You should flush the handpieces for about 5 seconds after every patient and about 20 seconds at the beginning of each day to reduce overnight bacterial accumulation which m...
Страница 8: ...eable The ADU 20B is supplied with a large capacity container 9 SALIVA EJECTOR ASSEMBLY The Saliva Ejector is an air powered self contained oral evacuation system It is supplied with a plastic waste container and a single low velocity hose Fig 12 HANDPIECE PRESSURE GAUGE HVE CONNECTION SALIVA EJECTOR ON OFF AIR SUPPLY LINE FLUSH TOGGLE AIR SUPPLY PRESSURE REGULATOR WATER COOLANT FLOW CONTROL OPTIO...
Страница 9: ...clean water or vacuum system cleanser through the evacuator hose and thoroughly cleaning the waste bottle 10 AA 290CK CENTRAL VACUUM KIT Optional The AA 290CK Kit Fig 13 is used with a central vacuum system It includes a central vacuum canister with disposable solids collector an autoclavable central vacuum lever valve with 5 feet of tubing and an autoclavable saliva ejector tip valve with 5 feet ...
Страница 10: ... decrease the pressure and counterclockwise will increase pressure 3 HANDPIECE PRESSURE ADJUSTMENT Fig 15 The amount of air pressure supplied to each handpiece may be adjusted by turning the flow control for that handpiece on the control block The control block is located at the front right of the unit under the lid 4 AIR SUPPLY PRESSURE REGULATOR The regulator valve located on the underside of th...
Страница 11: ...onds after every patient and about 20 seconds at the beginning of each day Refer to page 4 3 GENERAL CLEANING The cart exterior is designed to make cleaning and the use of prophylactic barriers as easy as possible The external surfaces of the cart should be cleaned using a mild solution of liquid detergent and water Any external surfaces of the unit that are contacted during use should carefully b...
Страница 12: ...nty is at its sole option and discretion to repair or replace any defective component or product in part or whole Aseptico shall be the sole arbiter of such action In the event of alleged defect under warranty the purchaser is to notify Aseptico s Customer Service Department promptly Customer Service will provide instructions usually directing that the product be returned for service Shipment to A...