ASCO Valves 8044 Series Скачать руководство пользователя страница 1

Page 1 of 8 (Section 1 of 2)

50-60 Hanover Road, Florham Park, New Jersey 07932

ASCO Valves

MCMXCVI  All Rights Reserved.

Printed in U.S.A.

Installation & Maintenance Instructions

SERIES

Form No.V6371R2-Sec.1

2-WAY FREE HANDLE" MANUAL RESET SHUT-OFF VALVES

8044

WITH VISUAL POSITION INDICATOR

3/4

, 1

, 1 1/4 

, 1 1/2

, 2

, 2 1/2

 OR 3

 NPT

(Section 1 of 2)

NORMALLY CLOSED OPERATION

NOTICE:    See  separate  solenoid  installation  and

maintenance  instructions  for  information  on:  Wiring,

Solenoid Temperature, Causes of Improper Operation, and

Coil Replacement.
For exploded views, see Form No. V6371 - Section 2 of 2.

DESCRIPTION

Series 8044 valves are 2-way normally closed, 

free handle

manual reset shut-off valves.  The 

free handle

 lever will not

open the valve until the solenoid is energized which allows

the lever to engage.  Only then can the lever be manually

rotated to the latched position opening the valve.  The valve

will  trip  closed  (shut)  instantly  when  the  solenoid  is

de-energized  or  when  lever  is  rotated  to  the  closed

position.    Visual  indication  of 

open

  and 

shut

  positions  is

accomplished by a highly visual position indicator in the side

of the operating movement.  An orange indicating bar aligns

itself  with  the  words 

open

  or 

shut

.    Standard  valves  are

supplied  with  a  general  purpose  junction  box  solenoid

enclosure.  The  valves  may  also  be  provided  with  a

watertight/explosionproof  solenoid enclosure.

Provisions for Pressure and Seat Leakage Testing

(See Figure 1.)

Series 8044 valves are provided with four 1/8

āNPT tapped

and plugged holes, two on either side of valve body.  Two

upstream  for  pressure  testing;  two  downstream  for  seat

leakage testing.  Leakage testing frequency shall be at least

annually  in  accordance  with  NFPA-86  or  original

equipment manufacturer recommendations. Testing is also

required  after  valve  disassembly  and  reassembly  for

inspection, cleaning or rebuilding.

OPERATION

The  valve  can  be  manually  set  to  the  open  position  only

when  the  solenoid  is  energized.    When  the  solenoid  is

de-energized, the valve will close and cannot be opened or

held open manually until electrical power is restored to the

solenoid.

To  Open

:  Energize  the  solenoid,  rotate  lever  to  closed

position and rotate back to open position.

To  Close

:  De-energize  solenoid  or  rotate  lever  to  close

position.

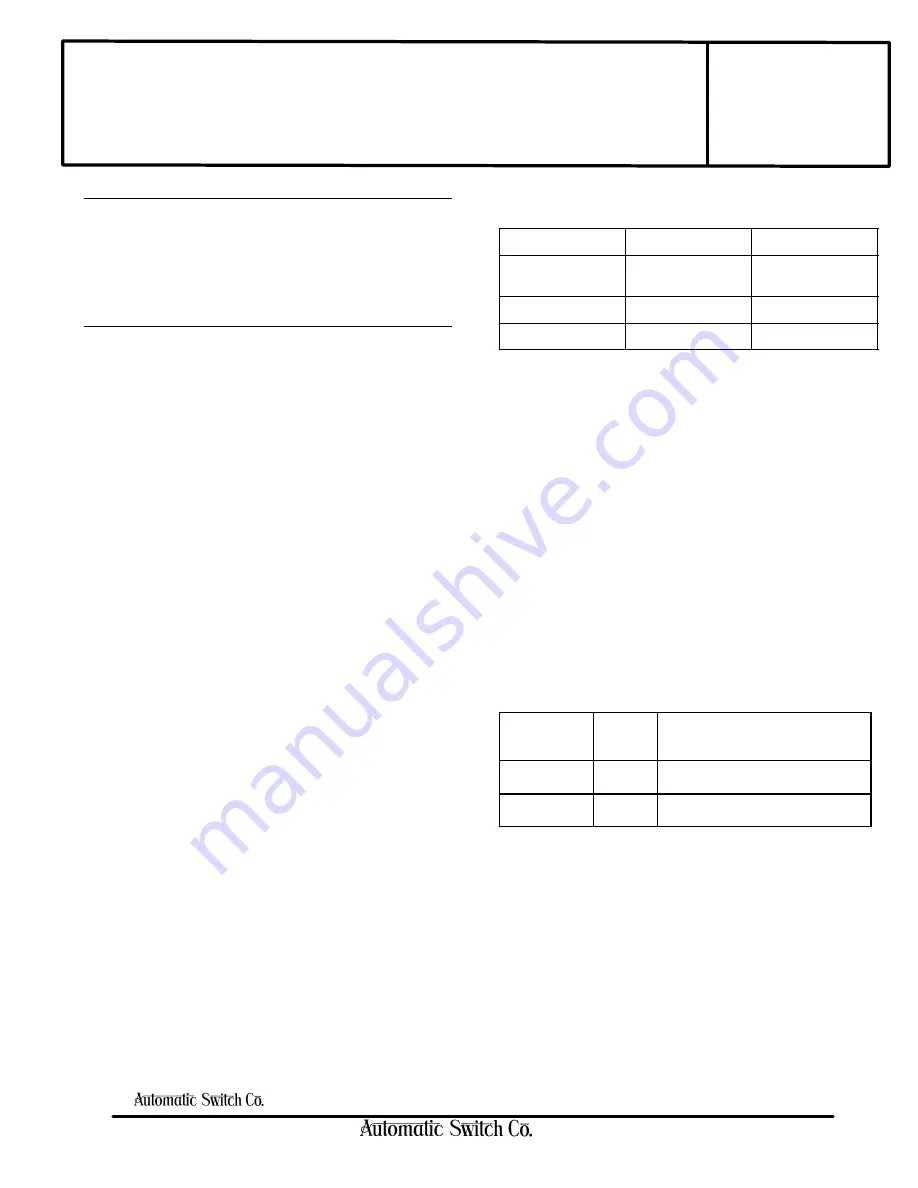
Operating Pressure Differential (psi)

Pipe Size

Minimum

Maximum

3/4

, 1

, 1 1/4

and 1 1/2

0

25 psi

2

0

20 psi

2 1/2

 and 3

0

10 psi

INSTALLATION

Check  nameplate  for  correct  catalog  number,  pressure,

voltage, frequency, and service.  Never apply incompatible

fluids or exceed pressure rating of the valve.  Installation and

valve maintenance to be performed by qualified personnel.

Future Service Considerations

Provision  should  be  made  for  performing  seat  leakage,

external leakage, and operational tests on the valve with a

nonhazardous, noncombustible fluid after disassembly and

reassembly.

Temperature  Limitations

For maximum valve ambient and fluid  temperatures, refer

to  chart  below.    Check  wattage  rating  on  nameplate  to

determine temperature.

Watt

Rating

Coil

Class

Ambient and Fluid

Temperature

20

F

-20

F (31

C) to + 125

F (52

C)

36.2

H

-20

F (31

C) to + 77

F (25

C)

Positioning

Valve must be mounted with operator assembly vertical and

upright.

Piping

Connect  piping  to  valve  according  to  markings  on  valve

body.  Apply pipe compound sparingly to male pipe threads

only.  If applied to valve threads the compound may enter

the valve and cause operational difficulty.  Avoid pipe strain

by properly supporting and aligning piping.  

Содержание 8044 Series

Страница 1: ...testing frequency shall be at least annually in accordance with NFPA 86 or original equipment manufacturer recommendations Testing is also required after valve disassembly and reassembly for inspection cleaning or rebuilding OPERATION The valve can be manually set to the open position only when the solenoid is energized When the solenoid is de energized the valve will close and cannot be opened or...

Страница 2: ...ion Torque housing nut to 175 25 in lbs 19 8 2 8 Nm Replace cover gasket position indicator window instruction plate and cover screws Torque cover screws in a crisscross manner to 10 in lbs 1 1 Nm MAINTENANCE WARNING To prevent the possibility of severe personal injury or property damage turn off electrical power depressurize valve extinguish all open flames and avoid any type of sparking or ignit...

Страница 3: ... not present When rebuilding valve use new stem and adapter supplied in ASCO Rebuild Kit 11 Remove housing nut and the entire operating movement 12 Remove anti rotation bracket and housing gasket from bonnet assembly 13 Unscrew bonnet assembly and remove operator gasket 14 All parts are now accessible to clean or replace Replace worn or damaged parts However for best results replace all parts as s...

Страница 4: ...plosionproof solenoid enclosure position plugnut gasket over the core assembly and down against the lower flange Torque solenoid base sub assembly to 175 25 in lbs 19 8 2 8 Nm 16 Replace solenoid enclosure and make electrical hookup to solenoid see separate instructions WARNING To prevent the possibility of severe personal injury or property damage check valve for proper operation before returning...

Страница 5: ...ere Used Solenoid base sub assembly 3 4 thru 3 175 25 in lbs 19 8 2 8 Figure 1 Cover screws 4 3 4 thru 3 10 5 2 in lbs 1 1 0 6 0 2 Housing nut 3 4 thru 3 175 25 in lbs 19 8 2 8 Bonnet assembly 3 4 thru 2 175 25 in lbs 19 8 2 8 Bonnet assembly 2 1 2 and 3 50 5 ft lbs 67 8 6 8 Disc nut 3 4 thru 3 75 10 in lbs 8 5 1 1 3 4 Note 2 95 10 in lbs 8 5 1 1 Figure 2 3 Bonnet screws 3 4 thru 2 144 15 in lbs 1...

Страница 6: ...lenoid bushing plugnut gasket end cap gasket solenoid bonnet gasket operator gasket Texaco Inc Code No 2346 Low Temp Grease EP ASCO No 208832 9 stem disc sub assembly When present Figure 1 Provisions for pressure and seat leakage testing OUT IN FLOW 1 8 NPT pipe plug 3 16 hex key wrench Partial side view of valve body showing location of tapped and plugged holes for pressure and seat leakage testi...

Страница 7: ...l Purpose Splice Box Solenoid Construction Watertight Explosionproof Solenoid Construction Note Solenoid bushing not present on all constructions See Torque and Lubrication Chart Figure 2 Series 8044 solenoid assembly stem partial view adapter washer concave side to face stem spacer disc main disc main disc washer disc gasket disc nut Indicates that these parts are included in Rebuild Kit adapter ...

Страница 8: ... operator gasket valve body body gasket stem disc sub assembly closing spring valve bonnet bonnet screw 6 end cap gasket end cap cover gasket Operating movement shown 180 from true position CAUTION Do not loosen or remove Set screw has been preset at factory bleed hole check for leakage Partial view showing body passage gaskets 2 present on 2 1 2 and 3 NPT valve constructions only valve body valve...

Отзывы: