BIOS
SharpSwitch™ PCIE-9205 Installation and Use (6806800U18D
)
72
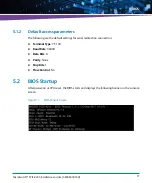
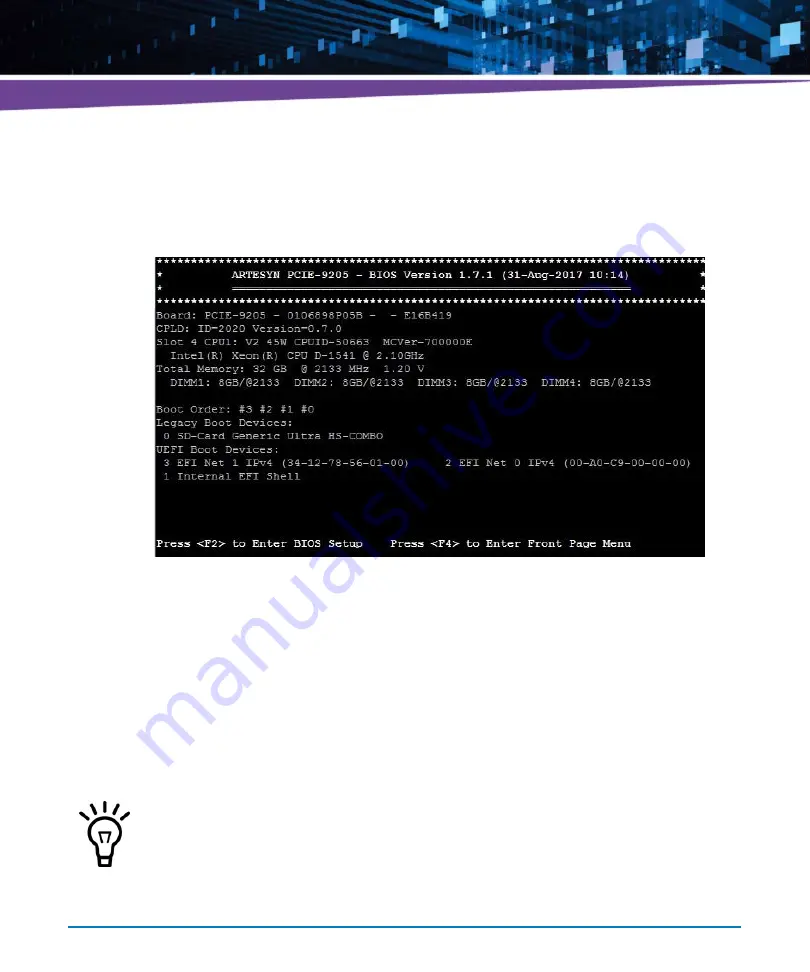
After that, BIOS performs hardware testing and initialization. After completion of this process,
the BIOS displays more detailed information as shown below.
If no key is pressed on the keyboard for some time (for 3 seconds, by default), the BIOS starts
with booting OS according to the list of boot options (boot devices). Press <F2> functional key
on the keyboard, to enter BIOS Setup.
5.3
BIOS Setup
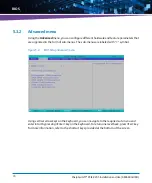
The BIOS Setup is an interactive interface to display and configure the BIOS parameters. It is
organized as set of menus, sub-menus and option items corresponding to the parameters.
Figure 5-2
After Hardware Initialization
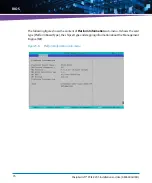
You can navigate through BIOS Setup by pressing arrow keys and you can enter or exit
the sub-menus by pressing <Enter> and <Esc> keys on the keyboard.
At some terminal emulations the function keys are not available. In that case it is
possible to type "ESC" followed by "2" (or ESC-n for any other function key Fn). For F10,
ESC-0.
Содержание SharpSwitch PCIE-9205
Страница 1: ...SharpSwitch PCIE 9205 Installation and Use P N 6806800U18D March 2018 ...
Страница 6: ...SharpSwitch PCIE 9205 Installation and Use 6806800U18D 6 Contents ...
Страница 8: ...SharpSwitch PCIE 9205 Installation and Use 6806800U18D 8 List of Tables ...
Страница 10: ...SharpSwitch PCIE 9205 Installation and Use 6806800U18D 10 List of Figures ...
Страница 22: ...SharpSwitch PCIE 9205 Installation and Use 6806800U18D Safety Notes 22 ...
Страница 30: ...SharpSwitch PCIE 9205 Installation and Use 6806800U18D Sicherheitshinweise 30 ...
Страница 44: ...Hardware Preparation and Installation SharpSwitch PCIE 9205 Installation and Use 6806800U18D 44 ...
Страница 62: ...Controls Indicators and Connectors SharpSwitch PCIE 9205 Installation and Use 6806800U18D 62 ...
Страница 68: ...Functional Description SharpSwitch PCIE 9205 Installation and Use 6806800U18D 68 ...
Страница 86: ...BIOS SharpSwitch PCIE 9205 Installation and Use 6806800U18D 86 ...
Страница 101: ......

