QL101
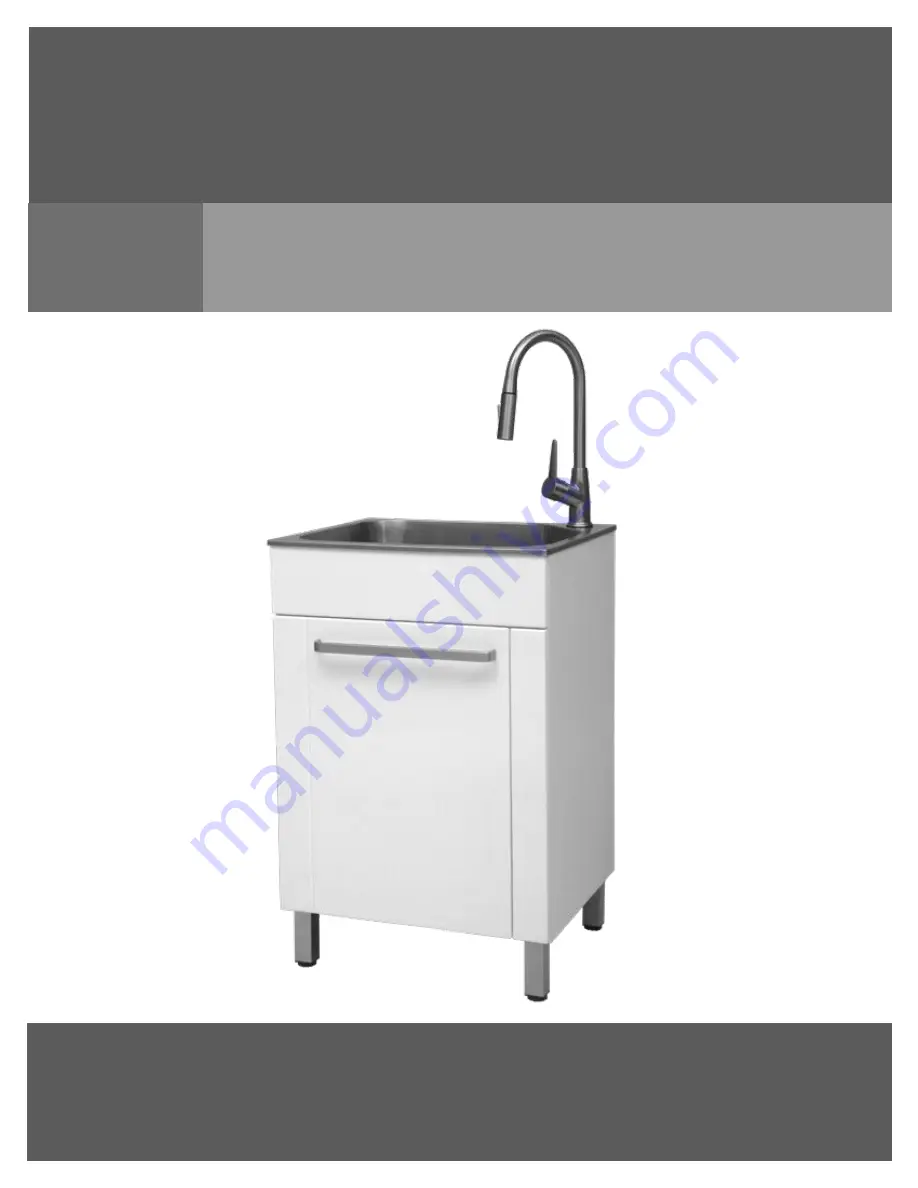
UTILITY SINK, STORAGE CABINET AND FAUCETÉVIER UTILITAIRE, ARMOIRE DE RANGEMENT ET ROBINETFREGADERO DE SERVICIO, GABINET DE ALMACENAMIENTO Y GRIFO
ALL-IN-ONE
TOUT-EN-UN
TODO EN UNO
OWNER’S MANUALMANUEL DE L’UTILISATEURMANUAL DEL USUARIO
Страница 1: ...ORAGE CABINET AND FAUCET VIER UTILITAIRE ARMOIRE DE RANGEMENT ET ROBINET FREGADERO DE SERVICIO GABINET DE ALMACENAMIENTO Y GRIFO ALL IN ONE TOUT EN UN TODO EN UNO OWNER S MANUAL MANUEL DE L UTILISATEU...
Страница 2: ...ng Utility Sink 10 Cabinet 10 Service Parts 11 MANUEL DE L UTILISATEUR 12 MANUAL DEL USARIO 23 Safety Information READ AND SAVE THESE INSTRUCTIONS 1 Unpack and inspect this product for chips scratches...
Страница 3: ...ot be held liable for inconvenience caused by loss of use of this product costs incurred for labour or materials removal and installation of replacement units or any other incidental or consequential...
Страница 4: ...RIALS REQUIRED NOT SUPPLIED Adjustable wrench Needle nose pliers Phillips screwdriver Utility knife Pipe wrench Sealant Hacksaw Carpenter s level Hex wrench Safety gloves Safety goggles PARTS REQUIRED...
Страница 5: ...e installation Report damage and or missing parts immediately to our customer service team at cs conglomkb com or 1 877 333 0098 Service available in English and French Monday Friday from 8 30 am 5 00...
Страница 6: ...tach each leveling leg C to the bottom of the cabinet A using four of the provided screws BB Gently rotate the cabinet A right side up Place a carpenter s level on top of the cabinet then adjust each...
Страница 7: ...et metal washer and retaining nut from the faucet Install the faucet through the hole in the sink From underneath secure the faucet to the sink with the gasket metal washer and retaining nut Tighten t...
Страница 8: ...y from underneath the sink Hand tighten the strainer locknut until it is snug Do not overtighten Insert the plastic flange into the flange end of the tailpipe not supplied then secure the tailpipe to...
Страница 9: ...legs and checking the alignment of the top using a carpenter s level Secure the cabinet to the wall if necessary DRAINAGE The tailpipe not supplied previously installed to the drain can now be connect...
Страница 10: ...or a weak solution of vinegar and water for regular cleaning Only use plastic scouring pads recommended for use in stainless steel sinks and only use them in the bowl of the sink Scrub in the directio...
Страница 11: ...ner e g Vim or Barkeeper s Friend Always rub the surfaces in the direction of the grain of the steel When finished rinse the sink with water and dry it with a towel to allow the sink to form a protect...
Страница 12: ...20 Soin et nettoyage vier utilitaire 20 Armoire 20 Pi ces de rechange 22 MANUAL DEL USARIO 23 Consignes de s curit LIRE ET CONSERVER CES INSTRUCTIONS 1 Une fois le produit d ball v rifiez s il y a des...
Страница 13: ...des unit s de remplacement ou d aucun autre dommage caus par un incident ou accessoire Les co ts encourus pour obtenir l acc s pour la r paration ou le remplacement sont la responsabilit de l utilisat...
Страница 14: ...AUX REQUIS NON INCLUS Cl Pinces Tournevis Phillips Couteau lame r tractable Cl molette Mastic Scie m taux Niveau bulle Cl hexagonale Gants de s curit Lunettes de s curit PI CES REQUISES NON INCLUSES T...
Страница 15: ...mages ou de pi ces manquantes communiquer avec le service la client le au cs conglomkb com ou 1 877 333 0098 service en anglais et fran ais du lundi au vendredi de 8 h 30 17 h HE Ne pas se d barrasser...
Страница 16: ...xer chaque pied de nivellement C au bas de l armoire A l aide de quatre des vis fournies BB Remettre d licatement l armoire A l endroit D poser un niveau de charpentier sur le dessus de l armoire puis...
Страница 17: ...la rondelle m tallique et l crou de serrage du robinet Installer le robinet dans l orifice de l vier Par en dessous utiliser le joint la rondelle m tallique et l crou de serrage pour fixer le robinet...
Страница 18: ...ou de blocage de la cr pine la main jusqu ce qu il soit bien serr Ne pas trop serrer Ins rer la bride en plastique dans l extr mit bride du tuyau de vidange non fourni puis fixer le tuyau de vidange a...
Страница 19: ...fiant l alignement de l vier l aide d un niveau de menuisier DRAINAGE Le tuyau de vidange non fourni install pr c demment dans l orifice d vacuation peut maintenant tre raccord la plomberie domestique...
Страница 20: ...vier est fabriqu avec de l acier inoxydable de la plus haute qualit Moyennant l apport des soins appropri s il vous fournira un excellent rendement pendant plusieurs ann es VIER UTILITAIRE ARMOIRE fai...
Страница 21: ...yer et rincer vigoureusement avec de l eau froide viter que la surface de votre armoire entre en contact avec des produits tels l ac tone dissolvant pour vernis ongles le vernis ongles la solution pou...
Страница 22: ...ran ais de lundi au vendredi 8 h 30 17 h H N E Veuillez identifier les pi ces n cessaires et ayez les codes port e de main E F A B C D AA BB G Pi ce Description Code Quantit A Poign e QHL119 1 B Pieds...
Страница 23: ...del cartucho 31 Cuidado y limpieza Fregadero de servicio 31 Armario 31 Piezas de repuesto 33 Informaci n de seguridad LEA Y GUARDE ESTAS INSTRUCCIONES 1 Examine la unidad antes de proceder Verifique...
Страница 24: ...a o materiales retiro e instalaci n de unidades de reemplazo ni ning n otro da o incidental o consecuente Los costos relacionados con la obtenci n de acceso para la reparaci n o el reemplazo son respo...
Страница 25: ...aci n HERRAMIENTAS MATERIALES REQUERIDOS NO INCLUIDOS Llaves Alicates Desarmador en cruz Cuchillo de uso general Llave de tubos Sellador de silicona Sierra de mano Nivel de carpintero Llave hexagonal...
Страница 26: ...rva alg n da o no le instale Si le faltan piezas o necesita repuestos comun quese con nuestro equipo de servicio al cliente No deseche el embalaje antes de que est satisfecho con su nuevo producto A B...
Страница 27: ...e una superficie mullida donde est protegido Conecte cada pata de nivelaci n C a la parte inferior del armario A usando cuatro de los tornillos provistos BB Gire suavemente el armario A con el lado de...
Страница 28: ...av s del orificio del lavabo Desde la parte inferior asegure el grifo al lavabo con la junta la arandela met lica y la tuerca de retenci n Apriete la tuerca de retenci n con la mano hasta que quede bi...
Страница 29: ...l colador en la abertura de drenaje y presi nelo hacia abajo hasta que est colocado uniformemente Ensamble la junta de caucho la arandela de fricci n y la contratuerca en el cuerpo del colador por deb...
Страница 30: ...do un nivel de burbuja DRENAJE Ahora puede conectar a la tuber a dom stica el tubo de escape no incluido instalado previamente en el drenaje En algunos casos la plomer a de su hogar tendr que ser modi...
Страница 31: ...tal como anot previamente Por lo general el rojo se encuentra a la izquierda Cuidado y limpieza Este fregadero est fabricado con acero inoxidable de la mejor calidad y podr utilizarlo durante muchos a...
Страница 32: ...cto con productos como la acetona quitaesmalte el esmalte de u as la soluci n de limpieza en seco los disolventes de lacas la gasolina el aceite de pino etc Evite el uso de novajas de afeitar y otros...
Страница 33: ...333 0098 de lunes a viernes de 8 30 a m a 5 00 p m hora del Este Identifique la s pieza s requerida s y tenga lista el n mero correspondiente E F A B C D AA BB G Pieza Descripci n C digo Cantidad A Ma...
Страница 34: ...available in English and French Monday Friday from 8 30 am 5 pm EST service disponible en anglais et fran ais du lundi au vendredi 8h30 17h H N E servicio disponible en ingl s y franc s de lunes a vie...