


E T V I S I O N M A N U A L
36
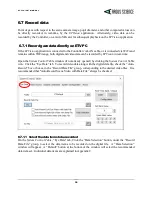
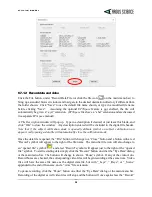
6.7.3
Compute gaze data from an SD card file
To compute gaze measurements, SD card “emv” files must be read and processed by the
ETVision
application on the
ETVision
PC.
Press and release the micro SD card to remove it from the Controller SD card slot. Insert the micro
SD card in a micro-to-standard SD card adapter and insert the adapter in the PC standard SD card slot.
The SD card should now appear as a device drive on Windows 10 File Explorer. Although the emv
files can be read, by
ETVision
, directly from the SD card, it is suggested that files first be copied to PC
hard drive. Be sure to copy emv files to a directory on the PC hard drive that has read/write
permission (for example, some directory folder under C:\Users\Public). The files can then be renamed
if desired as long as the “.emv” file extension is preserved. Once files are copied to the PC hard drive,
Windows File Explorer can be used to delete them from the SD card if desired in order to make room
for additional recording on the SD card.
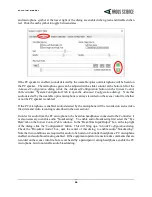
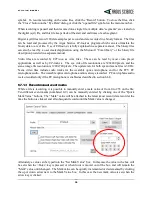
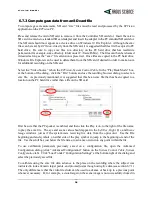
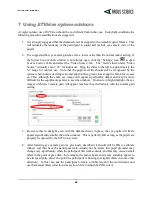
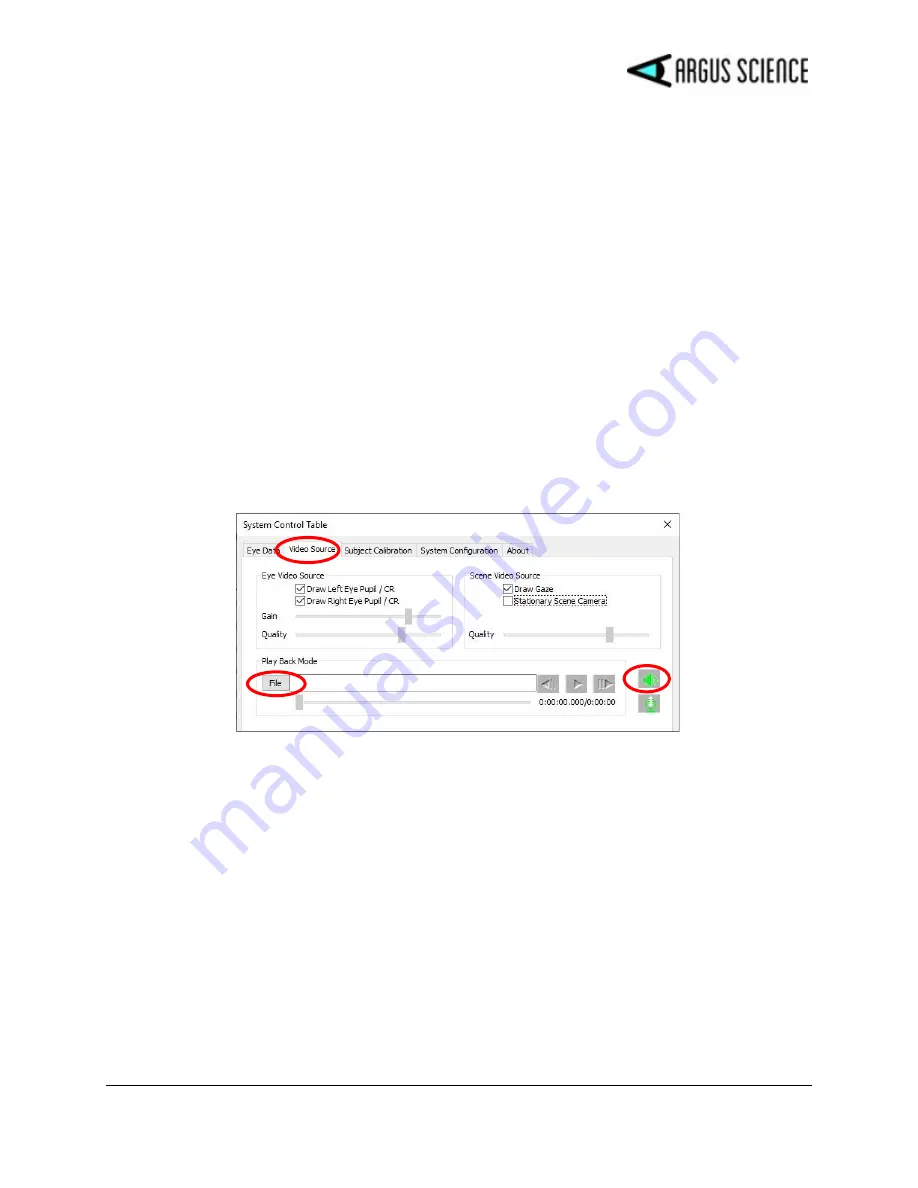
Select the “Video Source” tab on the
ETVision
,
System Control Table
. In the “Play Back Mode” box,
at the bottom of the dialog, click the “File” button, and use the resulting browser dialog to select an
emv file. As previously mentioned, it is suggested that this be an emv file that has been copied to a
location on the PC hard drive rather than a file on the SD card.
First be sure that the PC speaker is enabled, and then click the Play icon, to the right of the file name,
to play the emv file. The eye and scene video should appear in the
Left Eye
,
Right Eye
, and
Scene
Image
windows just as if the system were receiving live data from the optics unit. Use the File
beginning and end symbols, on either side of the play symbol to jump to the beginning or end of the
file. Use the scroll bar, just below the file name, to advance or return to any point within the file.
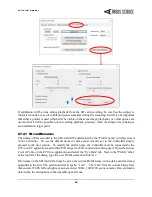
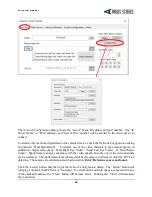
To use calibration parameters previously saved on a configuration file, open the Advanced
Configuration dialog (click “Advanced Configuration” button on the
System Control Table
,
System
Configuration
tab). Click “Load” under “Configuration Settings” at the bottom right of the dialog and
select the previously saved file.
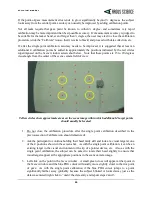
To calibrate using the emv file data, advance to the place on the recording where the subject was
instructed to look at known target points, and proceed just as though using live data (see section 6.7.1).
The only difference is that the video file slider can be used to advance or back up to a previous point
whenever necessary. If, for example, a visual target on the scene image is not successfully clicked in


