You can use the QuantStudio
™
6 or 7 Flex System touchscreen to perform a
comprehensive self test of the QuantStudio
™
6 or 7 Flex System subsystems. After the
self test is complete, the QuantStudio
™
6 or 7 Flex System generates two files that
provide a detailed summary of the instrument condition and function. In the event of
a problem, you can save the results files to a USB drive and email them to Technical
Support for a diagnosis.
Note:
We recommend running the self test as part of regular maintenance to ensure
optimal performance of the QuantStudio
™
6 or 7 Flex System.
1.
From the Main Menu of the instrument touchscreen, touch Tools, then touch
Run Self Test.
2.
From the Self Test screen, touch Start Self Test, then wait for the test to
complete.
3.
(Optional) When the QuantStudio
™
6 or 7 Flex System completes the self test,
save the results to a USB drive:
a.
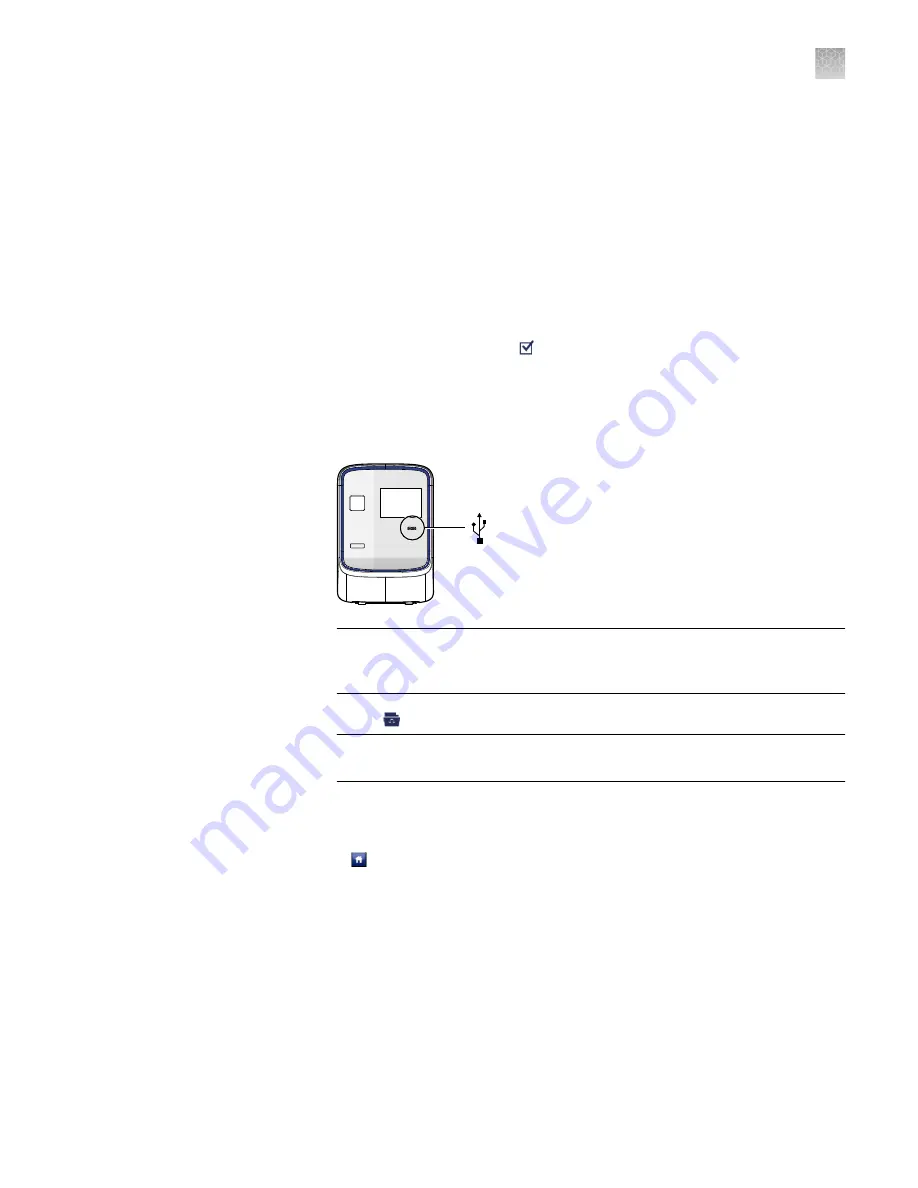
Plug a USB drive into the USB port below the touchscreen.
IMPORTANT!
Do not use the USB ports on the rear panel of the
QuantStudio
™
6 and 7 Flex Systems. The rear USB ports are for use by
Thermo Fisher Scientific personnel to service the instrument.
b.
Touch Save.
IMPORTANT!
Do not remove the USB drive from the QuantStudio
™
6 or 7
Flex System until instructed.
c.
When the QuantStudio
™
6 or 7 Flex System finishes writing the results to the
USB drive, touch OK, then remove the USB drive.
4.
Touch to return to the Main Menu.
You can download the QuantStudio
™
6 and 7 Flex Systems firmware updates at
thermofisher.com/qpcrsoftware. After obtaining a firmware update, transfer the
update to the system using a USB drive.
1.
Download the firmware update:
a.
Go to thermofisher.com/qpcrsoftware.
b.
In the Real-Time PCR section, select Applied Biosystems
™
QuantStudio
™
6
and 7 Flex Real-Time PCR Systems.
c.
In the Software Downloads page, click Updates - Patches.
Perform an
instrument self
test
Update the
instrument
firmware
Appendix A
Manual instrument operation
Maintain the instrument from the touchscreen
A
QuantStudio
™
6 and 7 Flex Real-Time PCR Systems v1.6 Maintenance and Administration Guide
89


