PH700 Benchtop pH Meter
Instruction Manual
APERA INSTRUMENTS(Europe) GmbH
www.aperainst.de
Manual Version 3.2
Страница 1: ...PH700 Benchtop pH Meter Instruction Manual APERA INSTRUMENTS Europe GmbH www aperainst de Manual Version 3 2 ...
Страница 2: ... 4 5 Data storage recall and deletion 4 4 6 Max Min Function 5 5 pH Measurement 5 5 1 Preparation 5 5 2 pH Electrode Information 5 5 3 Information regarding Calibration 6 5 4 pH Meter Calibration 8 5 5 Measuring pH 9 5 6 Parameter Setting 11 5 7 pH Electrode s Maintenance 12 6 mV measurement 13 6 1 ORP measurement 13 6 2 Notes on ORP measurement 13 7 Recommended pH Electrodes for Specific Applicat...
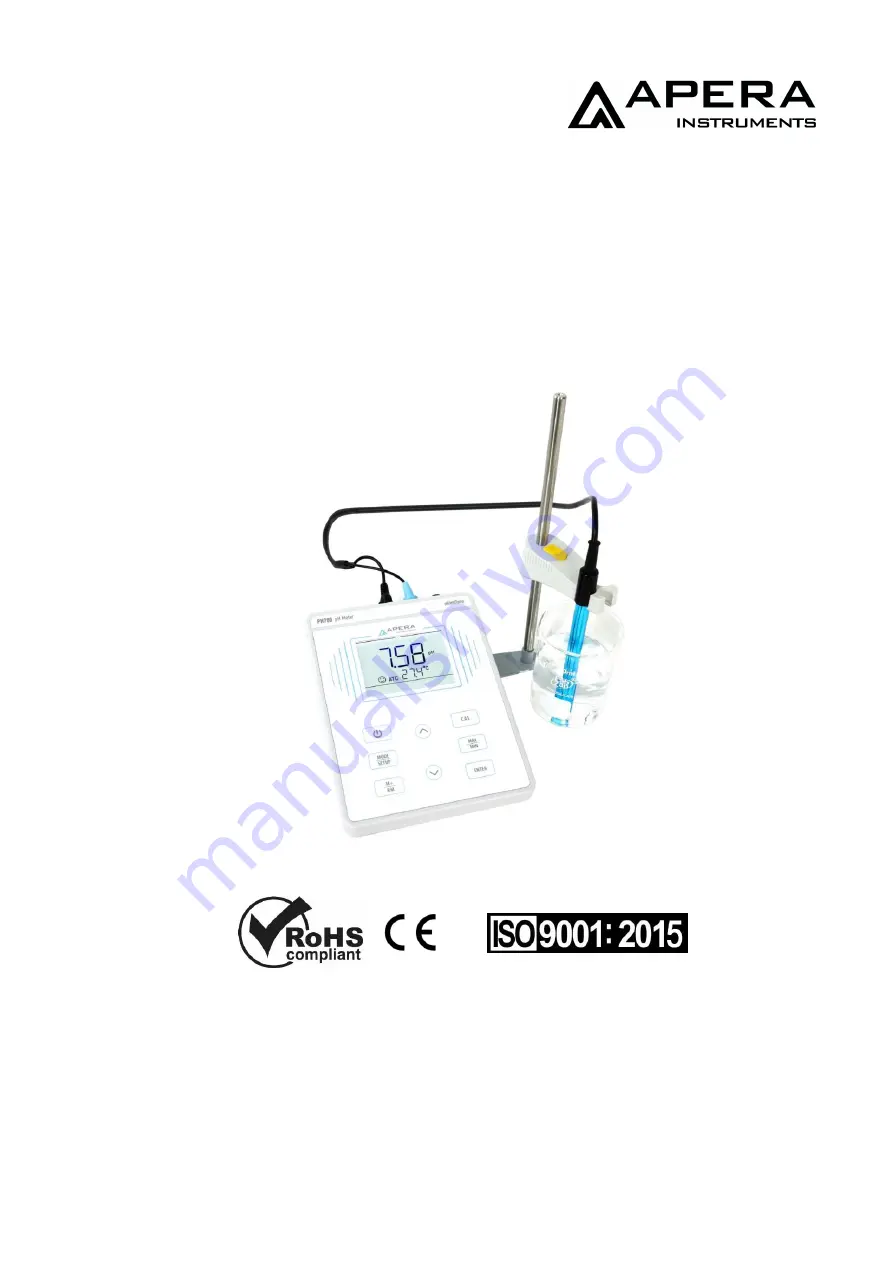
Страница 3: ...essing technology intelligently improves the meter s response time and measuring accuracy with stable reading display mode available The kit comes with a 3 in 1 combination pH Electrode measuring pH and temperature simultaneously IP54 dustproof and spillproof Connectors are protected by silicone seal caps effectively ensuring the reliability and service life of the meter under harsh environment De...
Страница 4: ...on icons and numberings 3 Measurement unit 4 Temperature and reminder icons 5 The pH unit displayed during calibration 6 The pH value displayed during calibration numberings for storage and recall and reminder icons 7 Icons for data storage and recall M store measuring data RM Recall measuring data 8 Self Diagnosis icons and numberings 9 Temperature compensation mode icons ATC Auto Temperature Com...
Страница 5: ...ion and go back to measurement mode Short Press In calibration mode press to conduct calibration In parameter setting press to confirm selection Short Press Store measuring data Long Press Recall stored measuring data Short Press or Long Press In manual temperature compensation mode short press to change temperature long press to change quickly In parameter setting mode short press to change param...
Страница 6: ...d deletion Storage When the measurement is stable press key the meter displays M icon and storage numberings on LCD and stores the measuring data In Figure 4 the meter stores the first group of the measuring data Press again to keep storing Recall stored data In the measurement mode long press key to recall the last stored Measuring data The meter displays RM icon and storage numberings In Figure ...
Страница 7: ...the electrode holder The electrode holder is composed of a metal stand base a supporting pole and an electrode clip First install the metal stand base to the meter screw it on Please note that the metal base can be installed on either side of the meter Then install the supporting bar on the metal stand base and then install the electrode clip on the supporting bar Connect the power adapter Plug th...
Страница 8: ...f excess water Gently stir the electrode for a few seconds after it s dipped into the test solution and then let it stand still Wait for the stable measurement a smiley face appears and stays and then record the readings When test is finished place the electrode in the storage bottle and tighten the cap in order to keep the sensitivity of the pH sensor 5 3 Information regarding Calibration pH buff...
Страница 9: ...ondition of electrodes and the requirement of the accuracy For High Accuracy meaustements 0 02pH the meter should be calibrated before test every time For ordinary accuracy measurements 0 1pH once calibrated the meter can be used for about a week or longer In the following cases the meter must be re calibrated a The electrode hasn t been used for a long time or a new electrode is connected b After...
Страница 10: ...ed water dry it and dip it into pH 4 00 buffer solution Stir the solution gently and let stand still in the buffer solution until a stable reading is reached The meter s display will show the recognition process of calibration buffer solution at the lower right corner When the meter recognizes 4 00 pH stable icon displays on LCD Press key to calibrate the meter End icon and electrode slope of acid...
Страница 11: ...e Contact us at 1 614 285 3080 for more details When testing purified water like spring water or drinking water it will take longer for the readings to get stabilized typically 3 5 minutes because there is very few ions left to be detected by the sensor in those purified water 2 Purified water such as distilled water and deionized water are recommended for only rinsing the probe for the best resul...
Страница 12: ...ation and measurement the meter has a self diagnosis function Please see table 5 Table 5 Self diagnosis Information Display Icons Contents How to fix Wrong pH buffer solution or the buffer solution is out of range 1 Check whether pH buffer solution is correct 2 Check whether the meter connects the electrode properly 3 Check whether the electrode is damaged 4 Make sure there is no bubble in the ele...
Страница 13: ... Setting P1 Select pH buffer series USA NIS 1 Long press to enter P1 2 Press USA flashes press to select USA or NIS press to confirm USA USA Series NIS NIST Series 3 Press to enter P2 or press to return to measurement mode P2 Select resolution 0 01 0 1 1 Press 0 01 flashes press to select 0 01 or 0 1 press to confirm 2 Press to enter P3 or press to return to measurement mode P3 Select temperature ...
Страница 14: ...recommend 10 15 times of use before replacing the pH buffers 5 7 3 Protect glass bulb The sensitive glass bulb at the front of the combination electrode should not come in contact with hard surfaces Scratches or cracks on the electrode will cause inaccurate readings Before and after each measurement the electrode should be rinsed with distilled water or purified water If a sample sticks to the ele...
Страница 15: ...227 222 215 209 205 201 6 2 2 Clean and activate ORP electrode After the electrode has been used over a long period of time the platinum surface will get polluted which causes inaccurate measurement and slow response Please refer to the following methods to clean and activate ORP electrode a For inorganic pollutant submerge the electrode in 0 1mol L dilute hydrochloric acid for 30 minutes then was...
Страница 16: ...e warrant this instrument to be free from defects in material and workmanship and agree to repair or replace free of charge at option of APERA INSTRUMENTS Europe GmbH any malfunctioned or damaged product attributable to responsibility of APERA INSTRUMENTS Europe GmbH for a period of TWO YEARS SIX MONTHS for the probe from the delivery This limited warranty does not cover any damages due to Transpo...