
12
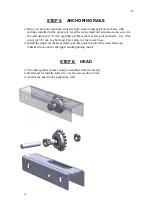
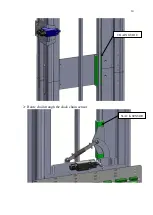
STEP 5: ANCHORING RAILS
Once you have the rail/track structure fully stacked and tightened to brace with
carriage installed in the guide rail, level the entire track/rail structure and secure it to
the wall using (4) 3/8” dia. lag bolts per brace plate at rail joint and head . Use 2 for
joints (4) 3/8” dia. lag bolts per brace plate for the lower brace.
Install the upper mechanical endstop at this point to protect the head from any
indesired move above the upper landing during install.
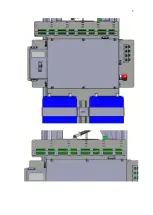
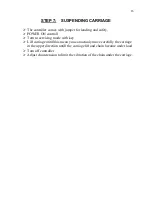
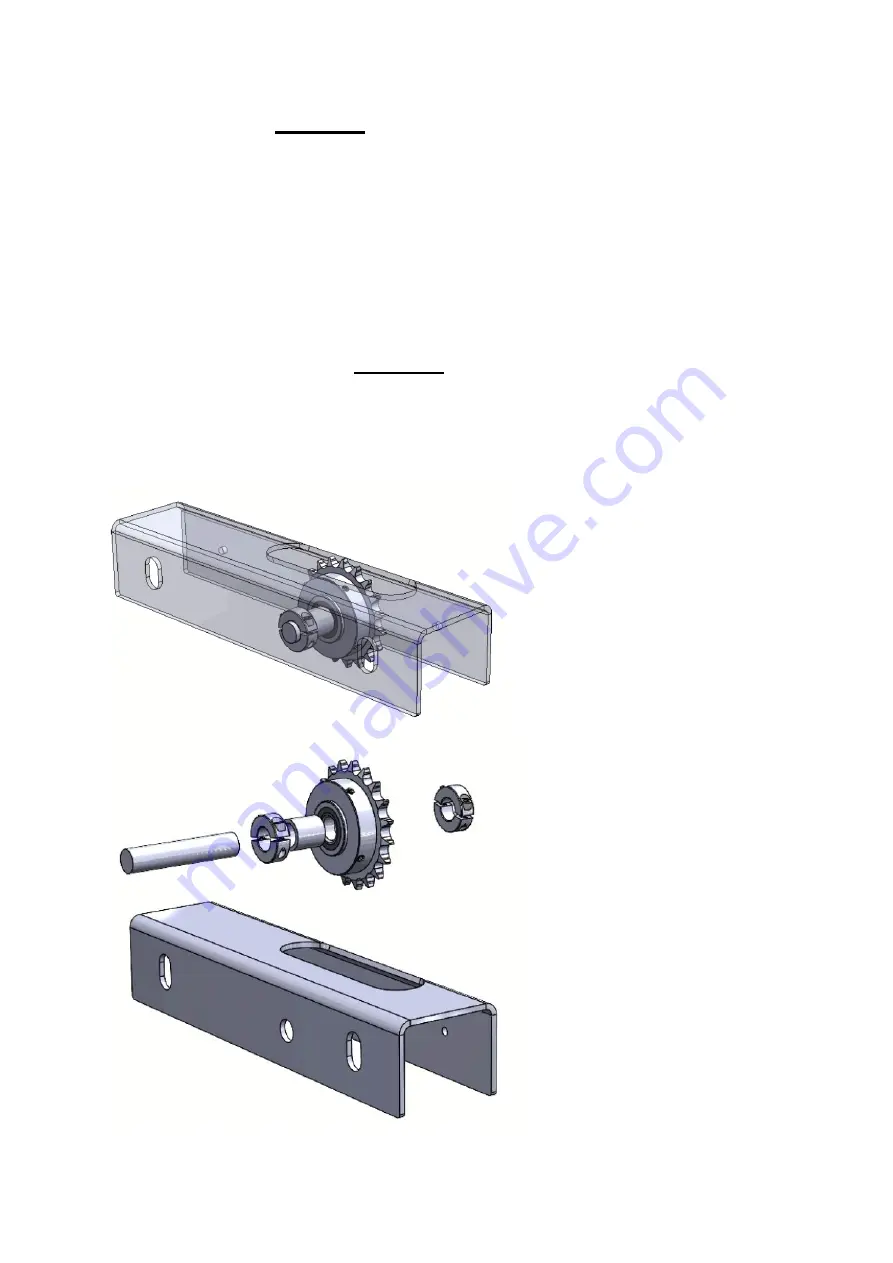
STEP 6: HEAD
The idler sproket comes already assembled from the facotry,
Head must be installed directly over the last section of rail,
Anchor the head to the supporting wall
Содержание PRO DUMBWAITER
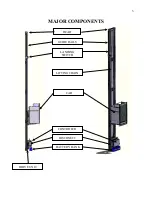
Страница 4: ...4 DRIVE UNIT CONTROLER EMERGENCY STOP BATTERY BANK DISCONNECT ...
Страница 5: ...5 ...
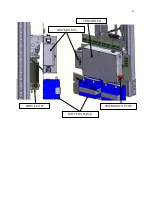
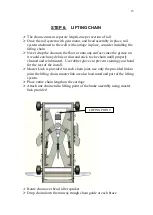
Страница 14: ...14 Route chain trough the slack chain sensor CHAIN GUIDE SLACK SENSOR ...