background image

B00LILH3V4

B00LILH47C

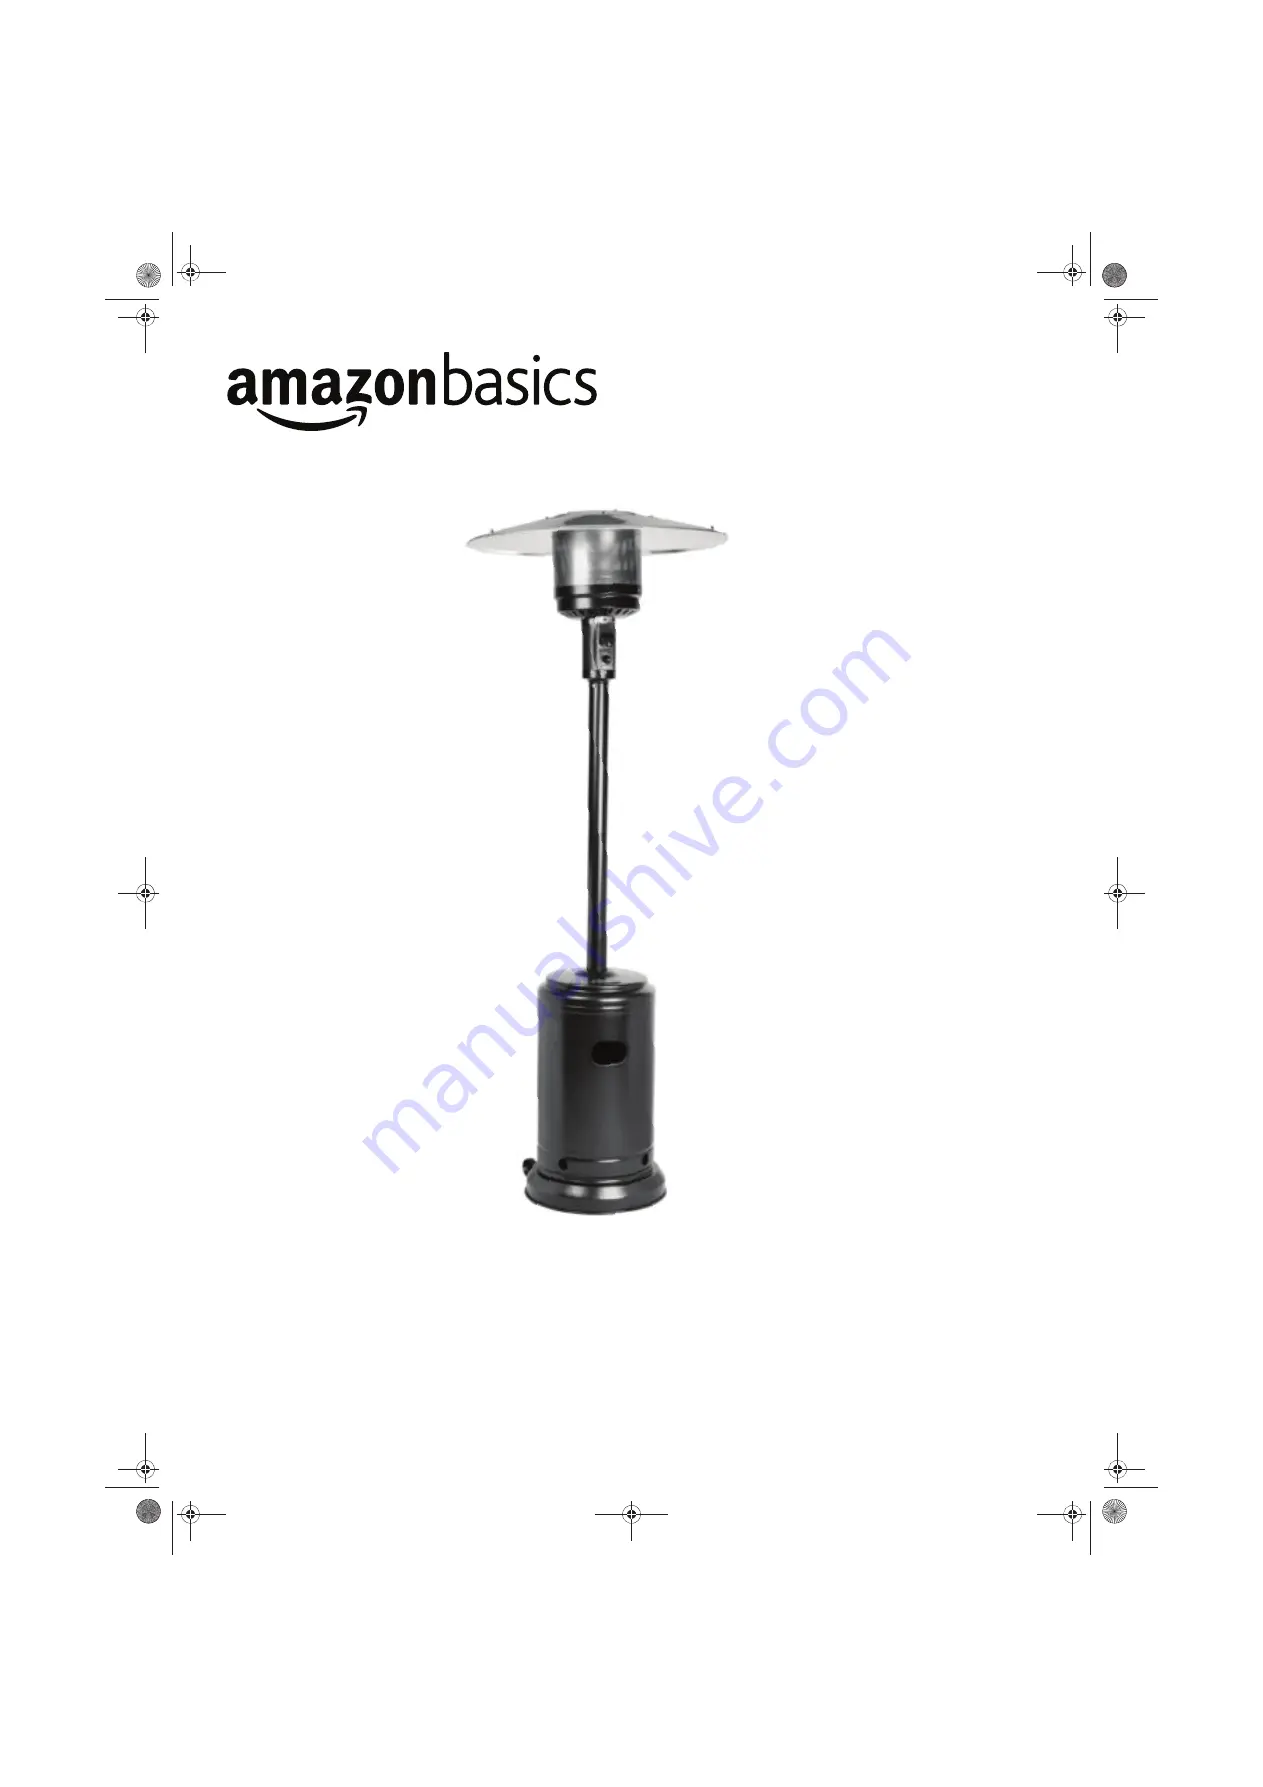
Patio Heater

Patio Heater_15-0285_V6_ENG.book  Page 1  Friday, March 6, 2015  7:55 AM

Содержание B00LILH3V4

Страница 1: ...B00LILH3V4 B00LILH47C Patio Heater Patio Heater_15 0285_V6_ENG book Page 1 Friday March 6 2015 7 55 AM...

Страница 2: ...2 English 5 Patio Heater_15 0285_V6_ENG book Page 2 Friday March 6 2015 7 55 AM...

Страница 3: ...3 Safety and compliance Patio Heater_15 0285_V6_ENG book Page 3 Friday March 6 2015 7 55 AM...

Страница 4: ...4 Patio Heater_15 0285_V6_ENG book Page 4 Friday March 6 2015 7 55 AM...

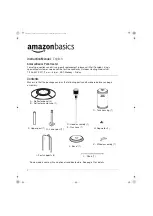
Страница 5: ...EST Monday Friday Contents Make sure that the package contains the following parts and hardware before you begin assembly H Regulator 1 J Base 1 I Post supports 3 A Reflector panel 4 B Reflector cent...

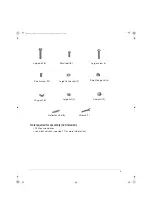
Страница 6: ...test solution see step 11 for more information Large nut 4 Wing nut 3 Cap nut 12 Large bolt 6 Small bolt 5 Large screw 4 Small screw 12 Large flat washer 9 Small flange nut 6 Reflector stud 3 Wrench 1...

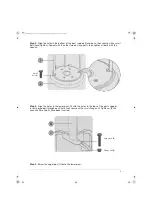
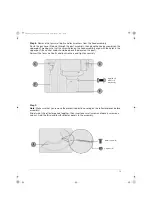
Страница 7: ...x then reinsert the screws and secure by tightening the nuts on the bolts Step 2 Align holes in the wheel assembly with the holes in the base then insert two small bolts through the holes and hand tig...

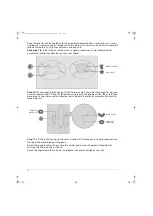
Страница 8: ...rench Step 4 Align the holes in the lower post G with the holes in the tops of the post supports Insert a large bolt through each hole then secure with a small flange nut Tighten with the wrench after...

Страница 9: ...r it until it rests on the base Step 7 Insert the reflector studs into the large flat washers then push them into the holes on the top of the head assembly C Reflector stud 6 Large flat washer 3 Patio...

Страница 10: ...be above the decal on the post Reinsert the four small bolts and lock washers and tighten securely Step 9 Note Make sure that you remove the protective plastic covering on the reflector pieces before...

Страница 11: ...ver the reflector studs Place the reflector assembly onto the reflector studs then slide three more large flat washers over the reflector studs and onto the reflector assembly Secure with three wing n...

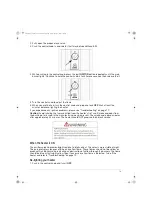
Страница 12: ...sure all patio heater valves are OFF then turn the propane tank valve ON IF BUBBLES APPEAR AT ANY CONNECTION THERE IS A LEAK Do the following Turn the propane tank valve OFF If a leak is detected at...

Страница 13: ...ake sure that the cylinder cover is clear of debris Be sure any component removed during assembly or servicing is replaced and fastened prior to starting Before lighting your heater Your heater should...

Страница 14: ...e heater s first use Smoke and odor from the burning of oils used in the manufacturing may be present The smoke and odor dissipates after approximately 30 minutes The heater should NOT produce thick b...

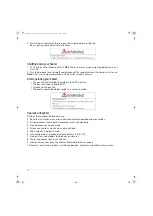
Страница 15: ...ne The heater should be stored upright in a secure location Operation Checklist Perform these checks before each use 1 Read the instruction manual to understand correct operation and precautions 2 All...

Страница 16: ...cleaning Never use flammable or corrosive cleaning agents While cleaning your unit be sure to keep the area around the burner and control compartment dry at all times Do not submerge the control valve...

Страница 17: ...er orifice may be blocked Clean or replace the burner orifice You may have air in the system Purge any air from the lines by opening the gas lines and depressing the control knob for two to three minu...

Страница 18: ...18 Patio Heater_15 0285_V6_ENG book Page 18 Friday March 6 2015 7 55 AM...

Страница 19: ...19 Patio Heater_15 0285_V6_ENG book Page 19 Friday March 6 2015 7 55 AM...

Страница 20: ...V6 15 0285 Made in China Patio Heater_15 0285_V6_ENG book Page 33 Friday March 6 2015 7 55 AM...

Отзывы: