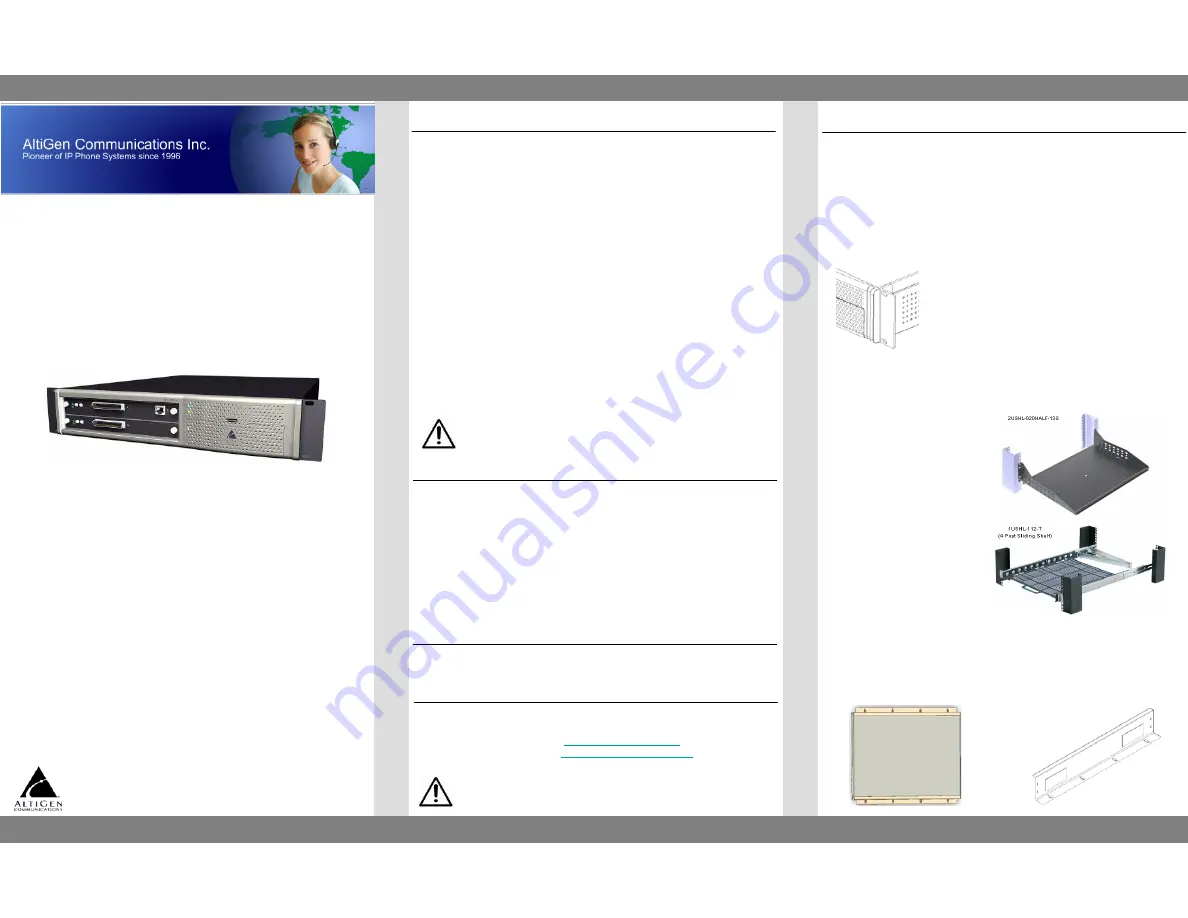
MAX1000 IP PBX
Quick Installation Guide
MAX1000 IP PBX
Quick Installation Guide
The MAX1000 IP PBX is an all-in-one communication system embedded
with the following Digital Signal Processor (DSP) processing power:
•
30 VoIP CODEC channels (G.711/G.723.1/G.729AB) for IP phone,
IP Tie-trunk, and SIP trunk service
•
Dedicated voice processing (VM/AA) and voice recording resource for
every trunk, extension, VoIP channel.
•
2 extension-based conference bridges (6 parties per conference)
•
2 MeetMe conference bridges (total 12 members maximum)
•
2 silent monitor/barge-in/coach channels for workgroup supervisor
•
Music on hold (input source can be either a file or audio-in port)
•
Paging (IP paging, audio-out port, trunk/station port paging)
The MAX1000 has two Access Board slots.
Available Access Board options are:
•
ALTI-M0404-T1E1 (4 analog trunks, 4 analog exts. and 1 T1/E1)**
•
ALTI-M0408 (4 analog trunks and 8 analog extensions)**
•
ALTI-M0804 (8 analog trunks and 4 analog extensions)**
•
ALTI-M0012 (12 analog extensions)
** The first four analog trunk ports will be connected to the first four
analog extension ports when the switching software is shut down for
maintenance or because of power loss.
Notes:
•
MAX1000 only supports one T1/E1 port per system.
Introduction
Preparing for Installation
The following equipment and accessories are required for the system
installation:
1.
AC surge protector
2.
Uninterrupted Power Supply (recommended)
3.
Earth grounding source and #16 AWG grounding wire
4.
Monitor
5.
RJ-45 LAN cable
6.
50-pin Telco cable (Male-to-Male) for terminating analog trunks
and extensions
7.
DSU or DSU/CSU for T1 termination
8.
RJ-45 T1/E1 cable
The MAX1000 is a 19” rack mountable 2U chassis. It also can be placed
on top of a flat surface or be mounted on a wall with a special bracket
unit.
Option A: For placing the MAX1000 on a flat surface, please install the
four rubber pads to the bottom of the chassis to avoid sliding.
Option B: For mounting the MAX1000 on a 19” rack, please first install
the two rack-mount ears to the side of the chassis to secure the system
on the rack.
System Mounting Options
Warning: Do not use only rack-mount ears to support the MAX1000
when mounting on a rack. It may cause damage to the chassis. A rack
mount shelf is required!
The following two types of shelves are recommended:
Note: The shelving and racking examples above are for reference only. For
more detailed information, please visit
http://www.racksolutions.com
4555 Cushing Parkway, Fremont, CA 94538
Phone: 510-252-9712 www.altigen.com
Copyright © AltiGen Communications, Inc. All rights reserved.
1. Rack Mount Shelf
2. Sliding Rack Mount Shelf
Rev. A5
1
2
Option C: For mounting the MAX1000 on a wall, please use wall mount
bracket from AltiGen, part number ALTI-MAXWMB.
Default password for Windows Administrator is “22222”
Default password for AltiWare Admin is “22222”
Default Password
Warning:
Before adding or removing an access board, shut
down system and turn off power. The power switch
is located at the back of the chassis.
Install ONLY AltiGen-certified anti-virus and other software programs.
The following programs are AltiGen-certified:
•
AVG Antivirus by Grisoft –
•
LogMeIn remote access –
AltiGen-Certified Anti-virus and Remote Access
Warning:
DO NOT install Norton Antivirus Personal Version or Corporate
Edition in MAX1000. They are NOT compatible with the XP
Embedded OS.


