31
-EN
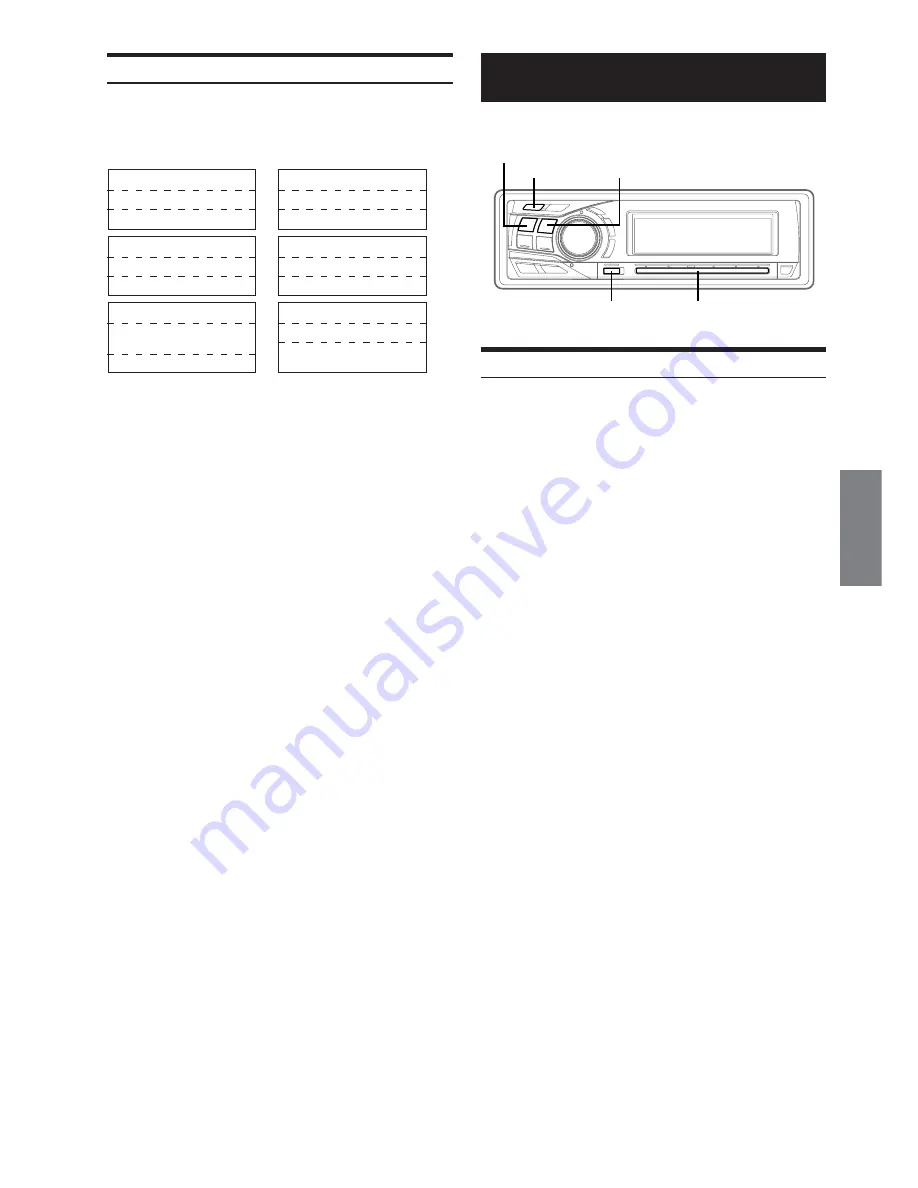
Displaying the Text
You can display the tag information of a song in the iPod.
Press
TITLE
.
Each press changes the display.
*
1
“NO DATA” is displayed if there is no information.
*
2
Only when an external Amplifier Link compatible amplifier is
connected. For details, refer to “Displaying the External Amplifier
Information” (page 24).
• When the Scroll Setting (page 28) is set to “MANUAL,” press and
hold
TITLE
for at least 2 seconds to scroll the tag information
only once.
• Elapsed time is displayed for 5 seconds immediately after changing
sources or songs, etc.
• Only alphanumeric characters can be displayed.
• When the artist name, album name or song name is set on iTunes,
and the amount of characters is increased, songs may not be
played back when connected to the adapter. Therefore, a maximum
of 250 characters is recommended. The maximum number of
characters for the head unit is 64.
• Some characters may not be correctly displayed.
• “NO SUPPORT” is displayed when text information is not
compatible with the CDA-9854L.
ARTIST NAME
*
1
ALBUM NAME
*
1
ELAPSED TIME
ALBUM NAME
*
1
SONG TITLE
*
1
ELAPSED TIME
→
SONG TITLE
*
1
ELAPSED TIME
SONG TITLE
*
1
CLOCK
ELAPSED TIME
→
→
→
ELAPSED TIME
EXTERNAL AMPLIFIER
INFORMATION
*
2
ARTIST NAME
*
1
ALBUM NAME
*
1
ELAPSED TIME
→
Changer (Optional)
Controlling CD Changer (Optional)
An optional 6-disc or 12-disc CD Changer may be connected to this
unit if it is Ai-NET compatible. With a CD Changer connected to the
Ai-NET input of this unit, the CD Changer will be controllable from
this unit.
Using the KCA-400C (Multi-Changer Switching device) or the KCA-
410C (Versatile Link Terminal) multiple changers can be controlled
by this unit.
See “Multi-Changer Selection (Optional)” on page 32 for selecting
the CD Changers.
• The controls on this unit for CD Changer operation are operative
only when a CD Changer is connected.
• The DVD changer (optional) is controllable from this unit as well
as the CD changer.
1
Press
SOURCE/POWER
to activate the CHANGER
mode.
The display shows the disc number and track number.
• The source indicator varies depending on the connected source.
2
Press
FUNC.
to activate the direct disc recall
mode.
Source selection mode
↔
Audio function mode
↔
Direct disc
recall mode
↔
Source selection mode
3
Select a disc (1 to 6) or (1 to 12) by touching the
GlideTouch bar
and sliding your finger to the left
or right. Press the
GlideTouch bar
under the
desired disc.
The selected disc number appears in the display and CD
playback starts.
• After selecting the desired disc, you can operate in the same way as
for the CD player of this unit.
For details, please see the CD/MP3/WMA section.
-
/
J
FUNC.
GlideTouch bar
SOURCE/
POWER
BAND


