background image

*Q513-067*

Q513-067

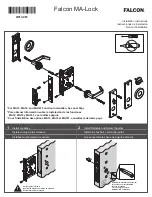
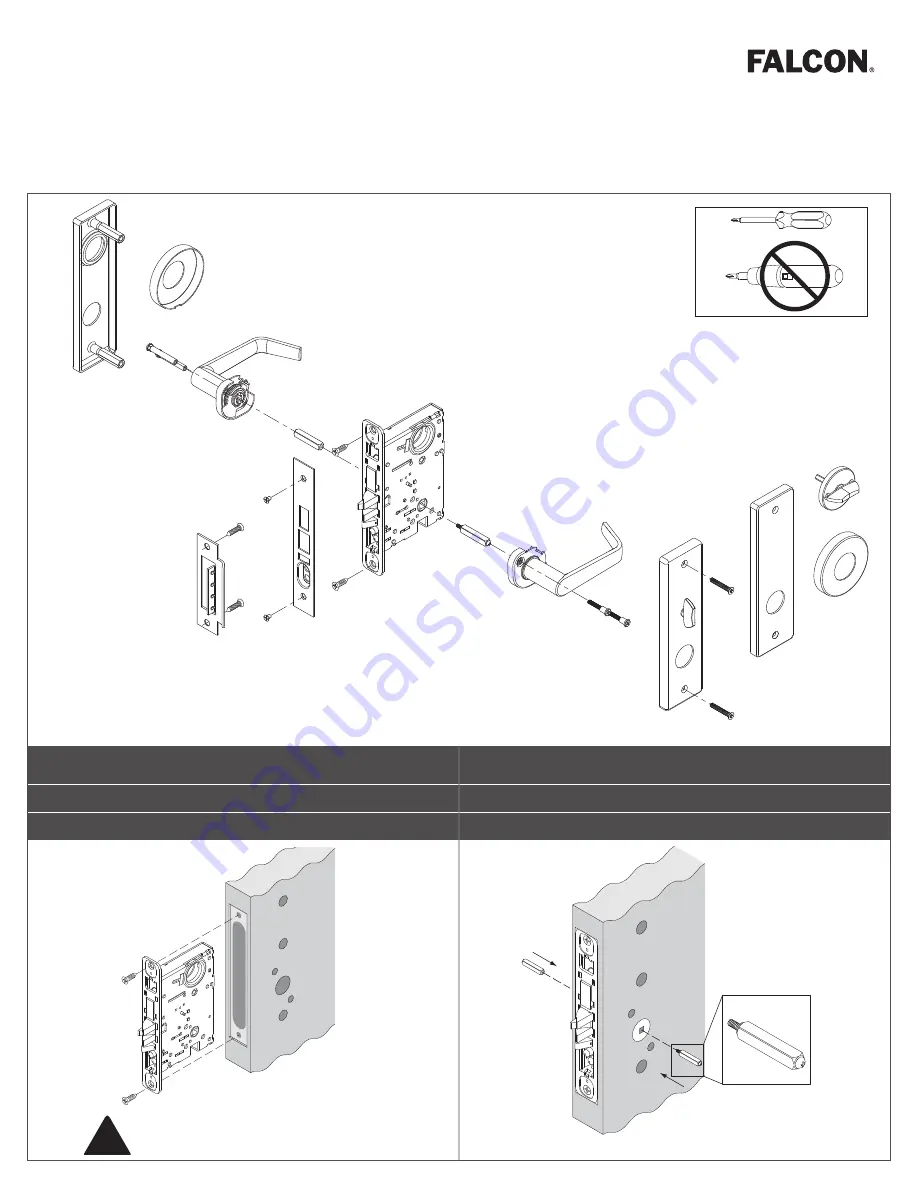
*For MA12, MA18, and MA161 Function Installation, See Last Page

*Para obtener información sobre la instalación de las funciones 
  MA12, MA18 y MA161, vea la última página
*Pour l'installation des options MA12, MA18 et MA161, consultez la dernière page

Spindle with Screw MUST be Inside!
¡El husillo con el tornillo DEBE 
estar en el interior!
L'axe de poignée et la vis 
DOIVENT être à l'intérieur!

Fully Tighten in Step 8
Realice los ajustes completos en el paso 8
Serrez fermement à l'étape 8

INSIDE
Interior
Intérieur

!

Install Lockcase

Instale la caja de la cerradura

Installez le mécanisme de serrure

*For MA12, MA18, and MA161 Function Installation, See Last Page

*Para obtener información sobre la instalación de las funciones 
  MA12, MA18 y MA161, vea la última página
*Pour l'installation des options MA12, MA18 et MA161, consultez la dernière page

Spindle with Screw MUST be Inside!
¡El husillo con el tornillo DEBE 
estar en el interior!
L'axe de poignée et la vis 
DOIVENT être à l'intérieur!

Fully Tighten in Step 8
Realice los ajustes completos en el paso 8
Serrez fermement à l'étape 8

INSIDE
Interior
Intérieur

!

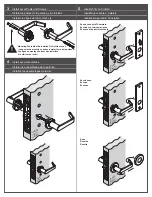
Install Spindles and Screw Together

Instale los husillos y el tornillo juntos

Fixez ensemble les axes de poignée et la vis

*For MA12, MA18, and MA161 Function Installation, See Last Page

*Para obtener información sobre la instalación de las funciones 
  MA12, MA18 y MA161, vea la última página
*Pour l'installation des options MA12, MA18 et MA161, consultez la dernière page

Spindle with Screw MUST be Inside!
¡El husillo con el tornillo DEBE 
estar en el interior!
L'axe de poignée et la vis 
DOIVENT être à l'intérieur!

Fully Tighten in Step 8
Realice los ajustes completos en el paso 8
Serrez fermement à l'étape 8

INSIDE
Interior
Intérieur

!

Falcon MA-Lock

Installation Instructions 

Instrucciones de instalación 

Notice d’installation

Содержание Falcon MA Series

Страница 1: ... en el interior L axe de poignée et la vis DOIVENT être à l intérieur Fully Tighten in Step 8 Realice los ajustes completos en el paso 8 Serrez fermement à l étape 8 INSIDE Interior Intérieur 2 Install Spindles and Screw Together Instale los husillos y el tornillo juntos Fixez ensemble les axes de poignée et la vis For MA12 MA18 and MA161 Function Installation See Last Page Para obtener informació...

Страница 2: ... Écusson Rose Rosetón Rosette a b c a b c a b c Intérieur Intérieur Interior INSIDE Intérieur Interior Interior INSIDE Intérieur Interior INSIDE Intérieur Interior Mounting Posts Must Be Installed On Outside Lever Los postes de montaje se deben instalar fuera de la palanca Les tiges de montage doivent être installées à l extérieur du levier Escutcheon with Thumbturn Escudo con tuerca mariposa Écus...

Страница 3: ...radura de muescas DEBEN estar bien ajustados Les vis de fixation du cylindre et de la mortaise DOIVENT être serrées fermement Écusson Escutcheon with Thumbturn Escudo con tuerca mariposa Écusson et barrette tournante Escutcheon Escudo INSIDE Rose with Thumbturn Coloque el rosetón con la tuerca mariposa Rosette et barrette tournante Intérieur INSIDE Intérieur Interior Interior INSIDE Intérieur Inte...

Страница 4: ... perno del pestillo y gírelo 180 b Retirez le pêne demi tour et tourner à 180 c Reinstall Latch Bolt and Screw c Vuelva a instalar el perno y el tornillo del pestillo c Installez le pêne demi tour et la vis 180 Retractor Spring TS 5754 1 Remove Cover Not Shown 2 Remove Retractor Spring 3 Reverse the Order of Hub and Locking Hub 4 Replace the Retractor Spring and Cover 5 Change Direction of Latchbo...

Страница 5: ...nt Install on the Mechanism Case Instalar en el mecanismo de caja 1 From the Unlocked Position Rotate Outside Knob Lever to Retract Latchbolt 2 Rotate Key 360 Counterclockwise 3 Release Lever Knob To Deactivate Holdback Function Para desactivar la función de retención Pour désactiver la fonction de retenue 1 Insert Key and Rotate 360 Clockwise 1 Inserte la llave y gírela 360 en sentido horario 1 I...

Страница 6: ...o transformador de 24 voltios Asegúrese de elegir el transformador adecuado para la cerradura Se pueden operar dos o más cerraduras en paralelo con un solo transformador siempre que tenga la capacidad de corriente necesaria NO conecte las cerraduras en serie a un transformador de corriente de alto voltaje Si se conecta un dispositivo electromagnético al circuito de suministro los voltajes transito...

Страница 7: ...e installer tout le câblage par un électricien qualifié et familier avec cet équipement 3 Always ensure door operates properly before locking Siempre compruebe que la puerta funcione correctamente antes de trabarla Assurez vous toujours que la porte fonctionne correctement avant son verrouillage Solenoid specified by model number 12VDC 28 8 10 0 Ω Wire Size 24AWG Operates at 12VDC 10 30VDC 2A Wire...

Страница 8: ......

Страница 9: ... M Sasso 042447 01 01 14 Notes 1 printed two sides 2 printed black 3 tolerance 13 4 printed in country may vary 5 drawings not to scale 6 barcode must be visible after folding 7 z fold before final fold Title Installation Instructions Falcon MA Lock Creation Date 11 04 13 Number Q513 067 Revision d Created By D Spence Activity 3899 Hancock Expwy Security CO 80911 Allegion 2014 Software InDesign CS...

Отзывы: