72
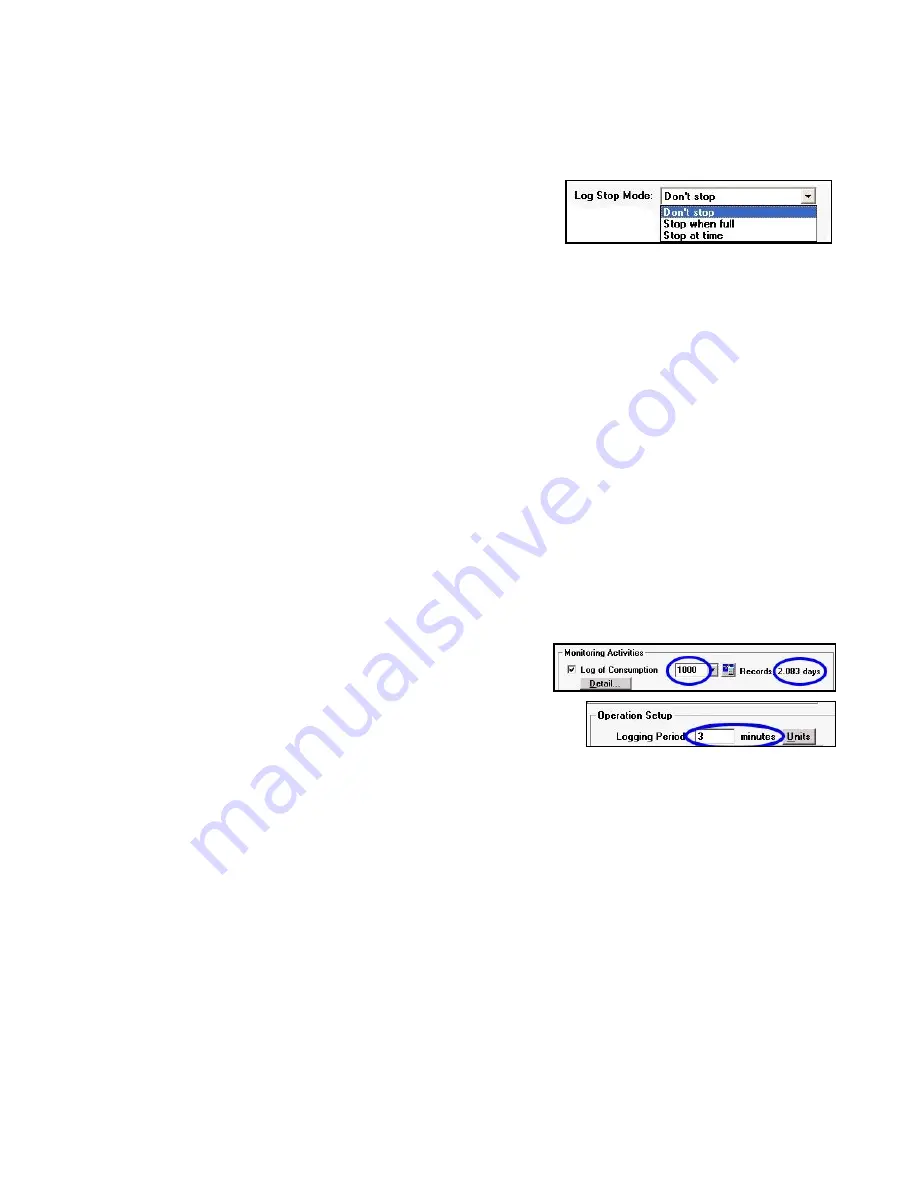
“Stop when full” instructs ATPOL II to stop logging when the log fills up. This is helpful if you don’t want
to lose the data from the beginning of the data logging session and may not be back to get the data
before the log fills up.
Another mode is to
select “Stop at time”. If this is selected, then
a box opens that you can enter a date and time for the logging
to end. This is helpful if you want logging to end at a specific
time or if you want it to end after a specific number of minutes,
hours, days, or whatever.
The option of “Don’t Stop” allows logging to continue even after the log is completely full. New data will
be written over the oldest data. This allows you to leave a unit logging continually and always have the
most recent data available for analysis.
Setting the Consumption Logging Period
One of the most important settings is the choice of logging period. This is the length of time between
the creation of data records. This has no effect on the measurement rate or the sampling rate. Unlike
inexpensive data loggers that only take measurements when a record is created, ATPOL II measures
all its variables every second, regardless of the recording rate. This is very important when logging
power, since loads typically vary greatly and quickly. The default setting for logging period is 3 minutes.
This means that after 180 measurements (180 seconds are in 3 minutes) a record is made containing
all the measurement types specified by the setup. If maximum power is one of the measurement types,
then the maximum power of all of the cycles during the preceding 180 seconds will be recorded into the
log.
Since the data log fills up one record at a time, if the logging
period is set for a large number, it will take quite a long time to
fill the log, whereas if it is set for a small number, it can be
filled much faster. The log capacity is displayed in the upper
left of the “Data Setup” menu, just above the selection area for
logging period. In the example shown, the logging period is set for
3 minutes and the time to completely fill the log is 2.083 days.
To change the logging period from minutes to seconds or from seconds to minutes, click on the drop-
down box at the right end of the “Logging Period” line in the data setup. To change the number of
minutes or seconds, simply change the number to what you want. When you are satisfied, you can
save the custom setup to a file or send it to the attached ATPOL II.
You can also change the logging period from the keyboard of your meter. Click on [Setup] one or more
times until “Log Interval” is displayed on the meter. If you wish to change the displayed interval of time,
press [No]. Then use the [Yes] and [No] keys to select whether to use seconds or minutes and to
accept the final entry. To change the logging interval number, use the numeric keypad of the meter,
using [Yes] when done.
Setting Measurement Types
In addition to the measurement types listed in the default data log, the following measurement types
can be included in each record of a custom data log:
Содержание ATPOL II
Страница 109: ...109...


