Steps
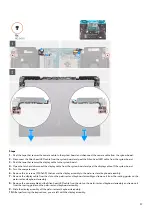
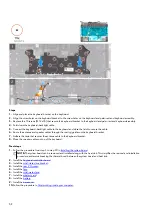
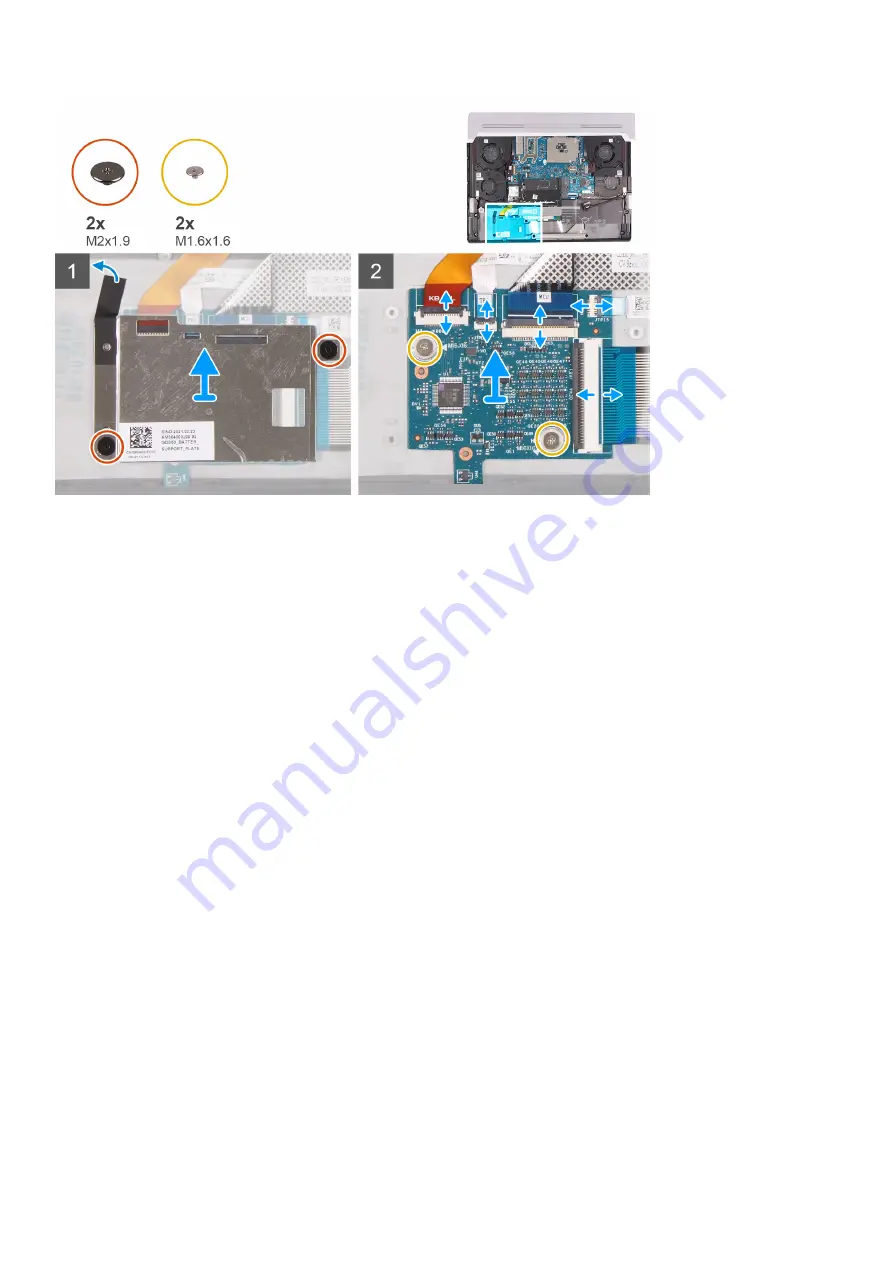
1. Remove the two screws (M2x1.9) that secure the keyboard-controller board bracket to the palm-rest and keyboard assembly.
2. Peel the tape that secures the keyboard-controller board bracket to the palm-rest and keyboard assembly.
3. Lift the keyboard-controller board bracket off the keyboard-controller board.
4. Open the latch and disconnect the keyboard-backlight cable from the keyboard-controller board.
5. Open the latch and disconnect the touchpad light cable from the keyboard-controller board.
6. Open the latch and disconnect the keyboard-controller board cable from the keyboard-controller board.
7. Open the latch and disconnect the touchpad cable from the keyboard-controller board.
8. Open the latch and disconnect the keyboard cable from the keyboard-controller board.
9. Remove the two screws (M1.6x1.6) that secure the keyboard-controller board to the palm-rest and keyboard assembly.
10. Lift the keyboard-controller board off the palm-rest and keyboard assembly.
Installing the keyboard-controller board
Prerequisites
If you are replacing a component, remove the existing component before performing the installation process.
About this task
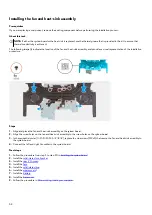
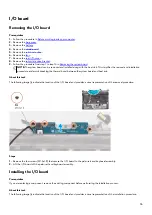
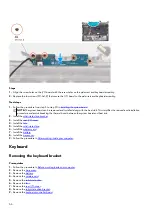
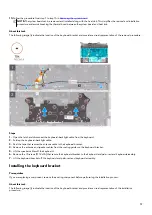
The following image(s) indicate the location of the keyboard-controller board and provides a visual representation of the installation
procedure.
45
Содержание P111F
Страница 1: ...Alienware x15 R1 Service Manual Regulatory Model P111F Regulatory Type P111F001 May 2021 Rev A00...
Страница 8: ...4 Connect your computer and all attached devices to their electrical outlets 5 Turn on your computer 8...
Страница 13: ...13...
Страница 15: ...15...
Страница 28: ...28...

