PROTECT YOUR WARRANTY
This unit must be installed by a registered,
licensed installer as required by
Government regulations.
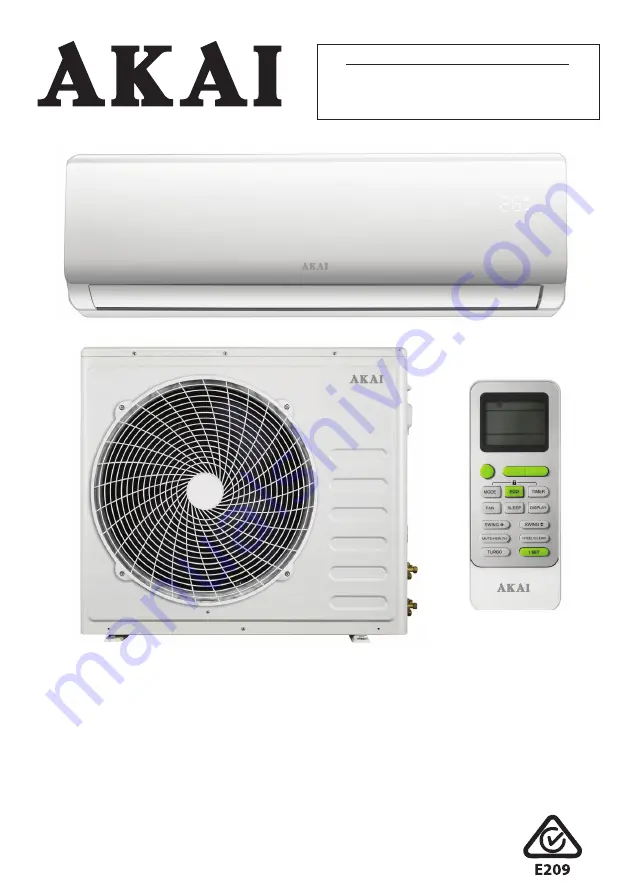
USER MANUAL
Model Number AK-T70R32
7.3kW Reverse Cycle Inverter
Split System Air Conditioner
Страница 1: ...YOUR WARRANTY This unit must be installed by a registered licensed installer as required by Government regulations USER MANUAL Model Number AK T70R32 7 3kW Reverse Cycle Inverter Split System Air Cond...
Страница 2: ...Support 1300 886 649 AUS 0800 836 761 NZ info tempo org Contents 03 General Safety Instructions 08 Product Overview 11 Getting Started 14 Instructions 27 FAQs and Troubleshooting Guide 29 Other Usefu...
Страница 3: ...oid the warranty It is your responsibility to ensure the unit is installed by a qualified technician who should check that it is earthed in accordance with national wiring regulations and install a th...
Страница 4: ...r as instructed in this manual Alterations Do not alter the characteristics of the appliance in any way Common sense These instructions are not intended to cover every possible condition and situation...
Страница 5: ...y and contact our after sales support centre Prolonged use of the appliance in such conditions could cause fire or electrocution Cleaning servicing and repair Disconnect before cleaning Before carryin...
Страница 6: ...carrying out maintenance Do not expose the appliance to high heat sparks and open flames The appliance shall be stored in a room without continuously operating sources such as open flames an operating...
Страница 7: ...tioner contains a flammable refrigerant which must be removed before disposal Contact your municipal authorities for any codes or regulations concerning the disposal of such materials At the end of it...
Страница 8: ...and an electrical connecting cable The indoor unit is installed on a wall of the room to be air conditioned it must not be installed in a laundry or similar room with high humidity levels The outdoor...
Страница 9: ...tions in this manual may vary slightly from the product purchased All images in this manual are for reference purposes only Parts are not necessarily pictured to scale Product Overview Cont Fig 2 Outd...
Страница 10: ...ont Other inclusions not pictured Remote control holder for wall mounting AAA Batteries x2 Instruction manual Installation manual Warranty certificate Installation hardware 11 Power cable 12 Copper nu...
Страница 11: ...and all instructions in the separate INSTALLATION MANUAL It is in your interest and that of your safety to ensure compliance Do not try to install the air conditioner yourself Doing so will expose you...
Страница 12: ...insulated home will require less power usage from the air conditioner to reach a comfortable room temperature However ceiling sweep fans will help move warm cool air back down to floor level in rooms...
Страница 13: ...battery compartment at the back of the remote control a switch will be visible above the space for the batteries as illustrated Fig 6 This switch can be set to HEAT or COOL and to C or F For this typ...
Страница 14: ...he shape and position of switches and indicators may vary slightly according to the model but their function is the same No LED Function 1 Temperature display Indicates the set temperature in C 2 Time...
Страница 15: ...d to fall 2 C below the set tem perature before heating restarts 9 TIMER Set to switch on and off automatically 10 DISPLAY Switch on off the LED display 11 SLEEP Activate the sleep function 12 SWING U...
Страница 16: ...Y mode indicator HEATING mode indicator TIMER ON indicator TIMER OFF indicator I FEEL indicator DEFLECTOR or FLAP SWING indicator AUTO FAN indicator LOW FAN SPEED indicator MEDIUM FAN SPEED indicator...
Страница 17: ...least 1m from any television or other electrical appliances The remote control may be kept in a wall mounted holder supplied Just attach it to a suitable wall as illustrated Fig 11 and store the remot...
Страница 18: ...ing control Instructions Instructions Cont CAUTION Always adjust the airflow while the unit is switched off Never attempt to change the flap position manually as this could seriously damage the delica...
Страница 19: ...air conditioner s cooling function set the temperature as described above then also adjust the speed by pressing the FAN button and the airflow direction see page 18 HEATING mode In HEATING mode Fig...
Страница 20: ...e If the remote control is programmed for COOLING mode you will not be able to activate the heating function To do this you need to take out the batteries and repeat the programming procedure for HEAT...
Страница 21: ...h to quiet operation and maintain the temperature at a comfortable level during the night To activate the SLEEP function press the SLEEP button on the remote control until the sleep symbol appears in...
Страница 22: ...y half an hour Keep pressing until the display shows the time that passes between programming and the start time Press the TIMER button a third time to confirm the setting The TIMER icon will be illum...
Страница 23: ...ime to activate the timer then use the or button to set the time period after which the unit will switch off With every press of the or button the time will adjust by half an hour Press the TIMER butt...
Страница 24: ...nt room temperature as listed in the table below Ambient temp Operation mode Auto temp 20 C Heating 23 C 20 C 26 C Drying 18 C 26 C Cooling 23 C To optimise the efficient working of the air conditione...
Страница 25: ...ntil AU appears on the display and the background of the display lights up The remote controller will now run and remember these settings Fig 26 Eco function Press the ECO button to achieve energy sav...
Страница 26: ...oes not exceed 30 C around the indoor unit and 5 30 C around the outdoor unit Emergency Button Front Panel Fig 28 The emergency button is located on the right part of the unit under the front panel Au...
Страница 27: ...ise like running water This is the backflow of liquid in the refrigerant circulation call for service Strange crackling noise With varying temperatures the front panel expands and contracts which can...
Страница 28: ...efrigerant call for service The display is off There has been a power failure check if other appliances are working FAQs and Troubleshooting Guide Cont Error and other signals on the display In case o...
Страница 29: ...or three minutes for the system to restart End of season maintenance Disconnect the automatic switch or the plug Clean and replace the filters On a sunny day let the appliance work in ventilation for...
Страница 30: ...e Once the filter is completely dry insert it back into the unit with one hand while keeping the front panel raised with the one hand Close the front panel NOTE Any electrostatic and deodorant filters...
Страница 31: ...nd of its working life do not throw this appliance out with your household rubbish Electrical and electronic products contain substances that can have a detrimental effect on the environment and human...
Страница 32: ...A Heating 14 5A Power Input Cooling 1800W Heating 2100W Rated Power Input AS NZS 60335 Cooling 2800W Heating 2900W Room size suitability 35 50m2 Rated Voltage and Frequency 220 240V 50Hz Ingress Prote...
Страница 33: ...sed installer electrician to fill in the details below or in the INSTALLATION manual so you have them on record should you need to contact the installer in the future Proof of professional installatio...
Страница 34: ...34 After Sales Support 1300 886 649 AUS 0800 836 761 NZ info tempo org This page has been left blank intentionally...
Страница 35: ...35 After Sales Support 1300 886 649 AUS 0800 836 761 NZ info tempo org This page has been left blank intentionally...
Страница 36: ...ies with the product Product does not work If you encounter problems with this product or if it fails to perform to your expectations make sure to contact our After Sales Support Centre on 1300 886 64...