


Hi5-4K-Plus Mini-Converter v1.12 7
www.aja.com
Installation
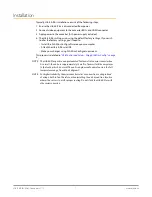
Typically, Hi5-4K-Plus installation consists of the following steps:
1. Ensure the Hi5-4K-Plus is disconnected from power.
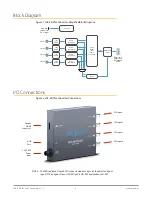
2. Connect video equipment to the converter BNCs and HDMI connector.
3. Apply power to the converter (AJA power supply included).
4. The Hi5-4K-Plus will now run using the default factory settings. If you wish
to alter the factory settings, you’ll need to:
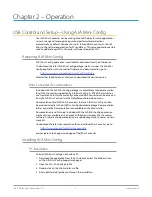
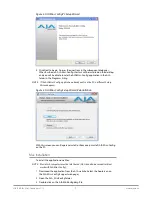
• Install the AJA Mini-Config software on your computer
• Attach the Hi5-4K-Plus via USB
• Make your changes using AJA Mini-Config setup screens.
This process is detailed in
"USB Control and Setup—Using AJA Mini-Config" on page
.
NOTE: The Hi5-4K-Plus packs an unprecedented feature set into a mini converter box.
As a result, the unit uses approximately 12 watts of power. It will be very warm
to the touch, which is normal. The unit is engineered to operate across the full
temperature range, from 0 to 40 degrees C.
NOTE: For highest reliability, the mini converter relies on convection cooling instead
of using a built-in fan. Therefore, when installing the unit, mount in a location
where it has access to air for proper cooling. Do not stack the Hi5-4K-Plus with
other mini converters.


