-39-
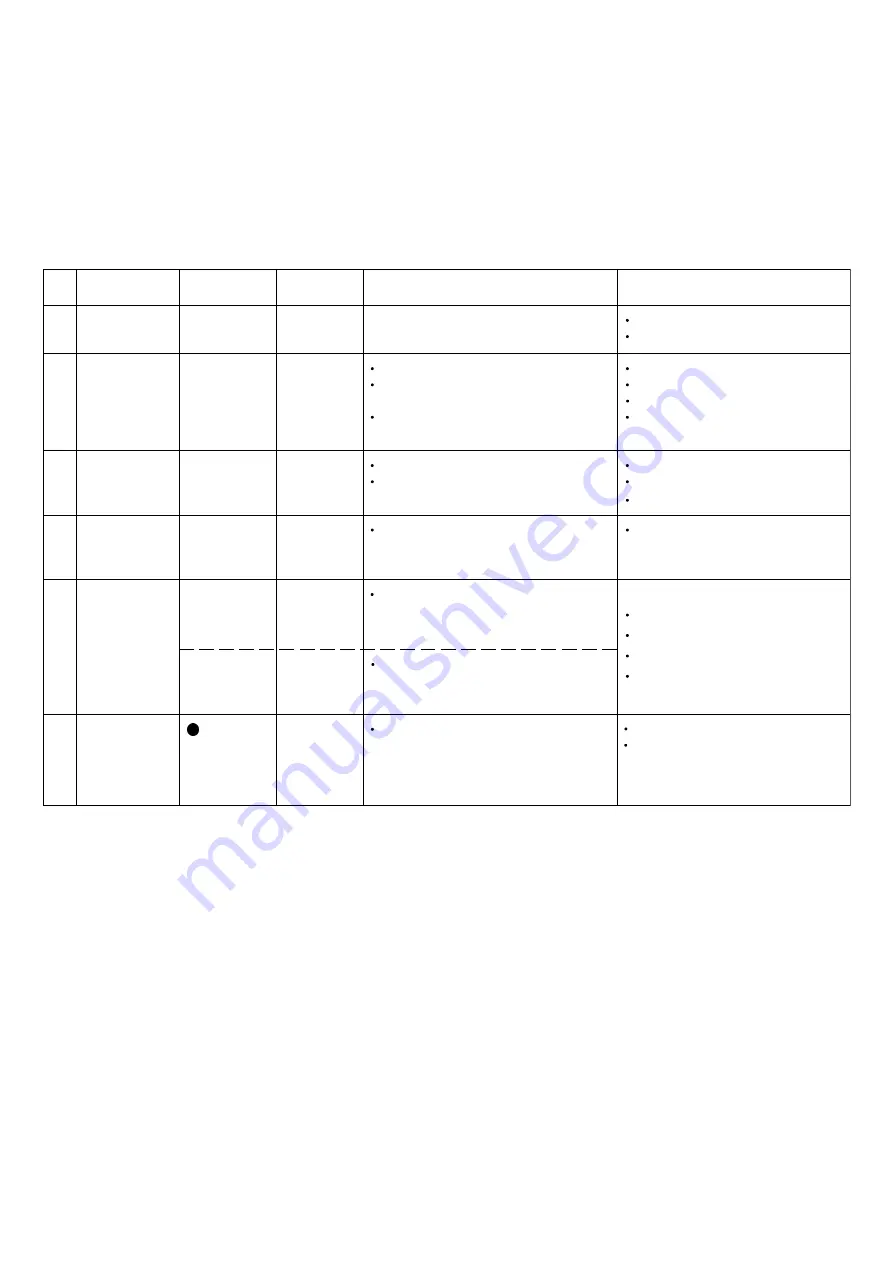
CD TEST MODE -1/1
CD TEST MODE Ver. 3.0
1. Starting CD Test Mode
While pressing and holding down the CD OPEN/CLOSE button, insert the AC plug to outlet.
When test mode starts, the message, TEST appears on the display.
2. Exiting CD Test Mode
Press the other function button, POWER button or remove the AC plug from outlet.
3. Function of CD Test Mode
No Mode Function
Key Display
Movement
Check
1
Start Mode
All lit.
FL all lit.
FL check
Microcomputer check
2
Search Mode
STOP button
READING
LD constantly lit.
APC circuit check
Focus search continuous
Laser current electricity measurement
movement *1, 2
Focus search waveform check
Spindle motor continuous kick
Focus error waveform check
(DRF is ignored during search mode.)
3
Play Mode
PLAY button
Normal
Normal playback
Each servo circuit check
If TOC READ is unavailable,
DRF check
RF frequency check (approx. 1.7Vp-p)
focus search is continued.
4
Traverse
PAUSE
Normal
Tracking servo OFF/ON
Tracking balance check
Mode
button
OFF and ON is repeated by every
press of the PAUSE button.
5 Sled
mode
FF
button
TEST
PU moves to the innermost position. *3
At the same time, lens is kicked
Sled circuit check
toward inner position.
Tracking circuit check
RWD button
TEST
PU moves to the outermost position. *3
Mechanism movement check
At the same time, lens is kicked toward
PU check
outer position.
6
Spindle mode
All lit.
When the button is pressed at the first
Spindle circuit check
time, spindle motor rotates forward
(at rough speed).
At the second press, rotation is reversed.
At the third press, rotation stops.
* 1
When Focus Search operates continuously more than 10 minutes, the protection circuit is activated due to heat generation of the driver IC.
In this case, turn off the power, wait for approximately 10 minutes so that heat is released, and then restart.
Spindle motor check
REC MUTE
* 2
When Focus Search fails three times, the gain is switched for CD-RW at the fourth time.
* 3
Be careful not to damage the gear because the sled motor rotates while the FF or RWD button is being pressed even if the pickup is located in
the innermost track or the outermost track.
button
REC/
Содержание NSX-R10
Страница 23: ... 23 SCHEMATIC DIAGRAM 1 5 MAIN 1 2 AMP SECTION NC NC NC ...
Страница 24: ... 24 SCHEMATIC DIAGRAM 2 5 MAIN 2 2 TUNER SECTION ...
Страница 25: ... 25 SCHEMATIC DIAGRAM 3 5 HP SECTION ...
Страница 27: ... 27 SCHEMATIC DIAGRAM 4 5 FRONT DECK SECTION NC NC NC ...
Страница 30: ... 30 SCHEMATIC DIAGRAM 5 5 POWER SECTION ...
Страница 31: ...WIRING 4 4 PT C B 31 1 2 3 4 5 6 7 8 9 10 11 12 13 14 15 A B C D E F G H I J K L M N O P Q R S T U ...
Страница 40: ... 40 FL DISPLAY 1 1 HUA 13SS09T GRID ASSIGNMENT ANODE CONNECTION PINCONNECTION ...
Страница 41: ... 41 IC BLOCK DIAGRAM 1 2 IC LC72131D N C BD3881FV ...
Страница 42: ... 42 IC BLOCK DIAGRAM 2 2 IC LA1845N A ...
Страница 53: ...2 11 IKENOHATA 1 CHOME TAITO KU TOKYO 110 8710 JAPAN TEL 03 3827 3111 0251431 ...


