Once the capture is completed, the data will automatically start copying to the USB thumb
drive. On the completion of a capture the Lidar sensor will also be spun down. Once the RN50
has copied all of the data to the USB storage device it will remain in a steady state either ready
for another capture or to be shutdown. Note that if another capture is required the lidar will
have to be powered on again. This is done through simply pressing the push button. The lidar
will then power on, the user will have to wait until the lidar has established a connection before
they can reinitiate a data capture (~30 seconds - lights will go green again).
8.2.2 Auto Capture
When using the auto capture feature of the RN50 the user does not have to interact with the
payload in any way while UAV is powered on. To achieve this the API cable must be connected
and the A3 must be set to the correct output (refer to the API Configuration section). This
feature will start a capture upon arming of the A3. As such it is important to wait until the
RN50 is presenting green lights before arming the A3. When the system is armed the data
capture will automatically occur. This will show a flashing green light as well as green side leds.
After the mission is flown and the system is disarmed the capture will automatically be turned
off and the system will copy the data of that capture to the USB storage device. The lidar will
also be powered down during the copy process. It will need to manually be powered on with a
push of the button before reflying the RN50. Arming the A3 when the system is not ready can
cause faulty data.
8.3 Status Description
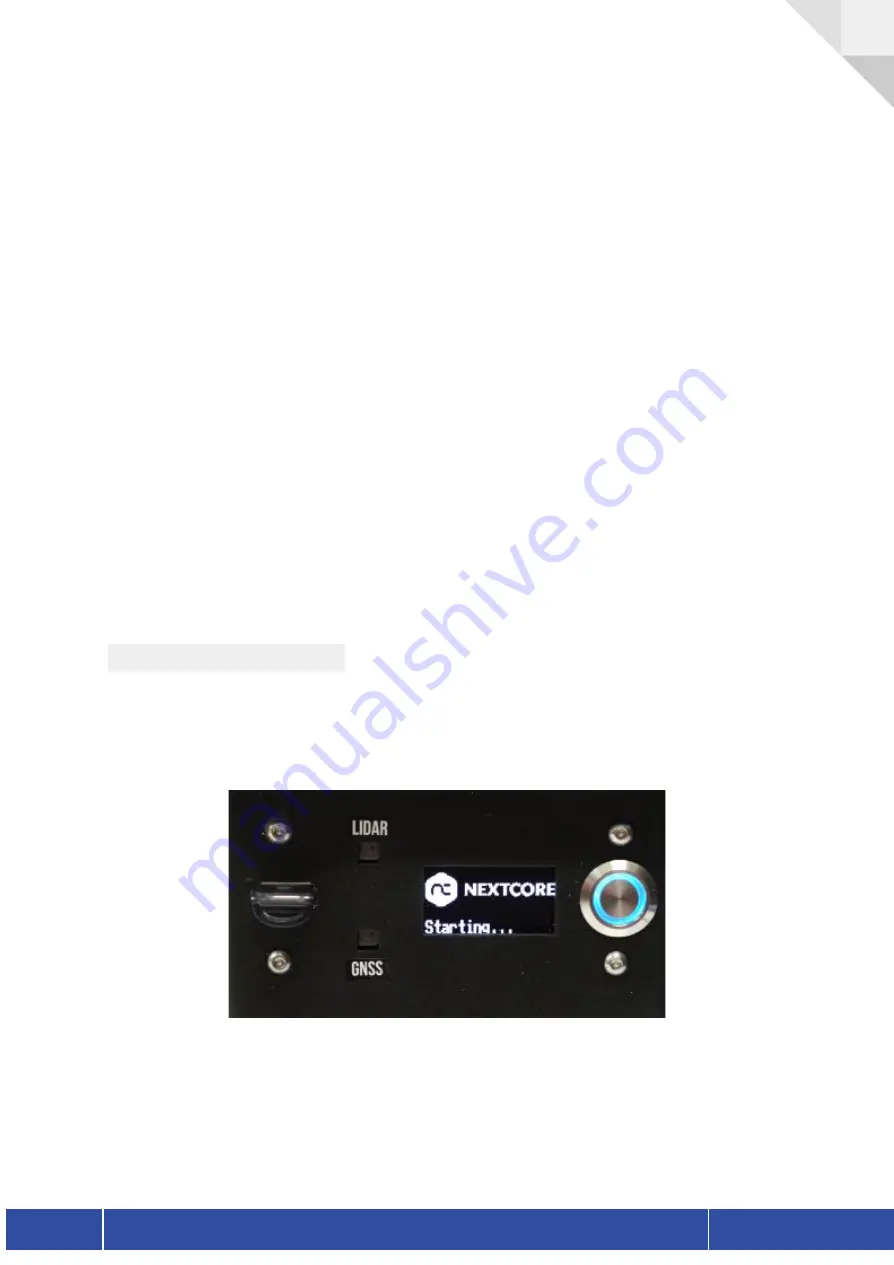
The RN50 is equipped with 3 status leds and an OLED display. These three Leds provide basic
system status in order to be seen from a distance. The OLED gives more complete data and
system information.
Version 1.1
NextCore RN50 User Guide
21
Содержание NextCore RN50
Страница 1: ......


