


4.
(Optional) Verify camera settings are correct -
This is optional because the camera settings
should not change between flights. You should observer this item if the camera settings were
previously changed. Incorrect picture settings can make DROTAG under-perform severely because
some settings can cause the camera to have big delays between trigger and picture shooting,
blocking DROTAG while flight is carried on normally. Incorrect picture settings can also lead to
blurry, dark or white pictures. Standard guidelines to camera settings are given in the appendix.
5.
Power On the UAV general power -
This will power all the system as well as the DROTAG board
allowing it to take control of the camera.
6.
Wait for GPS Lock -
The APM needs to acquire a 3D Fix to have a position estimate. The position
estimate of APM is what enables coordinates tagging into the picture. The way you check for this
event is not the same in all the APM/GPS receivers. On the Pixhawk when the
LED is green
the
GPS is locked and this item is passed.
7.
Listen for 2 consecutive camera triggers -
The 2 camera triggers are a way for you to know that
DROTAG was able to take control of the camera, trigger it, download the image and write it in the
memory card. You can also manually trigger the camera if you have any channel in your Radio
bound to the camera action. This manual trigger will also record pictures.
8.
DROTAG System is Ready-to-Go! -
The operator can take-off and start the mission knowing the
camera system is working.
7
In Flight Capabilities
You can only interact with DROTAG in flight by associating an RC channel to Camera trigger. All other
interactions are automatically triggered by APM.
7.1
Manual triggering from RC
If you want to manually trigger DROTAG you can configure an RC channel to do it. For this follow the
instruction taken from Ardupilot documentation page for example for channel 7:
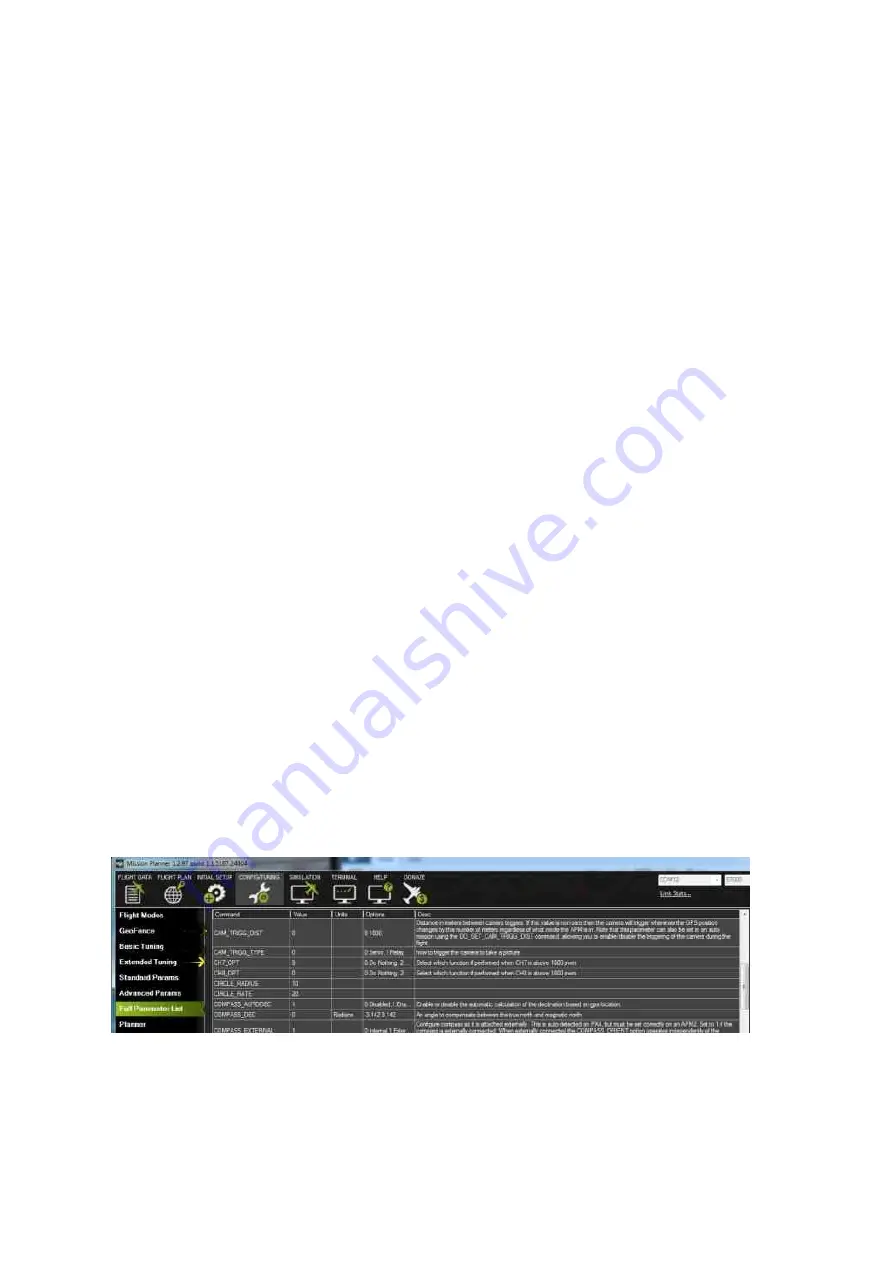
•
Open Mission Planner and then click on CONFIG/TUNING | Full Parameters List;
•
Set the value of
CH_OPT
to 9
•
Write Parameters and reboot.
The camera should now trigger on channel 7 toggle.
5