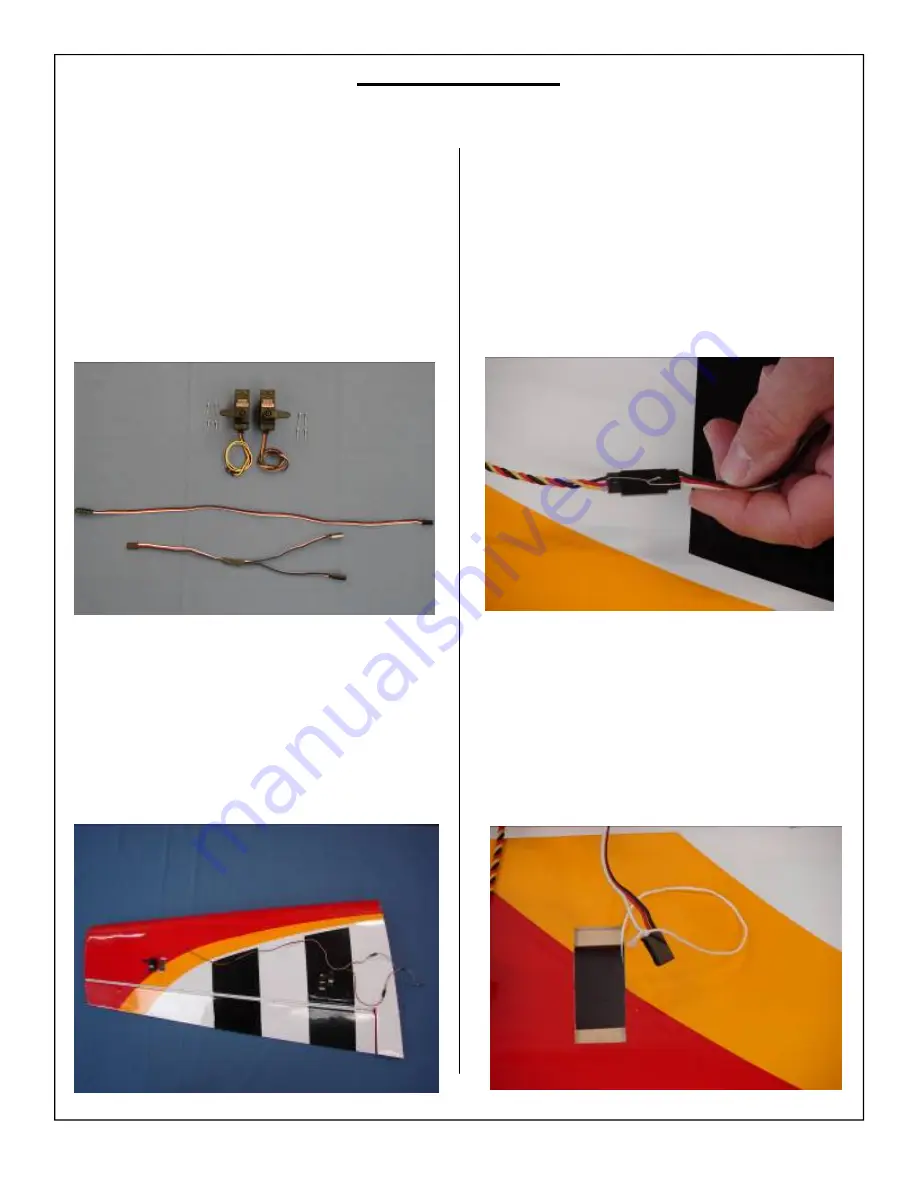
13
Aileron Servo Installation
1. The ailerons have been pre-hinged and
glued
to
the wing panels and are ready for flight. No
other steps are necessary for hinging. Clear
Covering is supplied for sealing the hinge gaps if
desired. However, due to the precisely aligned
and minimal hinge gap this step is optional.
Gather one wing panel, two aileron servos, one
Y harness, and one 18” servo extension as
shown below for servo installation.
WING ASSEMBLY
2. Layout the servos, extensions and Y harness on
the wing to test fit the installation and ensure
servo leads are the correct length.
Minimum recommended servo:
180 in. oz. / Metal geared / Digital
3.
Attach the 18” extension to the outboard servo
lead and secure with safety wire, string, tape,
or other method. Ensure the connectors will
not come apart from vibration or light tension.
4.
Fasten the pull string from the outboard servo
hole to the male connector of the servo exten-
sion. Secure with tape so that the string pulls
from the front end of the connector
to assist
in drawing the servo wire through the
wing without hanging up inside the wing.
Содержание 100cc YAK-54 ARF-QB
Страница 20: ...20 7 Final pushrod assembly shown below 8 Repeat installation steps for all aileron pushrods...
Страница 42: ...42 11 Install wheel pants with two mounting bolts 12 Repeat above steps for other wheel and wheel pant...
Страница 63: ...63 18 Fuel vent line installed on bottom of fuse...


