advidia B-38-V Скачать руководство пользователя страница 16


B-38-V Bullet Camera


Hardware Manual 


 15 


Accessing the Camera 

Configure the IP Addresses 

In order to be able to communicate with the camera from your PC, both the camera and the PC have to 

be within the same network segment. In most cases, it means that they both should have very similar IP 

addresses, where only the last number of the IP address is different from each other. There are 2 

different approaches to IP Address management in Local Area Networks – by DHCP Server or Manually. 

Using DHCP server to assign IP addresses: 

If you have connected the computer and the camera into the network that has a DHCP server running, 

then you do not need to configure the IP addresses at all – both the camera and the PC would request a 

unique IP address from DHCP server automatically. In such case, the camera will immediately be ready 

for the access from the PC. The user, however, might not know the IP address of the camera yet. It is 

necessary to know the IP address of the camera in other to be able to access it by using a Web browser. 

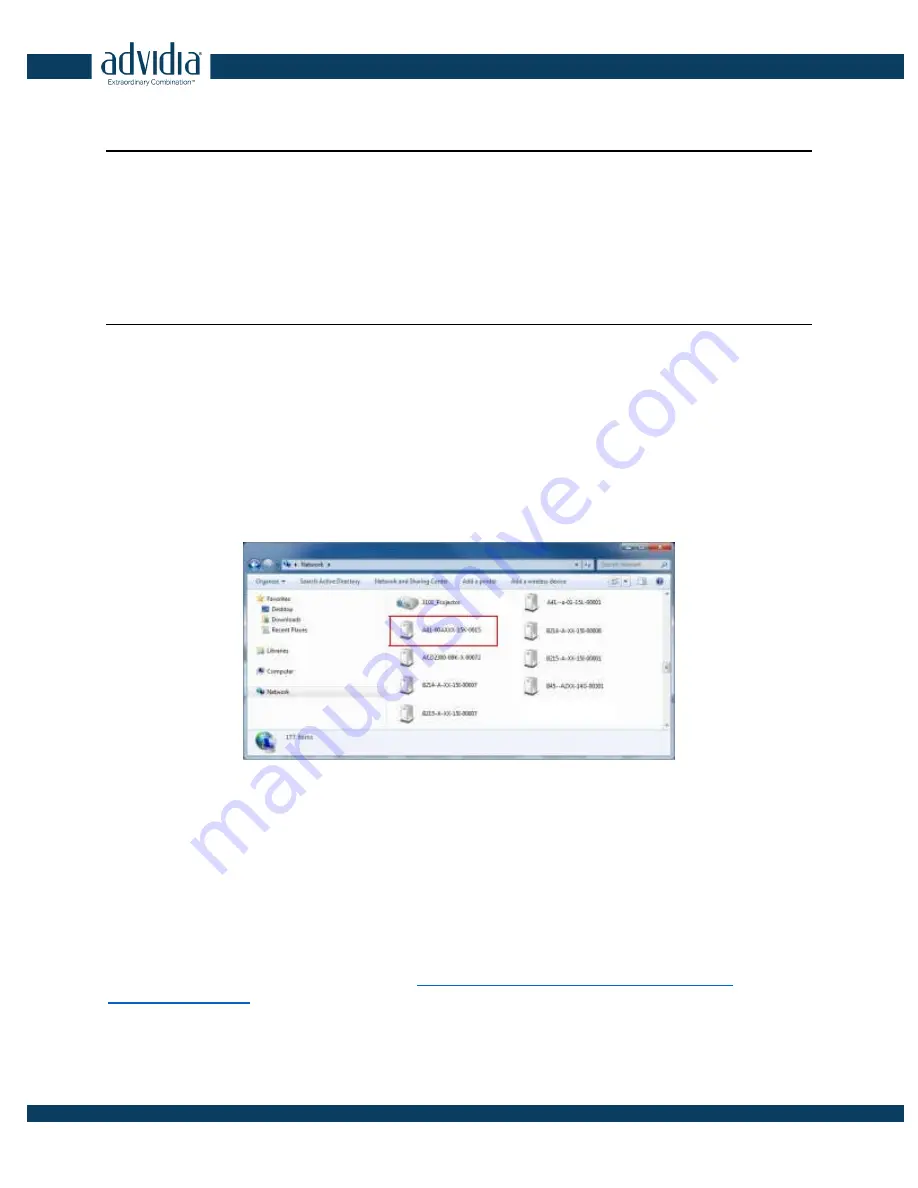
The quickest way to discover the cameras in the network

 is to use the simplest network search, built 

in the Windows system – just by pressing the “Network” icon, all the cameras of the local area network 

will be discovered by Windows thanks to the UPnP function support of our cameras. 
 
In the example below, we successfully found the camera model that had just connected to the network. 


Double-click the mouse button on the camera model name, the default browser of the PC is automatically 

launched, and the IP address of the target camera is already filled in the address bar of the browser. 
 
If you work with our cameras regularly, then there is even a better way to discover the cameras in the 

network – by using IP Utility. The IP Utility is a light software tool that can not only discover the cameras, 

but also list lots of valuable information, such as IP and MAC addresses, serial numbers, firmware 

versions, etc, and allows quick configuration of multiple devices at the same time. 
 
The latest Firmware can be downloaded here: 

https://www.security.us.panasonic.com/advidia-

support#camera_firm


Содержание B-38-V

Страница 1: ...B 38 V Bullet Camera B 38 V Hardware Manual Ver 2018 08 09...

Страница 2: ...Waterproof Tape 11 Step 4 Connect to Network 12 Step 5 Access the Camera Live View 12 Other Connections 13 Connecting a Power Adapter Optional 13 How to Connect Audio Input Output Devices Optional fo...

Страница 3: ...lies with Part 15 of the FCC Rules Operation is subject to the following two conditions 1 This device may not cause harmful interference 2 This device must accept any interference received including i...

Страница 4: ...ervice personnel Damage Requiring service Disconnect this video product from the power supply immediately and refer servicing to qualified service personnel under the following conditions 1 When the p...

Страница 5: ...B 38 V Bullet Camera Hardware Manual 4 Introduction List of Models This hardware manual contains the following models B 38 V 3MP Zoom Bullet with D N Adaptive IR Extreme WDR SLLS 4 3x Zoom lens...

Страница 6: ...B 38 V Bullet Camera Hardware Manual 5 Package Contents Camera Mounting Screw Kit Camera Base Wrench Drill Template DI DO Terminal block Warranty Card Quick Installation Guide...

Страница 7: ...ption B 38 V Side Back Item Description 1 Ethernet Port Connects to a network using a standard Ethernet cable 2 DC 12V Power Input Connects the camera to an external power adapter not included See Con...

Страница 8: ...settings of the camera including the administrator s password See How to Reset the Camera 4 BNC Video Output Connects the camera directly to a monitor with BNC input 5 Audio Input This jack connects...

Страница 9: ...acket See Installation Procedures Ceiling Suitable when mounting the camera directly on walls using the integrated bracket See Installation Procedures Vertical Pole Suitable when mounting the camera o...

Страница 10: ...ll material purchase applicable screws and screws plugs as needed that can hold the camera and bracket weight on the wall 1 Attach the supplied drill template sticker on the wall 2 Determine how the c...

Страница 11: ...uded in the package NOTE Depending on the surface where you will install the camera it may be necessary to drill three 3 holes and use the supplied screw tox 6 Attach the camera to the surface using t...

Страница 12: ...the shape of the camera cable connector the simplest way to waterproof to connection is by using the waterproof tape Connect an Ethernet cable from the network side to the Ethernet port of the camera...

Страница 13: ...the network cable to a switch or injector Then connect the switch or injector to a network PC and a power source See Power over Ethernet PoE connection example below Step 5 Access the Camera Live View...

Страница 14: ...ernet PoE switch that is IEEE802 3af compliant In case of using a non PoE switch or your PoE switch has a limited power supply you can purchase a power adapter and directly connect the camera to a pow...

Страница 15: ...ten and therefore the camera cannot be accessed In case of IP address mask or allow deny filter related issues resulting with the inability to modify these settings In case of connectivity issues or a...

Страница 16: ...ss of the camera in other to be able to access it by using a Web browser The quickest way to discover the cameras in the network is to use the simplest network search built in the Windows system just...

Страница 17: ...bar of the browser already Use the default IP address of a camera If there is no DHCP server in the given network the user may have to assign the IP addresses to both PC and camera manually to make s...

Страница 18: ...ardware Manual 17 Manually adjust the IP address of the PC In the following example based on Windows 7 we will configure the IP address to 192 168 0 99 and set Subnet Mask to 255 255 255 0 by using th...

Страница 19: ...ng IP Utility With the procedure shown above all the cameras will have unique IP addresses starting from 192 168 0 101 In case there are 20 cameras selected the last one of the cameras would have the...

Страница 20: ...based configuration Motion Detection regions Privacy Mask regions Yes All the other configurations Yes When using Internet Explorer browser the ActiveX control for video stream management will be dow...

Страница 21: ...login page The HTTP port number was not added behind the IP address since the default HTTP port of the camera is 80 which can be omitted from the address for convenience Before logging in you need to...

Страница 22: ...B 38 V Bullet Camera Hardware Manual 21...

Отзывы: