


POC-127 User Manual
52
7.4
7.4.1
Advantech SUSI Introduction
SUSI - A Bridge to Simplify & Enhance H/W & Application Implementation Effi-
ciency
When developers want to write an application that involves hardware access, they
have to study the specifications to write the drivers. This is a time-consuming job and
requires lots of expertise.
Advantech has done all the hard work for our customers with the release of a suite of
APIs (Application Programming Interfaces), called the
Secured & Unified Smart
Interface (SUSI).
SUSI provides not only the underlying drivers required but also a rich set of user-
friendly, intelligent and integrated interfaces, which speeds development, enhances
security and offers add-on value for Advantech platforms. SUSI plays the role of cat-
alyst between developer and solution, and makes Advantech embedded platforms
easier and simpler to adopt and operate with customer applications.
SUSI Functions
Control
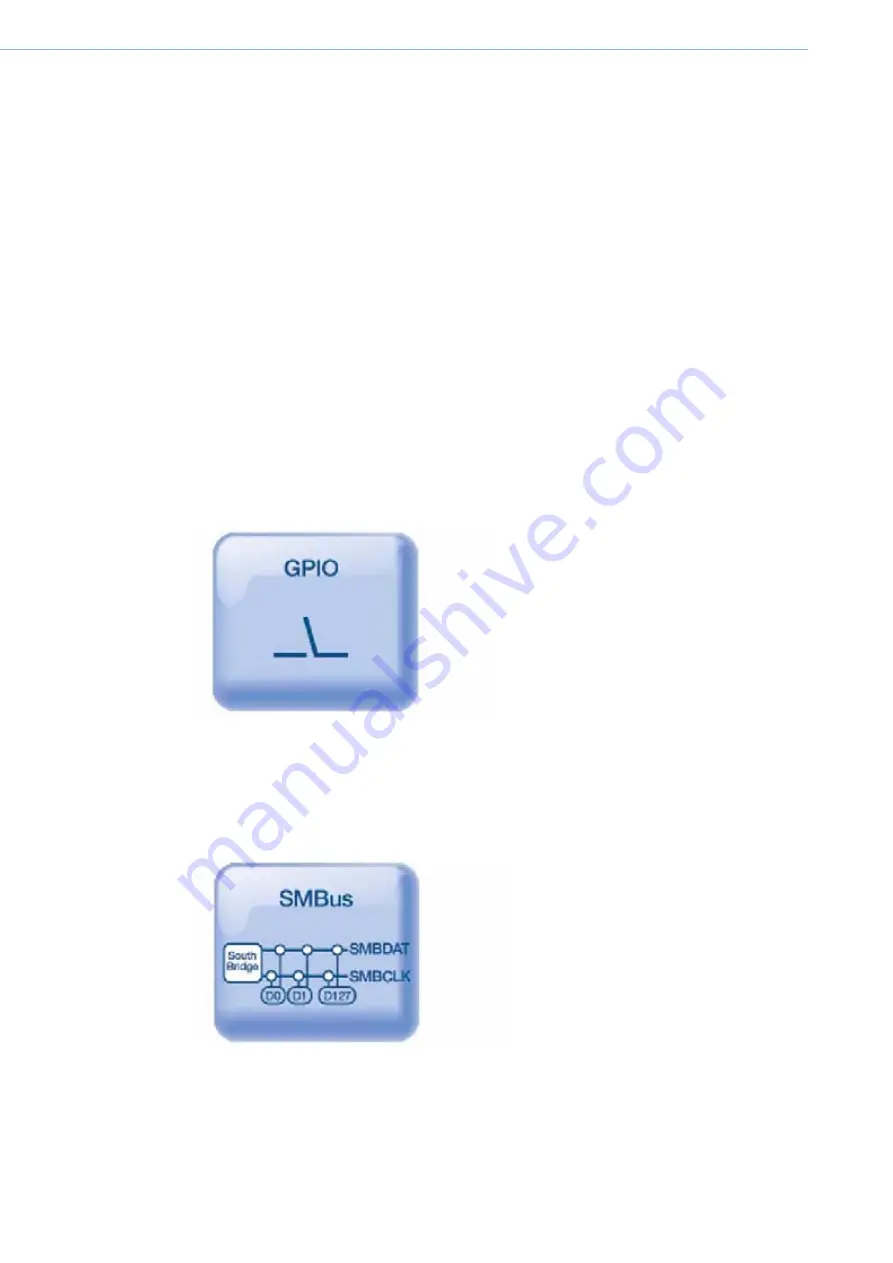
GPIO
General Purpose Input/Output is a flexible parallel interface that allows a variety of
custom connections. It supports various Digital I/O devices - input devices like but-
tons, switches, output devices such as cash drawers, LED lights etc. And, allows
users to monitor the level of signal input or set the output status to switch on/off the
device. Our API also provides Programmable GPIO which allows developers to
dynamically set the GPIO input or output status
SMBus
SMBus is the System Management Bus defined by Intel Corporation in 1995. It is
used in personal computers and servers for low-speed system management commu-
nications. Today, SMBus is used in all types of embedded systems.
The SMBus API allows a developer to interface a Windows XP or CE PC to a down-
stream embedded system environment and transfer serial messages using the
SMBus protocols, allowing multiple simultaneous device control.
Содержание POC127
Страница 1: ...User Manual POC 127 Intel Pineview M N450 CPU based Point of Care Terminal with 12 1 LED panel...
Страница 13: ...Chapter 1 1 General Information...
Страница 18: ...POC 127 User Manual 6...
Страница 19: ...Chapter 2 2 System Setup...
Страница 26: ...POC 127 User Manual 14...
Страница 27: ...Chapter 3 3 Chipset...
Страница 32: ...POC 127 User Manual 20 Step 4 Read file information and click Next to proceed...
Страница 36: ...POC 127 User Manual 24 Step 6 When the Click Next to continue message appears click Next to proceed...
Страница 38: ...POC 127 User Manual 26...
Страница 39: ...Chapter 4 4 Audio Interface...
Страница 43: ...Chapter 5 5 PCI Express Ethernet...
Страница 48: ...POC 127 User Manual 36...
Страница 49: ...Chapter 6 6 Touch Panel...
Страница 57: ...Chapter 7 7 Optional Devices...
Страница 68: ...POC 127 User Manual 56 Step 3 Read and accept End User License Agreement Click Install to continue...
Страница 76: ...POC 127 User Manual 64...
Страница 77: ...Chapter 8 8 Utility and Hot fix...
Страница 79: ...Chapter 9 9 Operation and Safety information...
Страница 81: ...Appendix A A MB Connector Map and Table...
Страница 84: ...POC 127 User Manual 72...
Страница 85: ...Appendix B B PCM 8708 MB Jumper setting...
Страница 88: ...POC 127 User Manual 76...
Страница 89: ...Appendix C C POC 127 Cleaning and Disinfecting...
Страница 91: ...79 XXX XXXX User Manual Appendix C POC 127 Cleaning and Disinfecting...


