PCA-6005 User’s Manual
16
Chapter 2 Connecting Peripherals
2.1 Primary (CN1) and Secondary (CN2) IDE Connec-
tors.
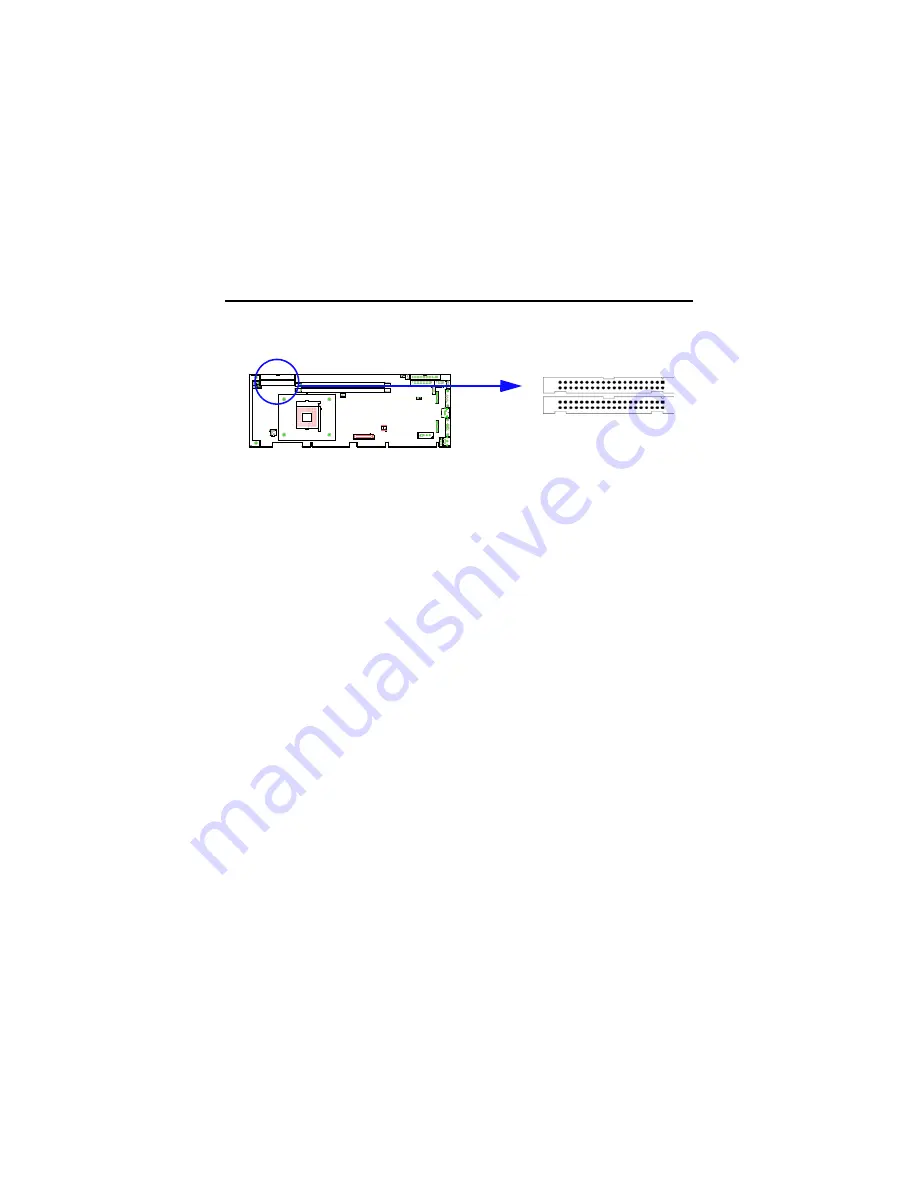
You can attach up to four IDE (Integrated Device Electronics) drives to
the IDE connectors. The primary (CN1) and secondary (CN2) connectors
can each accommodate two drives.
Wire number 1 on the cable is red or blue and the other wires are gray.
Connect one end to connector CN1 or CN2 on the CPU card. Make sure
that the red/blue wire corresponds to pin 1 on the connector (in the upper
right hand corner). See Chapter 1 for help finding the connector.
Unlike floppy drives, IDE hard drives can connect in either position on
the cable. If you install two drives to a single connector, you will need to
set one as the master and one as the slave. You do this by setting the
jumpers on the drives. If you use just one drive per connector, you should
set each drive as the master. See the documentation that came with your
drive for more information.
Connect the first hard drive to the other end of the cable. Wire 1 on the
cable should also connect to pin 1 on the hard drive connector, which is
labeled on the drive circuit board. Check the documentation that came
with the drive for more information.
Connect the second hard drive to the remaining connector (CN2 or CN1),
in the same way as described above.
CN1
CN2
Содержание PCA-6005
Страница 1: ...PCA 6005 Full sized PCI bus socket 478 Pentium 4 Celeron processor based CPU card User s Manual...
Страница 2: ...PCA 6005 User s Manual ii...
Страница 6: ...PCA 6005 User s Manual vi...
Страница 14: ...PCA 6005 User s Manual 6...
Страница 23: ...9 Figure 1 2 SCSI daughter board layout Figure 1 3 I O connectors on bracket...
Страница 40: ...PCA 6005 User s Manual 26...
Страница 41: ...27 CHAPTER 3 Award BIOS Setup This chapter describes how to set the card s BIOS configuration data...
Страница 60: ...PCA 6005 User s Manual 46...
Страница 64: ...PCA 6005 User s Manual 50...
Страница 70: ...PCA 6005 User s Manual 56 4 In the Update Device Driver Wizard window click on Next 5 Click Next...
Страница 78: ...PCA 6005 User s Manual 64 9 In the Network Settings Change window click on Yes...
Страница 81: ...67 Chapter5 4 In the following screen to click on Update Driver 5 Click on Next...
Страница 82: ...PCA 6005 User s Manual 68 6 Following the highlighted item and click on Next 7 Click on Have Disk...
Страница 84: ...PCA 6005 User s Manual 70 11 Click Finish to complete the installation...
Страница 97: ...83 2 In the System properties choose PCI SCSI Bus Controller Then click on Properties 3 Click on Update Driver...
Страница 98: ...PCA 6005 User s Manual 84 4 Click on Next 5 Recommend to search for a better driver...
Страница 100: ...PCA 6005 User s Manual 86 8 The installation is completed Click on Finish 9 Click on Yes to restart the system...
Страница 103: ...89 5 Click the SCSI driver and then click OK 6 The installation of SCSI Driver is completed Click on OK...
Страница 104: ...PCA 6005 User s Manual 90...
Страница 113: ...99 in al dx...
Страница 114: ...PCA 6005 User s Manual 100...
Страница 130: ...PCA 6005 User s Manual 116...


