ADT Pulse
®
Interactive Solutions
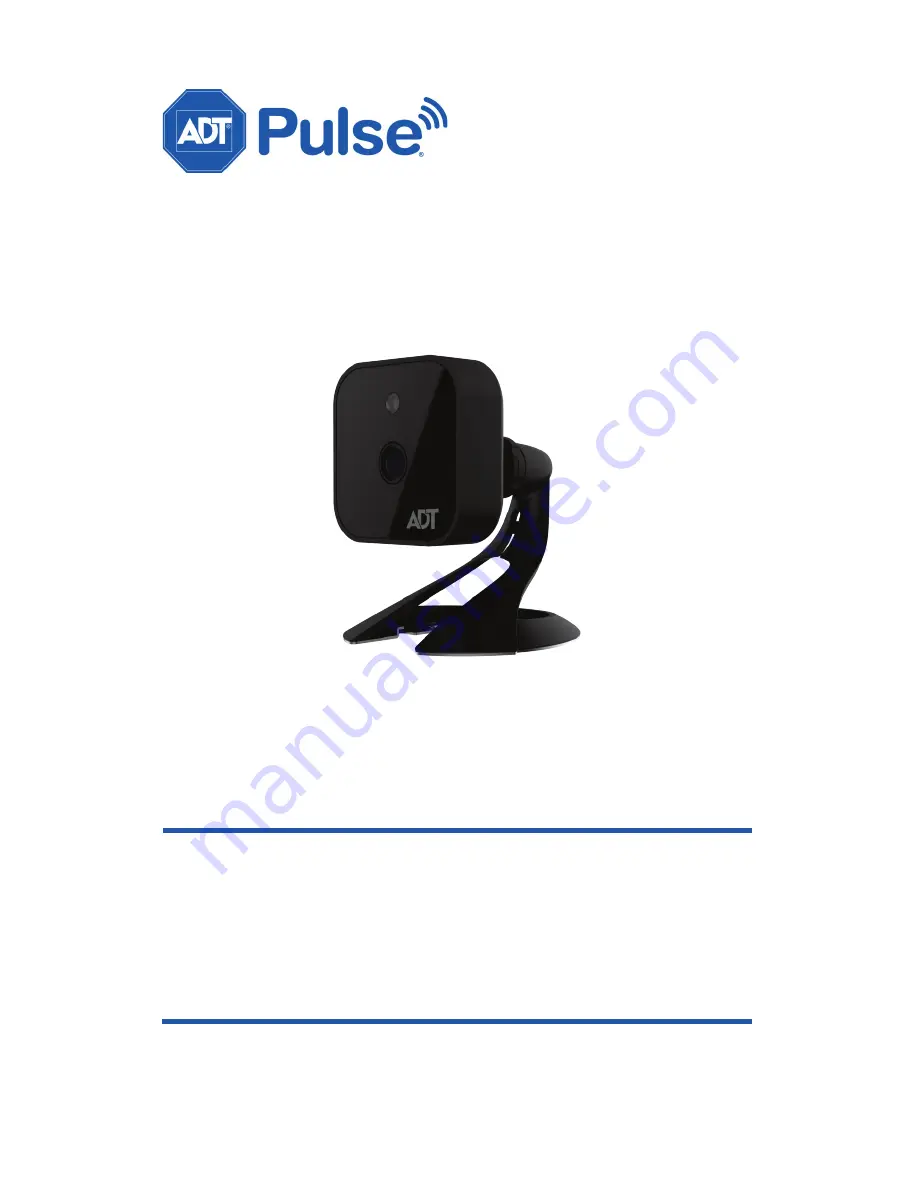
RC8325-ADT
Wireless Day/Night HD Camera
Quick Installation Guide
Страница 1: ...ADT Pulse Interactive Solutions RC8325 ADT Wireless Day Night HD Camera Quick Installation Guide...
Страница 2: ...UNTING 17 APPENDIX A SPECIFICATIONS 19 RC8325 ADT Wireless Day Night HD Camera 19 Regulatory Approvals 20 Property of ADT LLC Information accurate as of published date and is provided as is without wa...
Страница 3: ...or ADT Total Security TS Base panel Dual Video Support The RC8325 ADT supports H 264 and MJEPG video compression Wireless Features Supports 802 11n Wireless Standard The 802 11n standard provides bac...
Страница 4: ...ens The lens cannot be adjusted Please ensure that the lens cover remains clean The image quality is degraded if the lens cover is dirty or smudged Rear Figure 2 Rear Panel Light Sensor Lens Power LED...
Страница 5: ...USB to RJ 45 Adapter Cable will disable the wireless interface Only one interface can be active at any time The Micro USB to RJ 45 Adapter Cable should only be connected or disconnected when the came...
Страница 6: ...Introduction Package Contents The following items are included in the package Figure 3 What s in the Box Camera Stand Screws Anchors x2 Power Adapter 6 RC8325 ADT Wireless Day Night HD Camera Installa...
Страница 7: ...nt one can result in hardware damage The Power LED turns on briefly and then starts blinking The Power LED will continue to blink during startup which takes about one minute After startup is completed...
Страница 8: ...relessly to the Pulse Gateway TS Base The Network WPS LED will turn solid green when the wireless connection is successful 5 Enroll the Camera in ADT Pulse This process is described in the next chapte...
Страница 9: ...scribed beginning on page 12 Using a Wired Connection to Enroll the Camera 1 Set up the camera as described in the previous chapter 2 Launch an Internet browser and log in to the Pulse portal or TS in...
Страница 10: ...device port of the Gateway using the Micro USB to RJ 45 Adapter Cable Ethernet cable and connected to the supplied 12VDC power adapter 9 After the Power and Network LEDs turn on solid green click Con...
Страница 11: ...laying the added camera 13 At the top left of the screen click Go Back 14 You are returned to the Manage Devices screen The total number of installed cameras has increased by one Click Close 15 Click...
Страница 12: ...s screen using one of these methods For the Pulse portal select the System tab and click Manage Devices For the TS installer app click the Pulse Devices link The Manage Devices screen displays 4 In th...
Страница 13: ...Using WPS screen enter the PIN number in the WPS PIN field 8 Ensure that the camera is powered on and then click the Continue button to initiate the WPS process The following screen appears RC8325 ADT...
Страница 14: ...S connection within 2 minutes or else the process will time out The time remaining is displayed in the upper left portion of the screen The Network WPS LED flashes amber as the Gateway attempts to con...
Страница 15: ...llment is complete The newly added device appears in the Cameras list 11 At the top left of the screen click Go Back 12 You are returned to the Manage Devices screen The total number of installed came...
Страница 16: ...recover on its own take the following measures to re establish the Wi Fi connection 1 Power cycle the camera 2 If the previous measure fails move the Pulse Gateway closer to the camera 3 If the previ...
Страница 17: ...the mounting plate at the location where you would like to mount the camera and mark the location of the two mounting holes 3 Drill two pilot holes on the mounting surface at the marked locations 4 Al...
Страница 18: ...vided Using a different one can result in hardware damage Figure 7 Routing the Cables 8 Screw attach the camera onto the camera stand Figure 8 Attaching the Camera 9 Adjust the camera to a desired pos...
Страница 19: ...A Storage Temperature 4 F to 158 F 20 C to 70 C Network Protocols TCP IP UDP ICMP DHCP NTP DNS SMTP FTP HTTP HTTPS DDNS RTP RTSP RTCP UPnP Network Interface 1 RJ 45 LAN connection for Ethernet through...
Страница 20: ...perienced radio TV technician for help To assure continued compliance any changes or modifications not expressly approved by the party responsible for compliance could void the user s authority to ope...