CHAPTER 3
Installing the Appliance
Before installing the appliance, make sure you have the following:
• 3U of server rack space in a standard 19-inch cabinet
• at least five free 1/10 GbE ports in a network switch (10 GbE recommended)
• at least five RJ45-to-RJ45 patch cables to connect the appliance to the switch
• two power sockets
If you want to set up network bonding, you will additionally need (a) five free 1/10 GbE ports in a network
switch (10 GbE recommended) and (b) five RJ45-to-RJ45 patch cables to connect the appliance to the switch.
If you want to have access to the nodes from a remote console for out-of-band management, you will
additionally need (a) six free 1 GbE ports in a network switch and (b) six RJ45-to-RJ45 patch cables to connect
the appliance to the switch.
To install the appliance, perform the following steps:
1. Unpack the appliance.
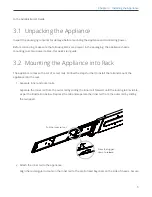
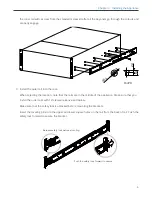
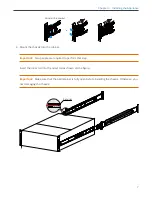
2. Mount the appliance into rack.
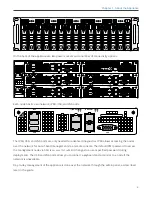
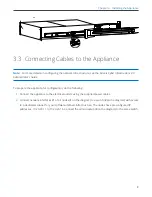
3. Connect cables to the appliance.
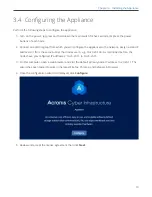
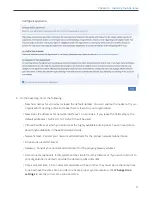
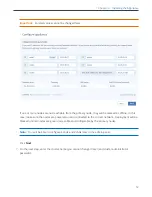
4. Configure the appliance using the wizard.
5. Log in to the admin panel and install a license.
6. Enable high availability.
7. Set up the desired workloads in the admin panel.
Steps one through six are described in the following sections. For more information about step seven, refer
4


