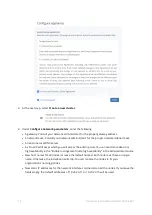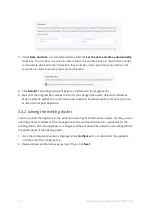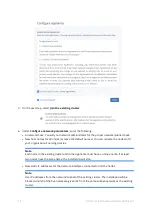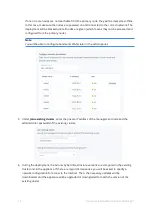
7. Under
Date and time
, it is recommended to select the
Set the date and time automatically
check box. You can clear it to select a custom time zone and time. Keep in mind that the nodes
communicate with each other. Therefore, they must be on the same time zone and have the
same time in order to ensure proper synchronization.
8. Click
Submit
. The configuration will begin, as indicated on the progress bar.
9. Wait until the progress bar reaches the end. If you changed the nodes’ default IP addresses,
assign a static IP address from the nodes’ new subnet to the admin laptop from which you can
access Acronis Cyber Appliance.
3.4.2 Joining the existing cluster
You can connect the appliance to the existing Acronis Cyber Infrastructure cluster. For this, you will
need the private IP address of the management node and the administrator credentials for the
existing cluster. After the appliance is configured, all five nodes will be added to and managed from
the admin panel of the existing cluster.
1. Once the configuration wizard is displayed, click
Configure
. Do not disconnect the appliance
until the end of the configuration.
2. Review and accept the license agreement. Then, click
Next
.
14
© Acronis International GmbH, 2003-2021


