


73
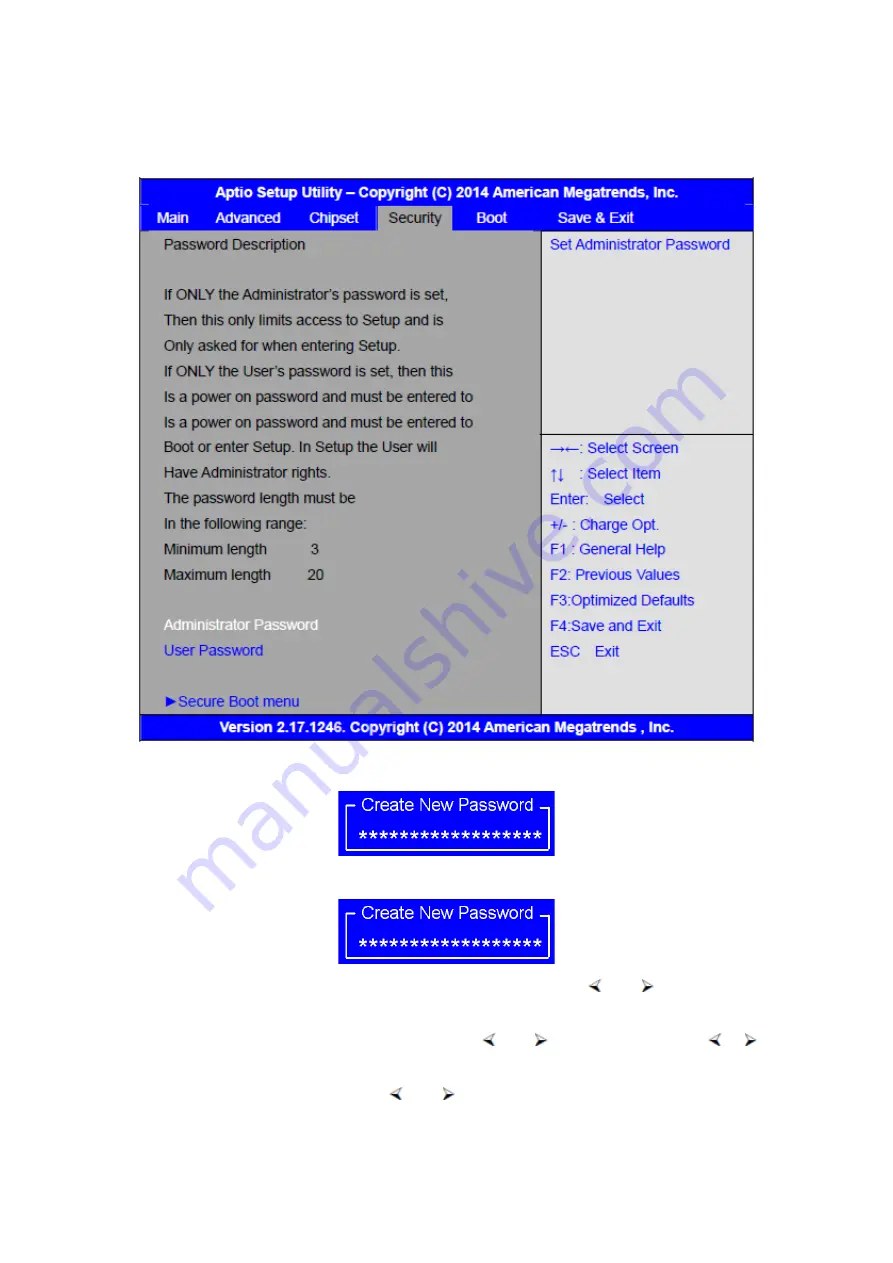
3.6.1 Administrator Password
3.6.2 User Password
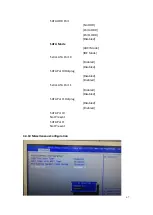
Type the password with up to 20 characters and then press
Enter key. This will
clear all previously typed CMOS passwords. You will be requested to confirm the
password. Type the password again and press
Enter key. You may press
Esc
key to abandon password entry operation.
To clear the password, just press
Enter key when password input window pops
up. A confirmation message will be shown on the screen as to whether the password
Содержание PC9 A Series
Страница 12: ...11 1 3 Dimensions Figure 1 1 Dimensions of PC9070 Figure 1 2 Dimensions of PC9080...
Страница 13: ...12 Figure 1 3 Dimensions of PC9101 Figure 1 4 Dimensions of PC9120...
Страница 14: ...13 Figure 1 5 Dimensions of PC9150A Figure 1 6 Dimensions of PC9156A Resistive Touch...
Страница 15: ...14 Figure 1 7 Dimensions of PC9156A Projected Capacitive Touch Figure 1 8 Dimensions of PC9170A...
Страница 16: ...15 Figure 1 9 Dimensions of PC9185A Figure 1 10 Dimensions of PC9215A Resistive Touch...
Страница 17: ...16 Figure 1 11 Dimensions of PC8215A Projected Capacitive Touch...
Страница 19: ...18 Figure 1 13 Rear View of PC9170 9180 Figure 1 14 Rear View of PC9101...
Страница 20: ...19 Figure 1 15 Rear View of PC9120 Figure 1 16 Rear View of PC9150A...
Страница 21: ...20 Figure 1 17 Rear View of PC9156A Figure 1 18 Rear View of PC9170A...
Страница 22: ...21 Figure 1 19 Rear View of PC9185A Figure 1 20 Rear View of PC9215A...
Страница 32: ...31 units mm Figure 2 1 Motherboard Dimensions...
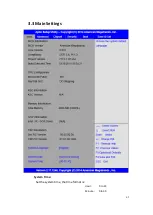
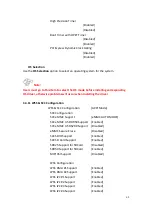
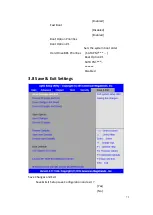
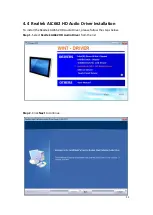
Страница 63: ...62 3 3 Main Settings System Time Set the system time the time format is Hour 0 to 23 Minute 0 to 59...
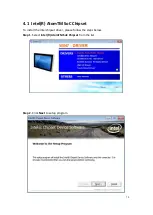
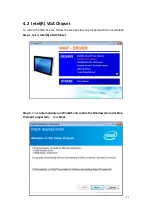
Страница 83: ...82 Step 3 Read license agreement Click Yes Step 4 Click Next...
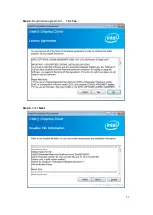
Страница 84: ...83 Step 5 Click Install Step 6 Click Install...
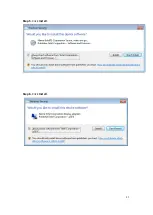
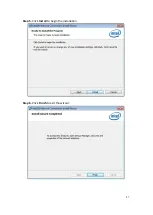
Страница 85: ...84 Step 7 Click Next Step 8 Click Yes I want to restart this computer now Then click Finish...
Страница 88: ...87 Step 5 Click Install to begin the installation Step 6 Click Finish to exit the wizard...
Страница 90: ...89 Step 3 Click Yes I want to restart my computer now Click Finish to complete the installation...
Страница 92: ...91 Step 3 Read the license agreement Then click Yes to continue Step 4 Click Next to continue...
Страница 95: ...94 Step 2 Select Resistive Touch Step 3 Click Next to continue...
Страница 97: ...96 Step 6 Wait for installation Then click Next to continue Step 7 Click Continue Anyway...
Страница 99: ...98 Step 2 Select Projected Capacitive Step 3 Click Next to continue...
Страница 100: ...99 Step 4 Select I accept the terms of the license agreement Click Next Step 5 Click Install RS232 interface driver...
Страница 101: ...100 Step 6 Select None Click Next Step 7 Click OK Step 8 Click Support Muti Monitor System Click Next...
Страница 102: ...101 Step 9 Go to C Program Files eGalaxTouch Click Next Step 10 Click Next...
Страница 109: ...108 About This panel displays information about the PenMount controller and driver version...
Страница 120: ...119 Hardware Saturn Hardware Configuration...
Страница 121: ...120 About To display information about eGalaxTouch and its version...