


2. Technical Specifications
Power Voltage:
AC 100~240V, 50/60Hz
Power Consumption:
250W
Light Source:
7x40W RGBW LED
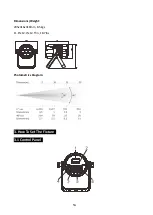
Zoom Range:
Beam Angle: 6°~40°
Spot Angle: 10°-60°
Dimmer/Shutter:
Smooth dimming from 0~100%; outstanding strobe effect with variable speed
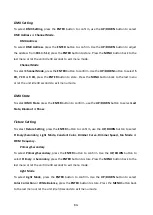
Control:
DMX Channel: 5/7/9 channels
Control Mode: DMX512, RDM
Firmware Upgrade via DMX link
Construction:
Display: OLED display
Data In/Out: 5-pin IP XLR
Power In/Out: Waterproof Power Connector in/out
Protection Rating: IP66
Features:
Built-in programs for selection
Can change the DMX address code, machine reset, voice mode conversion and other functions
from the console
Uniform RGBW color mixing and rainbow effect
Advanced RDM function
IP66 protection rating, can be used outdoors all year round
4G
Содержание STAGE PAR 400 ZOOM IP
Страница 1: ......
Страница 8: ...7G...
Страница 21: ...20G...
Страница 22: ...21G...
Страница 24: ...Innovation Quality Performance...