CB-16FC
User Manual
Please read the instruction carefully before use
Страница 1: ...CB 16FC User Manual Please read the instruction carefully before use...
Страница 2: ...ow To Set The Unit 4 3 1 Control Panel 4 3 2 Main Function 5 4 How To Control The Unit 10 4 1 Master Slave Built In Preprogrammed Function 11 4 2 DMX Controller 11 4 3 DMX 512 Configuration 12 4 4 DMX...
Страница 3: ...close to the unit while operating as it is fire hazard Use safety cable when fixes this unit DO NOT handle the unit by taking its head only but always by taking its base Maximum ambient temperature is...
Страница 4: ...bracket Always ensure that the unit is firmly fixed to avoid vibration and slipping while operating And make sure that the structure to which you are attaching the unit is secure and is able to suppor...
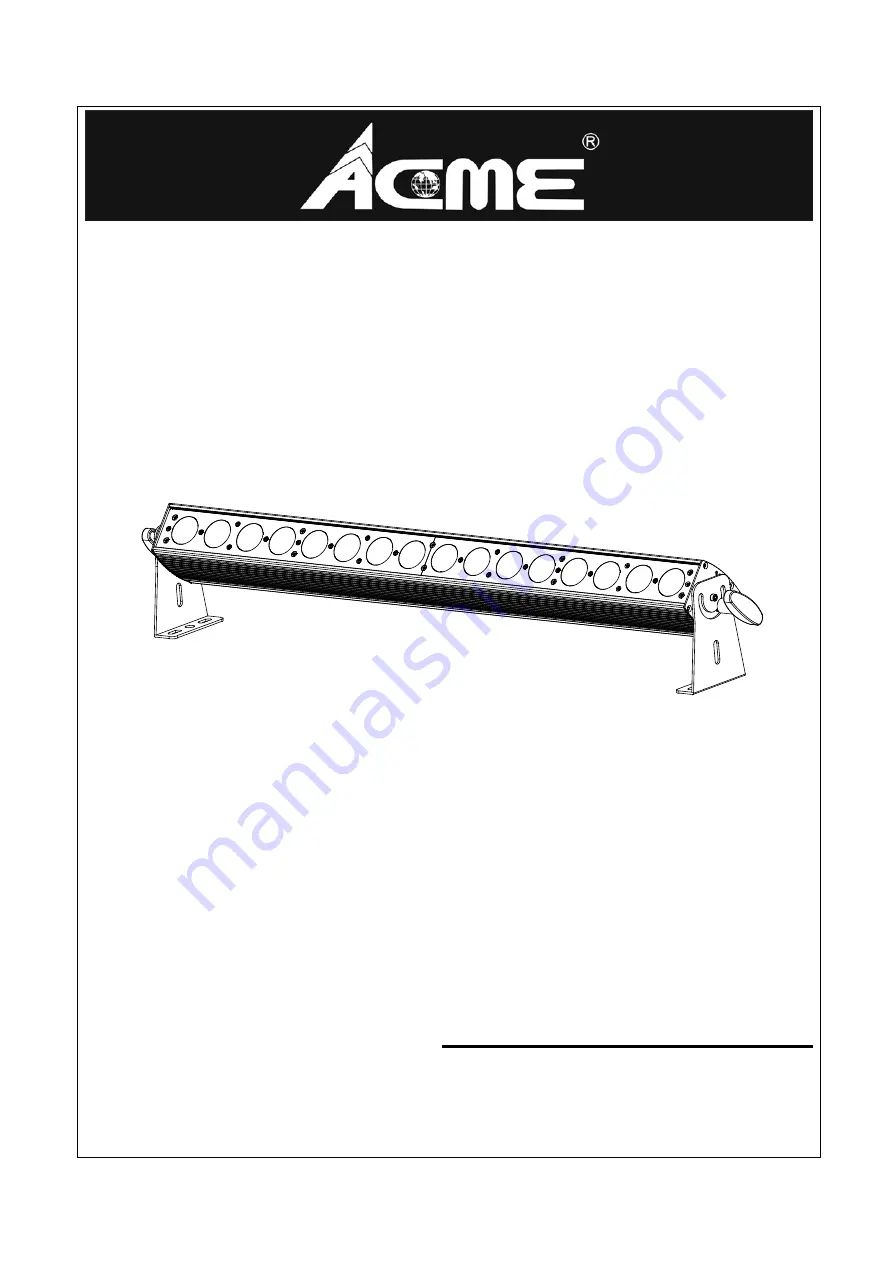
Страница 5: ...e 45 Weight 6 3Kgs Dimension 1005 X 110 X 159mm 110 159 1005 3 How To Set The Unit 3 1 Control Panel 1 2 34 5 6 7 8 1 POWER IN Connect the main power supply 2 DMX IN For DMX512 link use 3 pin XLR cabl...
Страница 6: ...UT For DMX512 link use 3 pin XLR cable to link the next unit and output DMX signal 3 2 Main Function To select any of the given functions press the MENU button up to when the required one is showing o...
Страница 7: ...nnel Mode Show Mode Slave Mode Master Slave Blackout Mode Last state Sound State Sound Sense Led Display Inversion Auto Test Fixture Hours Software Version Reset Fixture Temperature olor Mode Dimmer S...
Страница 8: ...press the MENU button again Hold and press the MENU button about one second or wait for one minute to exit the menu mode Show Mode Press the MENU button up to when the is shown on the display Pressing...
Страница 9: ...old and press the MENU button about one second or wait for one minute to exit the menu mode Sound State Press the MENU button up to when the is shown on the display Pressing ENTER button Use DOWN and...
Страница 10: ...again Hold and press the MENU button about one second or wait for one minute to exit the menu mode Display Inversion Press MENU button until is blinking on the display Use the DOWN and UP button to s...
Страница 11: ...ENU button up to when the is blinking on the display Press the ENTER button and the display will show the temperature of the unit To go back to the functions press the MENU button Software version Pre...
Страница 12: ...de and select Slave 1 normal or Slave 2 2 light show mode Their DMX cables plugged into the DMX input jacks daisy chain and the slave led lights will constantly on 2 light show In slave mode Slave 1 m...
Страница 13: ...17 25 16 channels 1 17 33 49 32 channels 1 33 65 97 67 channels 1 68 135 202 4 3 DMX 512 Configuration 1 CH MODE MODE 1 CHANNEL VALUE FUNCTION 1 000 007 008 027 028 047 048 067 068 087 088 107 108 127...
Страница 14: ...REEN 0 100 3 000 255 BLUE 0 100 4 0 255 WHITE 0 100 7 CH MODE MODE 4 CHANNEL VALUE FUNCTION 1 000 255 RED 0 100 2 000 255 GREEN 0 100 3 000 255 BLUE 0 100 4 000 255 WHITE 0 100 5 000 007 008 015 016 1...
Страница 15: ...160 167 168 175 176 183 184 191 192 199 200 207 208 215 216 223 224 231 232 239 240 247 248 255 COLOR Off Color 1 Color 2 Color 3 Color 4 Color 5 Color 6 Color 7 Color 8 Color 9 Color 10 Color 11 Colo...
Страница 16: ...16 CH MODE MODE 5 CHANNEL VALUE FUNCTION 1 000 255 RED 1 0 100 2 000 255 GREEN 1 0 100 3 000 255 BLUE 1 0 100 4 000 255 WHITE 1 0 100 5 000 255 RED 2 0 100 6 000 255 GREEN 2 0 100 7 000 255 BLUE 2 0...
Страница 17: ...55 WHITE 3 0 100 13 000 255 RED 4 0 100 14 000 255 GREEN 4 0 100 15 000 255 BLUE 4 0 100 16 000 255 WHITE 4 0 100 17 000 255 RED 5 0 100 18 000 255 GREEN 5 0 100 19 000 255 BLUE 5 0 100 20 000 255 WHI...
Страница 18: ...255 BLUE 3 0 100 12 000 255 WHITE 3 0 100 13 000 255 RED 4 0 100 14 000 255 GREEN 4 0 100 15 000 255 BLUE 4 0 100 16 000 255 WHITE 4 0 100 61 000 255 RED 16 0 100 62 000 255 GREEN 16 0 100 63 000 255...
Страница 19: ...68 175 176 183 184 191 192 199 200 207 208 215 216 223 224 231 232 239 240 247 248 255 Color 1 Color 2 Color 3 Color 4 Color 5 Color 6 Color 7 Color 8 Color 9 Color 10 Color 11 Color 12 Color 13 Color...
Страница 20: ...a Y cable DMX 512 is a very high speed signal Inadequate or damaged cables soldered joints or corroded connectors can easily distort the signal and shut down the system 3 The DMX output and input con...
Страница 21: ...f the DMX LED is on and no response to the channel check the address settings and DMX polarity 3 If you have intermittent DMX signal problems check the pins on connectors or on PCB of the unit or the...
Страница 22: ...t be carried out periodically to optimize light output Cleaning frequency depends on the environment in which the fixture operates damp smoky or particularly dirty surrounding can cause greater accumu...
Страница 23: ...cordance with the provision of the Electromagnetic Compatibility EMC Directive 89 336 EEC EN55103 1 2009 A1 2012 EN55103 2 2009 EN61000 3 2 2014 EN61000 3 3 2013 Harmonized Standard EN 60598 1 2015 EN...
Страница 24: ...Innovation Quality Performance 23A...