16
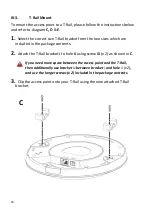
III-3.
T-Rail Mount
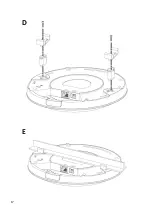
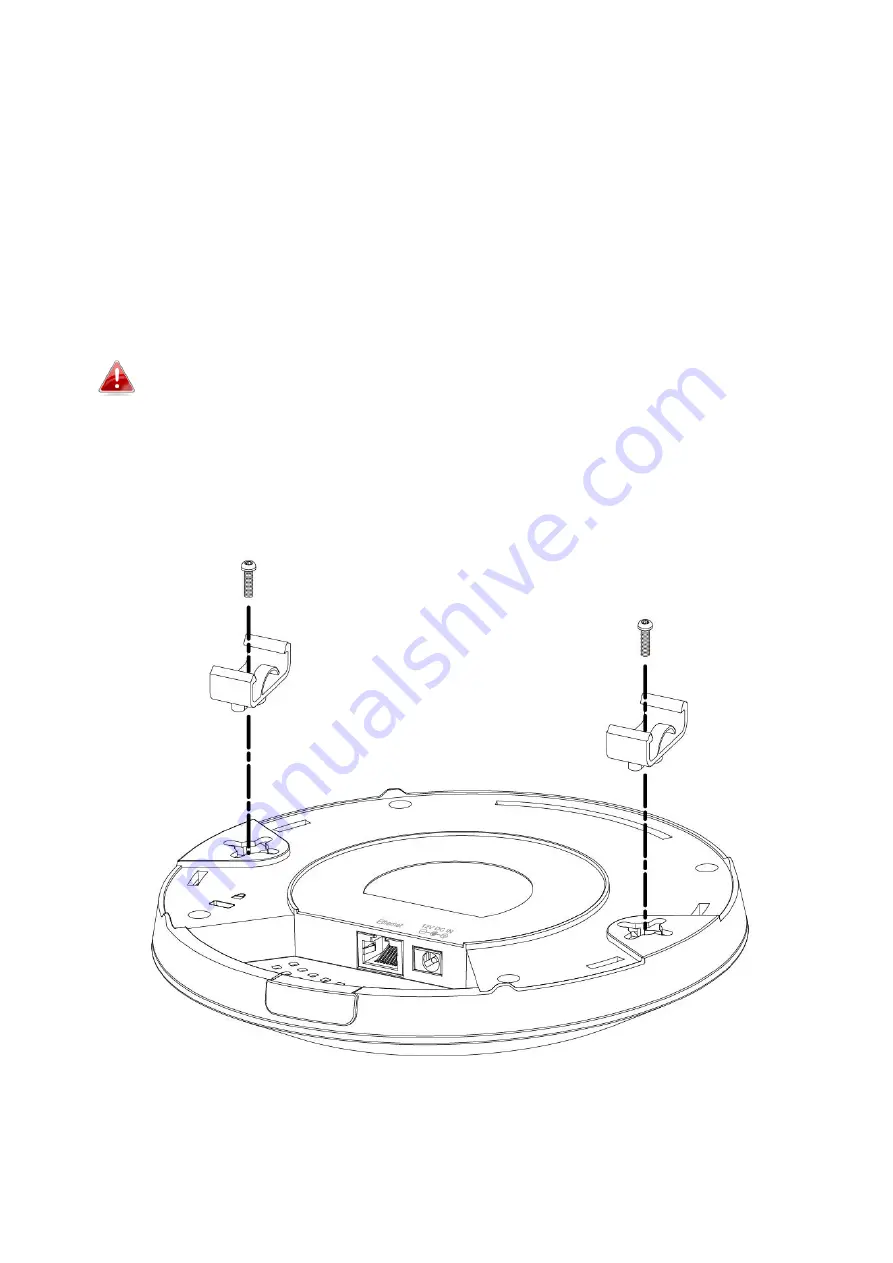
To mount the access point to a T-Rail, please follow the instructions below
and refer to diagram
C, D
&
E
.
1.
Select the correct size T-Rail bracket from the two sizes which are
included in the package contents.
2.
Attach the T-Rail bracket
i
to hole
ii
using screw
iii
(x 2) as shown in
C
.
If you need more space between the access point and the T-Rail,
then additionally use bracket
iv
between bracket
i
and hole
ii (x 2)
,
and use the longer screws (x 2) included in the package contents.
3.
Clip the access point onto your T-Rail using the now attached T-Rail
bracket.
C
Содержание EW-7476HPC
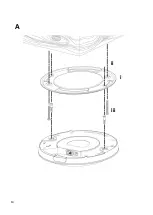
Страница 16: ...14 A i ii iii...
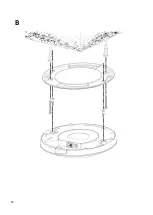
Страница 17: ...15 B...
Страница 19: ...17 D E...
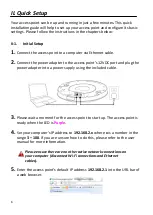
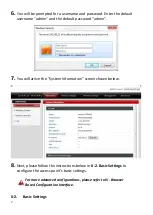
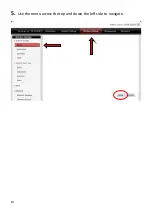
Страница 21: ...19 5 Use the menu across the top and down the left side to navigate...
Страница 24: ...22...
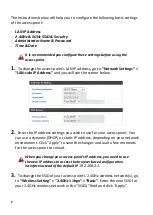
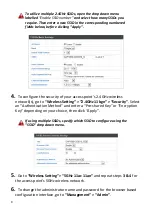
Страница 38: ...36 IV 3 1 1 Basic The Basic screen displays basic settings for your access point s 2 4GHz Wi Fi network s...
Страница 87: ...85...
Страница 89: ...87...
Страница 91: ...89 4 Click Properties...
Страница 93: ...91...
Страница 95: ...93 3 Right click Network and then select Properties...
Страница 99: ...97 5 Enter the IP address 192 168 2 10 and subnet mask 255 255 255 0 Click on Apply to save the changes...

