


A121 Integration using STM32CubeIDE
3.3
Adding Print Functionality with UART/USART
If an UART/USART has been added when setting up the project in the STM32CubeMX perspective and you want to use
it for prints then you can simply add the following code to your project:
int _write ( int file , char *ptr , int len )
{
( void ) file ;
HAL_UART_Transmit (& huart2 , ( uint8_t *) ptr , len , 0 xFFFF );
return len ;
}
A terminal emulator, for example PuTTY, can be used to view the UART prints from the board.
Download PuTTY from
and install it on your computer.
3.3.1
Find STM32 Board COM port
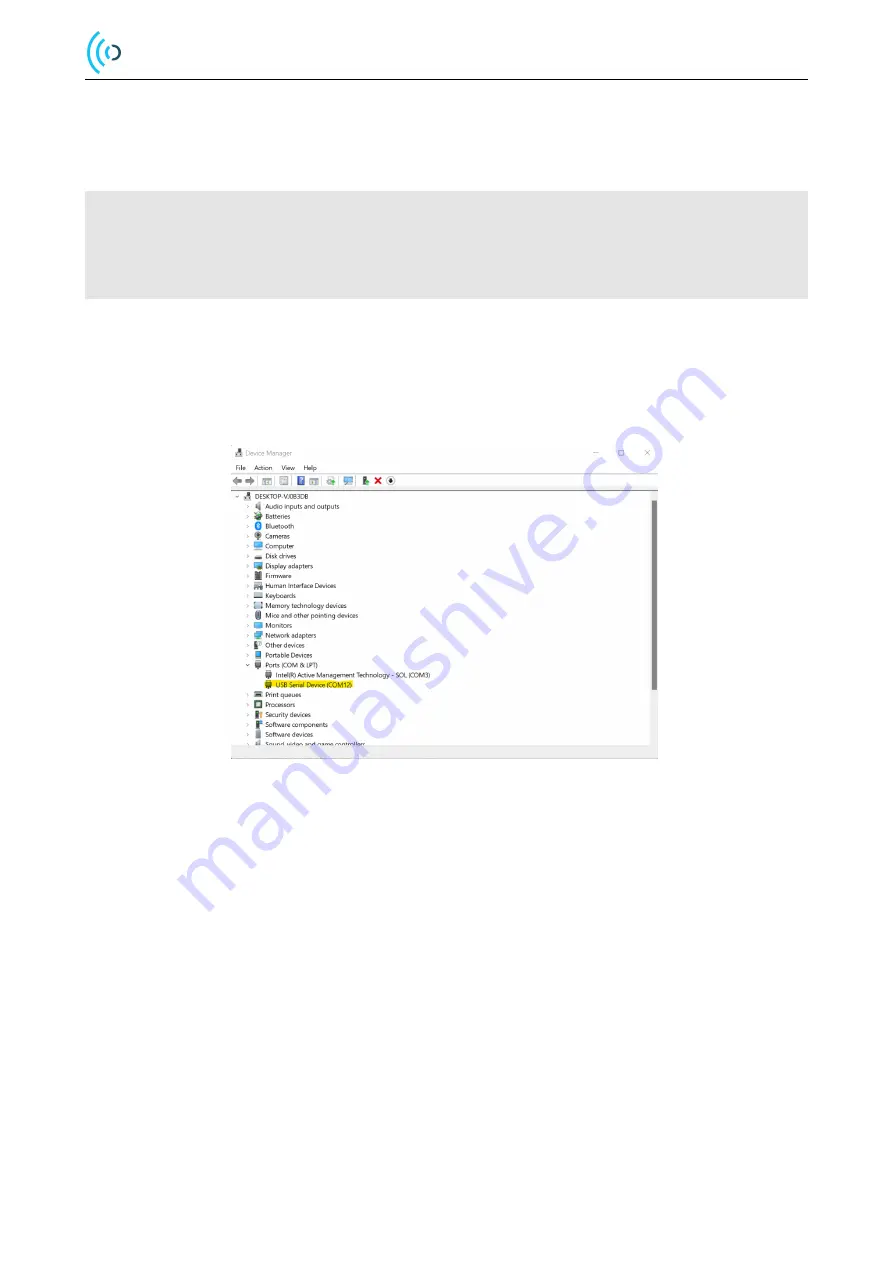
If using Windows, go to Device Manager to locate the COM port used by your STM32 Board.
Figure 13: Windows Device Manager
3.3.2
Start and Configure PuTTY
1. Start the PuTTY application
2. Select
Session
in the
Category
window.
3. Set the
Connection Type
to
Serial
4. Type the STM32 Board COM port in the
Serial line
text box.
5. Use the same
Speed
as used for the UART in the STM32CubeIDE project, default 115200.
6. Select
Terminal
in the
Category
window.
7. Tick the
Implicit CR in every LF
tickbox
8. Clock in
Open
to start the terminal
© 2022 by Acconeer AB - All rights reserved
Page 15 of 23


