


VIGIL Software v8.8 User Manual |
VISIX V-Series All-in-One Cameras
10225 Westmoor Drive, Suite 300, Westminster, CO 80021 | www.3xlogic.com | (877) 3XLOGIC
62
BURNT-IN TEXT (OSD)
Steps:
1).
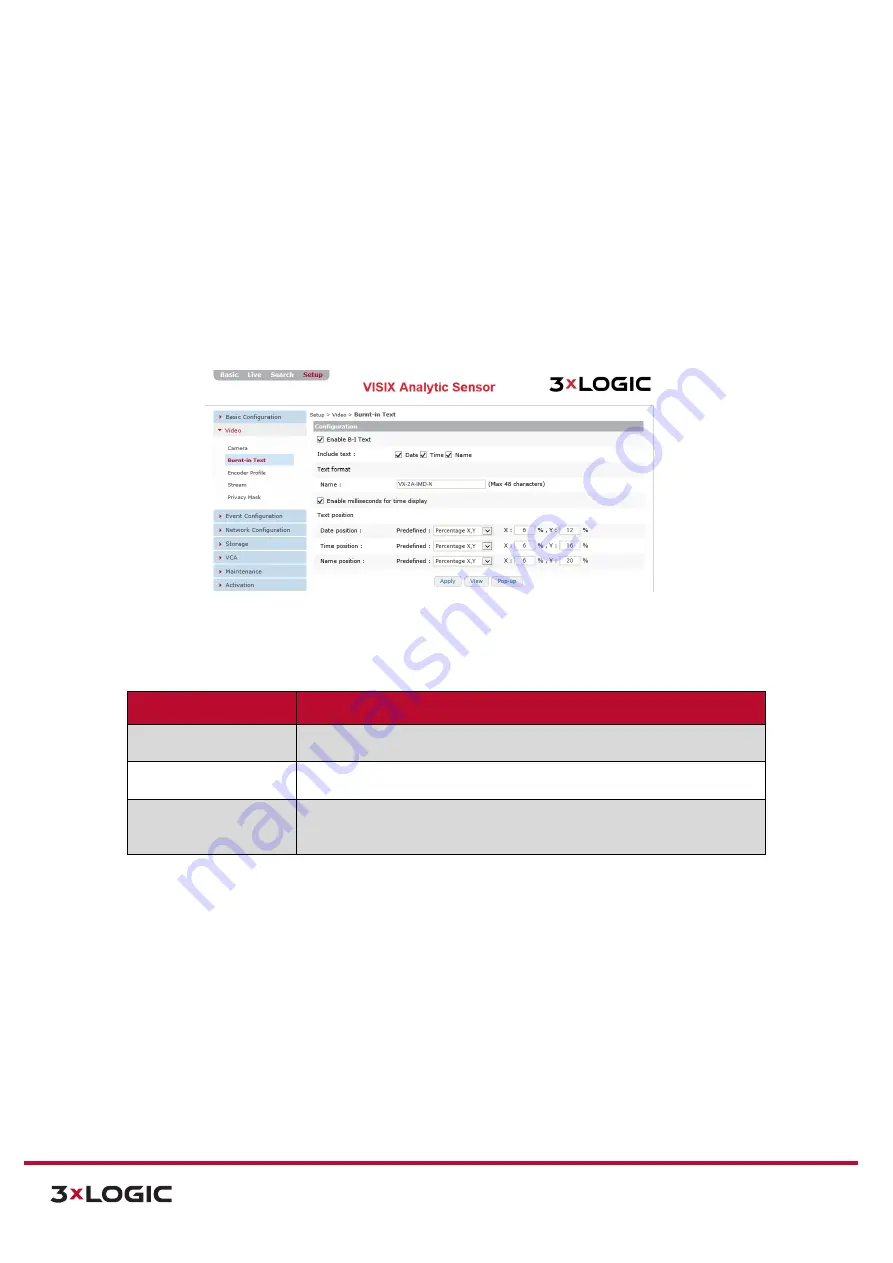
Opening the
Setup Tab>Video
drop-down menu and clicking the
Burnt-In Text
link will open
the
Burnt-In Text
(often referred to as On-Screen Display or OSD) settings page.
NOTE:
A video preview is available at the bottom of the settings form. When configuring the settings described
below, be sure to scroll-down and check the video preview as necessary.
2).
Click the
Apply
button at the bottom of the settings form (above the video preview) to apply
settings changes. Click the
Preview
button to toggle the video preview on/off. Click the
Pop-
Up
button to open the preview in a separate browser window.
Figure 7-20
: Setup Tab – Video Menu –Burnt-In Text Settings
3).
From the
Burnt-In Text
settings page, a user can enable
B-I Text
.
The following related settings can be configured once BI-T has been enabled:
BI-T Setting
Description
Include Text
Designate info to be included in the on-screen text. Choose from
Date,
Time and Name
.
Text Format
Configure the
Name text
. I.E Camera model name or description
(Entrance 2)
Text Position
Configure the positions of the
Date, Time and Name
text. Select a
preconfigured position from the drop-down or designate custom
positions using standard X and Y screen coordinates.


