background image


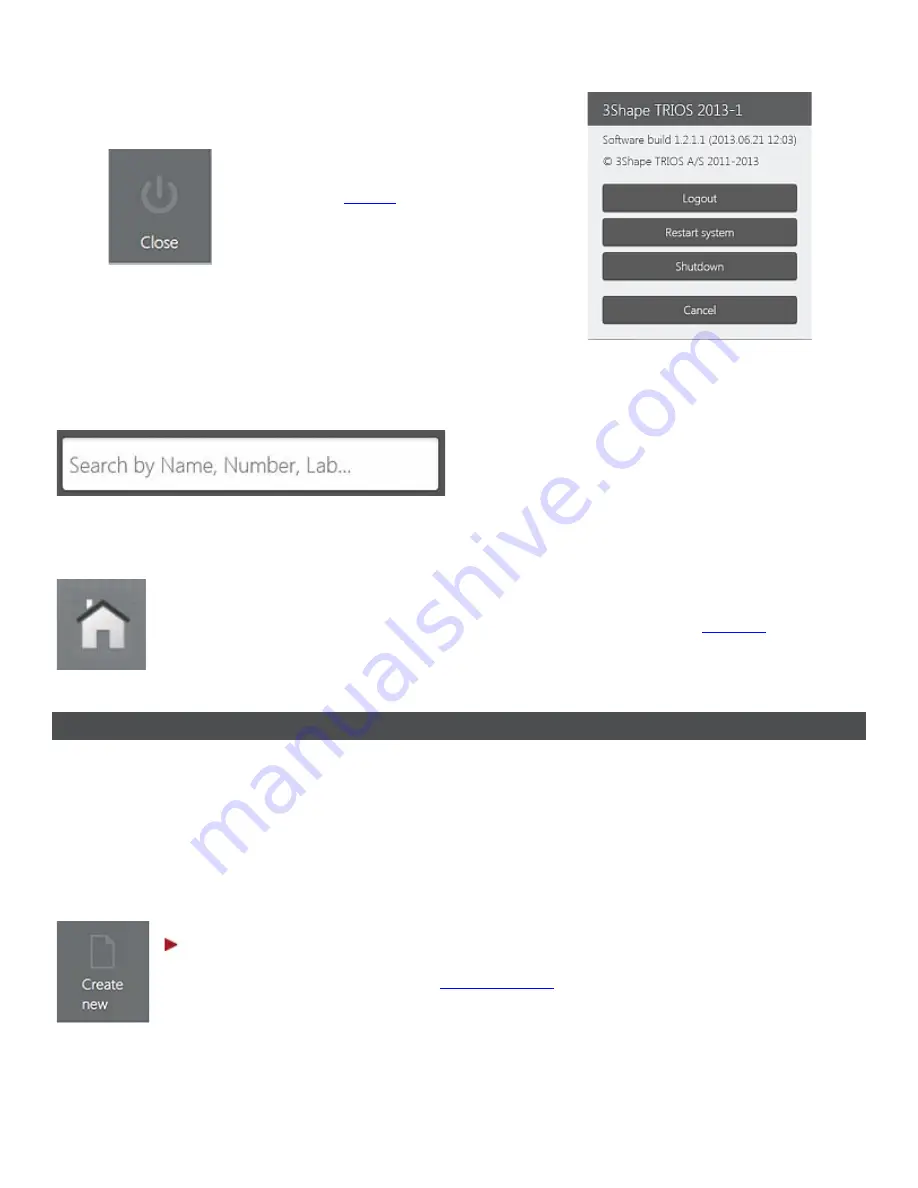
Opens the 

closing

 options. 


KEYBOARD 


To enter a text, press on the text field and 
use the virtual keyboard that appears on 
the screen. 


NAVIGATING TO CALENDAR 


Press the 

Home

 button to switch between the workflow pages and the 

calendar

. 


3.2 Create and Manage Orders 

You must create an order session before taking an impression. The order session combines all the 
information about the patient, the indication and the impression you will take.   

Select from the options below to create a new order or to open an existing one: 


TO CREATE A NEW ORDER  


Step 1: Open a blank order form


Press the 

Create new

 button in the 

Service toolbar

 or press an empty time slot 

for any day in the calendar view to open a new Order Form: 

11 

Содержание TRIOS

Страница 1: ...TRIOS 2013 1 1 2 1 1 B EN 3SHAPE TRIOS User Manual...

Страница 2: ...ng and Mounting the Scanner Tip 18 3 3 2 Scanning 21 3 3 3 General Scanning Tools 25 3 3 4 Align Occlusion 29 3 3 5 Analyze Scan 31 3 4 Specific Scanning Workflows 34 3 4 1 How Do I Scan One or More P...

Страница 3: ...derations 63 5 Communication with the Lab 64 5 1 Create 3Shape Communicate Account 65 5 2 Connect to the Lab 66 5 3 Send Order to the Lab 70 5 4 Communicate with the Lab 72 6 Maintenance 75 6 1 Scanne...

Страница 4: ...fore connecting or operating TRIOS please be sure to read the TRIOS Safety and Setup Guide for assembly and safety instructions and observe all its safety information and warnings Thank you 3Shape 1 2...

Страница 5: ...or a system description of the TRIOS models T12A and T12P TRIOS is also available as model TRIOS11A which is supplied with a cart with built in PC Note Information about the supplied model can be foun...

Страница 6: ...e How do I get online support How do I create a new operator How do I turn scanner sound effects on off How do I connect TRIOS via wireless How do I install TRIOS Client How do I share cart data How d...

Страница 7: ...ction How do I add annotations How do I perform the post processing of the model How do I measure occlusion clearance 2 5 Maintenance How do I perform scanner calibration How do I autoclave the scanne...

Страница 8: ...flow toolbar appears at the top or bottom of the main window and guides you through the main TRIOS workflow steps 1 Home Opens a calendar with order sessions for the selected day Lets you search order...

Страница 9: ...The current step in the workflow is highlighted NOTIFICATIONS Notifications may appear on the screen throughout the TRIOS workflow A few examples of notifications are license and order form updates i...

Страница 10: ...Opens a page with notifications about incoming messages and designs Opens a new order form Opens the system configuration settings Opens the help menu options 10...

Страница 11: ...Orders You must create an order session before taking an impression The order session combines all the information about the patient the indication and the impression you will take Select from the opt...

Страница 12: ...ult lab if it has not been defined before Note Templates can be customized for specific labs and therefore the fields and settings available in the order form may vary Step 3 Enter General information...

Страница 13: ...ton to access tools for placing markings and annotations on the teeth allowing you to relay specific instructions to the lab Draw You can draw a line by pressing on a tooth and dragging your finger ac...

Страница 14: ...omments Use the comments field to add special instructions or comments to the lab Main Order Form buttons View Opens the order details in a separate page for printing Preprep This button is only avail...

Страница 15: ...an order read the description to learn the difference TO VIEW EXISTING ORDERS You can view orders via the Calendar or List of orders 1 Viewing orders via Calendar Press the Calendar button in the Ser...

Страница 16: ...g Send on the Send page Sent The order has been sent Waiting Receive The case has been received downloaded by the lab but neither approved or rejected yet Received Approved Dental Manager or 3Shape Co...

Страница 17: ...jected Approved and Designed filters to narrow your search results Use the rotation menu to select orders within a given date interval TO OPEN AN EXISTING ORDER Step 1 Find the required order Use Cale...

Страница 18: ...mences immediately at the next power up T12A Turn on the cart and attach a clean and sterile scanner tip Allow about 10 minutes for the scanner tube to fully warm up to prevent condensation on the sca...

Страница 19: ...nd Crown job type selected in the Order Form 1 Scan lower scanbody 2 Scan upper scanbody Post and Core job type selected in the Order Form 1 Scan lower scanbody 2 Scan upper scanbody Step 5 Prepare yo...

Страница 20: ...s on the scanner mount with the tip facing down and will re heat the scanner tip if the temperature drops below the optimal temperature T12A Follow the same approach as for TRIOS11A except that a clea...

Страница 21: ...e the scanning process Either a color or monochrome 2D image on the right indicates the scanner s field of view Monochrome scanning Color scanning A 3D model appears in the center of the window when t...

Страница 22: ...for instructions Step 2 Scanning process Gradually slide the scanner over the teeth you wish to scan following the scan paths shown in the Scanning Strategies section The tip can rest on the teeth to...

Страница 23: ...ically appears at the bottom of the screen when you stop scanning or it can be opened by tapping the Mark Preparation button The menu consists of buttons numbered according to the corresponding teeth...

Страница 24: ...t is one of the two bite scans required Bite 2 Only required if scanning full arches Must be the opposite side to Bite 1 Scan each bite while moving the scanner in a single sweep making sure to have a...

Страница 25: ...ect the scan and determine where high resolution is required 3 Set to High res Note that high resolution can only be applied to a region around a preparation mark 4 Re scan the desired area 5 Turn off...

Страница 26: ...he trimming tool thickness Removes the drawn colored part of the scan o Undo Cancels the last action Redo Reverses the Undo action o Cancel Closes the trimming tool without applying changes o Done Acc...

Страница 27: ...cans Requires user confirmation This is useful if the operator accidentally scanned the wrong jaw o Lock surface Apply by painting the area to lock Locked colored area will not be updated by further s...

Страница 28: ...and Color by pressing the corresponding buttons in the Visualization toolbar Center Centers the model and places it in a middle of the screen Rotate Rotates the model Pan Moves the model Zoom Allows...

Страница 29: ...y aligns the scanned preparation and antagonist using the bite scan when pressed if the Use automatic bite alignment feature in Scan Settings was disabled Optimize occlusion Automatically adjusts the...

Страница 30: ...nd two bite scans manually Step 1 Reset automatic alignment Press the Reset button in the scanning toolbar to cancel the current automatic alignment if the Use automatic bite alignment feature in Scan...

Страница 31: ...ing insertion direction for the restoration By optimizing the insertion direction you minimize undercuts You can set the insertion direction in two ways 1 Use the Auto detect button The system automat...

Страница 32: ...tifying distances between preparation and antagonist To determine whether additional preparation of a tooth is required open the Clearance tab by pressing the button and viewing the color scale indica...

Страница 33: ...press Done Use the Delete button to remove your annotation if needed Annotations are sent together with the digital impression to the lab Lab technicians can see the annotations in 3Shape Dental Syste...

Страница 34: ...eparation lines to stand out clearly by using at least 1 gingival retraction cord to retract the gingiva 3Shape recommends using 2 cords Step 3 Dry the teeth lightly using compressed air Be sure to re...

Страница 35: ...h before their preparation is done This order is called a pre preparation order Step 2 Send pre preparation order to the lab to have them make the temporaries Step 3 Patient comes in for a second appo...

Страница 36: ...ect abutment for the restoration type Step 2 An extra scan page is added automatically giving you 2 pages for the jaw with the abutments Step 3 Select first page of implant scan the one without the sc...

Страница 37: ...he automatic removal was insufficient Step 11 Scan the scan body starting from the surface 1 2 teeth away from the scan body for the system to recognize 3D structures the scan body does not need to be...

Страница 38: ...body using the Mark preparation tool Step 13 Remove the scan body and continue to antagonist and bite scans Note The scanning process can also be completed in the opposite order if desired starting w...

Страница 39: ...rder and select Post and Core for the restoration type Step 2 An extra scan page is added automatically giving you 2 pages for the jaw with the post and core Step 3 Select first page of post and core...

Страница 40: ...lag is automatically removed Step 9 Trim the areas if the automatic removal was insufficient Step 10 Scan the scan flag starting from the surface 1 2 teeth away from the scan flag for the system to re...

Страница 41: ...paration for the preparation to stand out clearly 3 Make sure the scanner tip is warm to avoid condensation on the mirror See section Heating and Mounting the Scanner Tip step 5 SCANNING 1 Dry the tee...

Страница 42: ...avoid interference from gingiva saliva blood Contact points Occlusal surfaces If an important area is missing simply touch this area on the model and re start scanning from this point 8 Bite Scan Sta...

Страница 43: ...the scanner The lower jaw is more challenging because of the tongue The cheek can easily be retracted using a finger or a mirror Therefore the second sweep is lingual pushing the tongue away The thir...

Страница 44: ...weep to the second molar Use the tip to keep the tongue away Step 3 Roll to the buccal side and complete the buccal sweep Example II Upper quad with preparation Step 1 Start with the preparation Go to...

Страница 45: ...e best angle for the approximal sides and contact point both distal and mesial Rotate back to the occlusal Step 2 Swipe along the occlusion Step 3 Upper jaw Roll 45 90 degrees to the buccal side and c...

Страница 46: ...scan then close patient s mouth Step 2 While centering 2D image on occlusion plane slowly move the scanner tip in mesial direction with equal coverage of upper and lower teeth Step 3 Scan 4 teeth for...

Страница 47: ...lor System etc You must have configuration parameters set before using TRIOS Step 1 Press the Configure button in the Service toolbar to open the Settings window having more configuration categories s...

Страница 48: ...can set up date and time change the sound volume open the file explorer and Control Panel etc 3 Operator settings Press Operator to add a new TRIOS operator or change the existing name and password s...

Страница 49: ...ta and more See Connection Settings chapter for details 5 Lab Connections settings The lab connection settings allow you to create your 3Shape Communicate account and connect to the desired labs See c...

Страница 50: ...m Color system Allows you to select the color systems Remember last indication setting Set the last used indication as default for the next order form Time interval between orders in minutes Specify t...

Страница 51: ...Open what s new button lets you see the What s new document Renew license online opens a web page to buy license renewal online The dongle information is displayed under About 3Shape Support Online su...

Страница 52: ...do not want to have a password leave this field blank The field will be filled with dots no matter if you entered a password or not The dots have no effect E mail address Fill in your e mail address...

Страница 53: ...cart data orders updates etc available for the client users The shared path is used by the clients to connect to the TRIOS cart A client is an external version of the TRIOS software that can make and...

Страница 54: ...t of available networks in the Selected Wireless Networks drop down menu Reset Network Adapter button May help you solve a connection problem Please read Wi Fi Installation Considerations section for...

Страница 55: ...selected in the Sound Effect drop down menu and the sound can also be played using the Play Selected Sound button Default scan zoom level Allows you to adjust the default zoom level for scanning Non p...

Страница 56: ...port Launches a screen sharing session for online support Monitor cleaning Locks the touch screen interval for a short period of time to allow cleaning of the monitor Available on cart systems Send fe...

Страница 57: ...for the selected video Playback of the selected video is initiated by clicking either the Open Video button or the preview image in the Details pane on the right While some videos can be viewed locall...

Страница 58: ...o not select the Free View the optimal viewing angle is controlled automatically Restart Starts video playback form the beginning Step back The video is moved one step back Play Initiates video playba...

Страница 59: ...e Close button opens a dialog window with the information about the current system version and provides the following closing options Logout signs you out and displays the Choose user list Restart sys...

Страница 60: ...directly on a TRIOS cart The Client version can be installed on regular PC s for an easy data exchange between TRIOS cart and client PC s within the clinic The Client can be used for all TRIOS operat...

Страница 61: ...can be found via the link from the Cart settings by typing it in a file explorer or a web browser This opens a web page with instructions and a link to the Client Installation file 2 When clicking the...

Страница 62: ...s page the TRIOS functionality described for the Cart is also valid for the Client version Orders created with the Client are stored on the Cart or Pod PC The Client cannot run if the Cart or Pod PC i...

Страница 63: ...traight through a wall or ceiling instead of at an angle for better reception 3 Building Materials make a difference A solid metal door or aluminum studs may have a negative effect on range Try to pos...

Страница 64: ...d 3D scans from your TRIOS system to the lab Receive designs from your lab for review Exchange comments with the lab Discuss virtual diagnostic wax ups with your lab and patients Communicate with labs...

Страница 65: ...Go to Configure Lab Connections settings Make sure the Connection Method is 3Shape Communicate Step 2 Press the Create Account button This will open the 3Shape Communicate web page www 3shapecommunic...

Страница 66: ...onnection succeeded message Tip You can use your credentials to access your 3Shape Communicate account from any remote PC 5 2 Connect to the Lab After your 3Shape Communicate account is created you ne...

Страница 67: ...Step 2 Press the Add Lab button This will open the 3Shape Communicate web site 67...

Страница 68: ...Open the Connections settings and press Add Connection Step 4 Enter the name of the lab e mail obtained from the lab and press Find 3Shape Communicate will search for the lab and display it as a resu...

Страница 69: ...Step 6 Start working with the lab When lab confirms the connection its status will be changed to Active and the laboratory will appear in the list of added labs in your TRIOS system If you added a lab...

Страница 70: ...se see chapter Connect to the Lab for details To send your order Step 1 Press the Send button 1 Step 2 Press the Send order button 2 If you haven t performed post processing at the previous Analyze st...

Страница 71: ...pressing the Go to calendar button An order can be resent if margin line has been changed new annotations or images added This message appears when you try to make changes in the already sent order Re...

Страница 72: ...are automatically generated by the TRIOS system to inform you about the order status For example you are notified if the order has not been accepted by the lab within 18 hours You also receive a messa...

Страница 73: ...Press the Open case button to view order details and scroll down to write a comment 73...

Страница 74: ...hape Communicate web site it will be automatically downloaded to your TRIOS system and visible on this page 2 Press the Comments button to show the message box on the left 3 Press Write Comment to ope...

Страница 75: ...he scanner when the scan quality degrades Calibration adjusts the scan quality to the initial factory level and ensures optimum results HOW TO CALIBRATE Step 1 Prepare for calibration Remove the scann...

Страница 76: ...calibration tip is removed from the scanner after calibration as the tip otherwise may become very warm 6 2 Cleaning Disinfection and Sterilization Please refer to the TRIOS Safety and Setup Guide for...

Страница 77: ...versions are automatically downloaded by the TRIOS system when available You are asked for a confirmation to install the software upgrade once it has been downloaded you can also opt to upgrade at a...

Отзывы: