ZPrinter
®
350 / ZPrinter
®
450 User Manual
Setup And Print The Build
23
All Rights Reserved
10/31/12
•
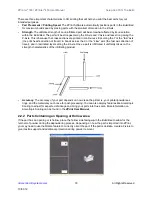
Select
Edit
>
Make Fixture
to change the Fixture Clearance amount. This value is the smallest
amount of space between the Fixture and the part, without actually touching.
Create A New Powder Type
You can create a new powder type and enter new data in the fields that
are activated in the
Powder Settings
dialog. The new settings must be saved under a unique powder
name and will be added to the left-side panel after saving. See the
ZPrint User Manual
for complete
instructions on how to create a new powder type.
2.5 Check for Errors or a Collision
It is strongly recommended that the
Slice View
(
2D
icon) and
Collision Detection
be utilized before
beginning a build.
•
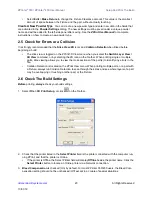
The slice view is toggled on the ZPrint 3D View menu when you select the
Switch Layer View /
3D View
command, or by selecting the 2D icon on the Toolbar. When printing single or multiple
parts, slice viewing allows you to view the cross sections of the part(s) to identify any errors in the
file.
•
Collision Detection is located on the ZPrint View menu. When printing multiple parts, or a part with
a Fixture, always run Collision Detection to scan through the slices and see where layers of a part
may be overlapping or touching another part, or the Fixture.
2.6 Check The Build Settings
Before
printing,
always
check your build settings.
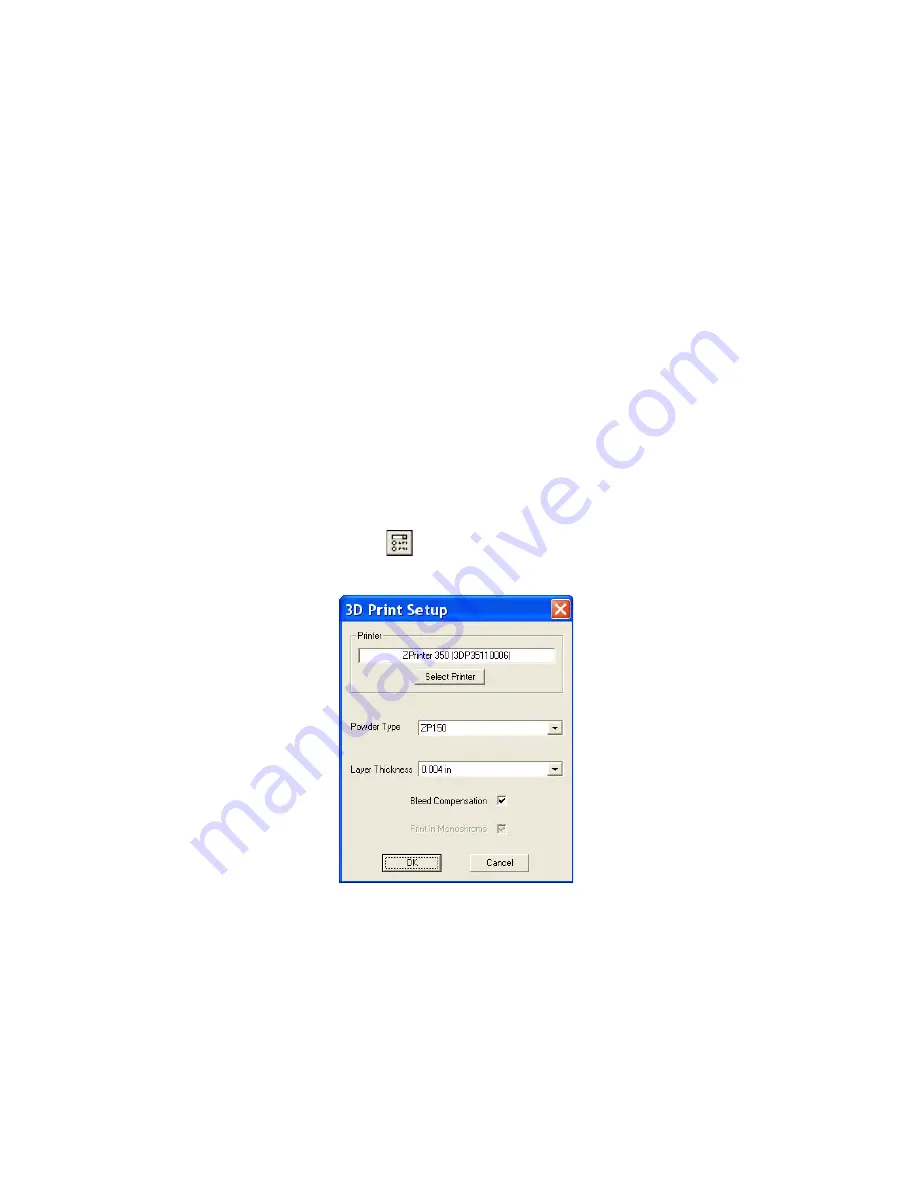
1.
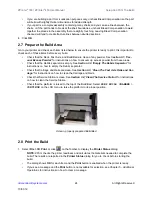
Select
File >
3D Print Setup
, or click
on the Toolbar.
2.
Check that the printer listed in the
Select Printer
field is the printer connected with the computer run-
ning ZPrint, and that the printer is Online.
•
If the printer is Offline, the Select Printer field will display
Offline
beside the printer name. Click the
Select Printer
button to locate an Online printer via a Network connection.
3.
Bleed Compensation
is checked (On) by default. For most ZPrinter 350/450 users, the Bleed Com-
pensation setting should not be unchecked (Off) except in a couple of special situations:


