ZPrinter
®
150 / ZPrinter 250 User Manual
Setup And Print The Build
28
All Rights Reserved
11/1/12
2.10 Depowder the Part
Once your part has dried, you will need to depowder it. Depowdering is done in two stages: gross depow-
dering, which removes the powder around it in the Build Bed; and fine depowdering, which removes any
powder clinging to the part.
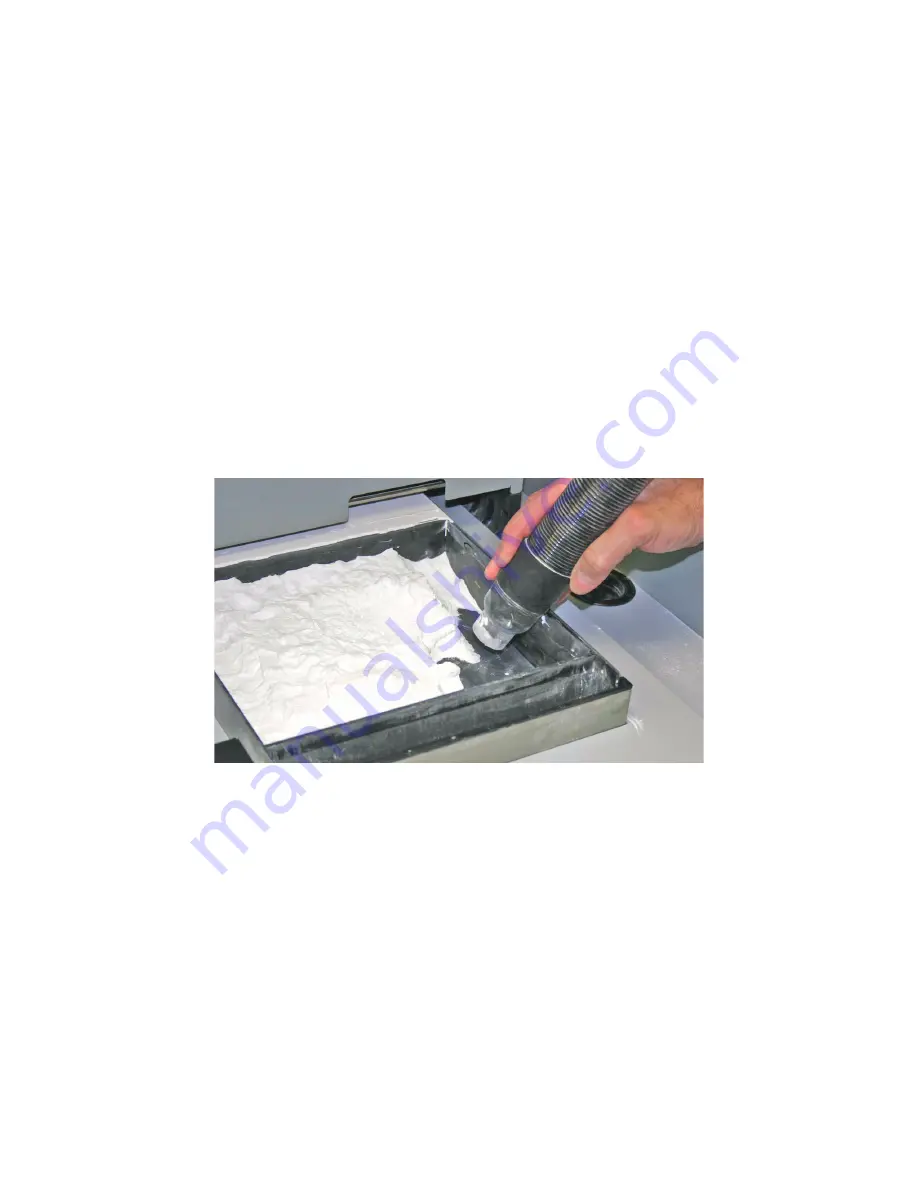
2.10.1 Gross Powder Removal
Your part prints and dries in the Build Bed surrounded by unused powder. You will need to remove unused
powder from the Build Bed after the drying cycle is finished.
1. Before you begin vacuuming, check the part orientation in ZPrint to avoid damage to your part.
2. Close the printer top cover.
3. On the LCD Display, select
VACUUM
.
4. Open the printer top cover. The vacuum starts. Use the Control Knob to move the Build Platform up as
you vacuum. Unused powder that is vacuumed from the Build Bed is recycled back into the printer
Feeder so it can be used for future builds.
Important:
For delicate parts, or parts with especially delicate features, it is recommended that you
build the part with a Fixture. Refer to the
ZPrint User Manual
for details on adding a Fixture.
2.10.2 Fine Powder Removal
After the bulk of the powder is removed from the Build Bed, gently pick up the part and place it in the Pow-
der Recycling Station where you can clean the part of any remaining powder with the Air Wand.
1. Open the printer top cover.
2. Ensure that the Fast Axis is pushed all the way back into its parked position.
3. Select
BUILD CHAMBER > RAISE PLATFORM
on the LCD menu. Hold the Control Knob down to
raise the platform closer to the top of the Build Bed.
4. Gently lift the part and place it in the Powder Recycling Station.
2.10.3 Using the Removable Build Plate
The ZPrinter 150 and ZPrinter 250 feature a removable Build Plate, which allows you to pick up the entire
Build Plate and use it as a tray to transport very delicate parts to the Powder Recycling Station.
To remove the Build Plate follow the steps below.


