Copyright 1010music LLC 2023
Page 90 of 97
Page 91 of 97
Copyright 1010music LLC 2023
Bitbox MK2 2.1 User Manual
Mar 1, 2023
Bitbox MK2 2.1 User Manual
Mar 1, 2023
Sharing of MIDI Input Channels
How do all of these MIDI Input channel assignments work together? Basically, they all
work together, with one big exception for Omni settings. Any channel that is assigned to
anything else will no longer be included in the list of channels responded to by a
parameter with the Omni setting. Here’s another way to think about it:
■ If the MIDI In channel is assigned on a pad, that pad will always respond to MIDI
notes received on that channel.
■ The currently active pad will always respond to MIDI notes on a given MIDI
channel if that channel has been specifically assigned as the MIDI Keys channel
on the TOOLS screen.
■ Pad hits will be triggered by notes on an incoming MIDI channel if that channel
has been specifically assigned as the MIDI Pads channel on the TOOLS screen.
■ If the MIDI Keys parameter is set to Omni, and the incoming notes are on a MIDI
channel that has not been specifically assigned to anything else (a pad’s MIDI In,
or the MIDI Pads parameter), then the currently selected pad will respond to
notes on this channel.
■ If the MIDI Pads parameter is set to Omni, and the incoming notes are on a MIDI
channel that has not been specifically assigned to anything else (a pad’s MIDI In
or the MIDI Keys parameter), then the incoming notes will trigger pad hits.
As a result, if you, for example, assign the same MIDI channel to both a specific pad’s
MIDI In parameter and to the MIDI Pads parameter on the TOOLS screen, notes on that
channel will be played by that specific pad and they will trigger pad hits. This gives you
lots of flexibility but could result in confusing results if you aren’t careful.
CREATE PRESET TEMPLATES FOR RE-USE
Preset template support was added to help users who like to set up their presets a
certain way each time, and those who want to configure different presets in preparation
for a live performance. Preset templates allow you to configure the pad mode, output,
MIDI settings, modulation and other settings before you have associated a WAV file with
the pad.
A preset template is simply a preset that has pads which have been configured but do
not have WAV files associated with them.
To Configure a Pad without a WAV file:
1.
Select the pad you want to configure as a template on the Pads screen.
2.
Push INFO. If the pad is loaded with a WAV file, this will display the WAV
screen. In this case, touch the pad mode icon on the top left of the screen and
then select New Recording to remove the WAV file mapping. You will now see
the Load and Record screen.
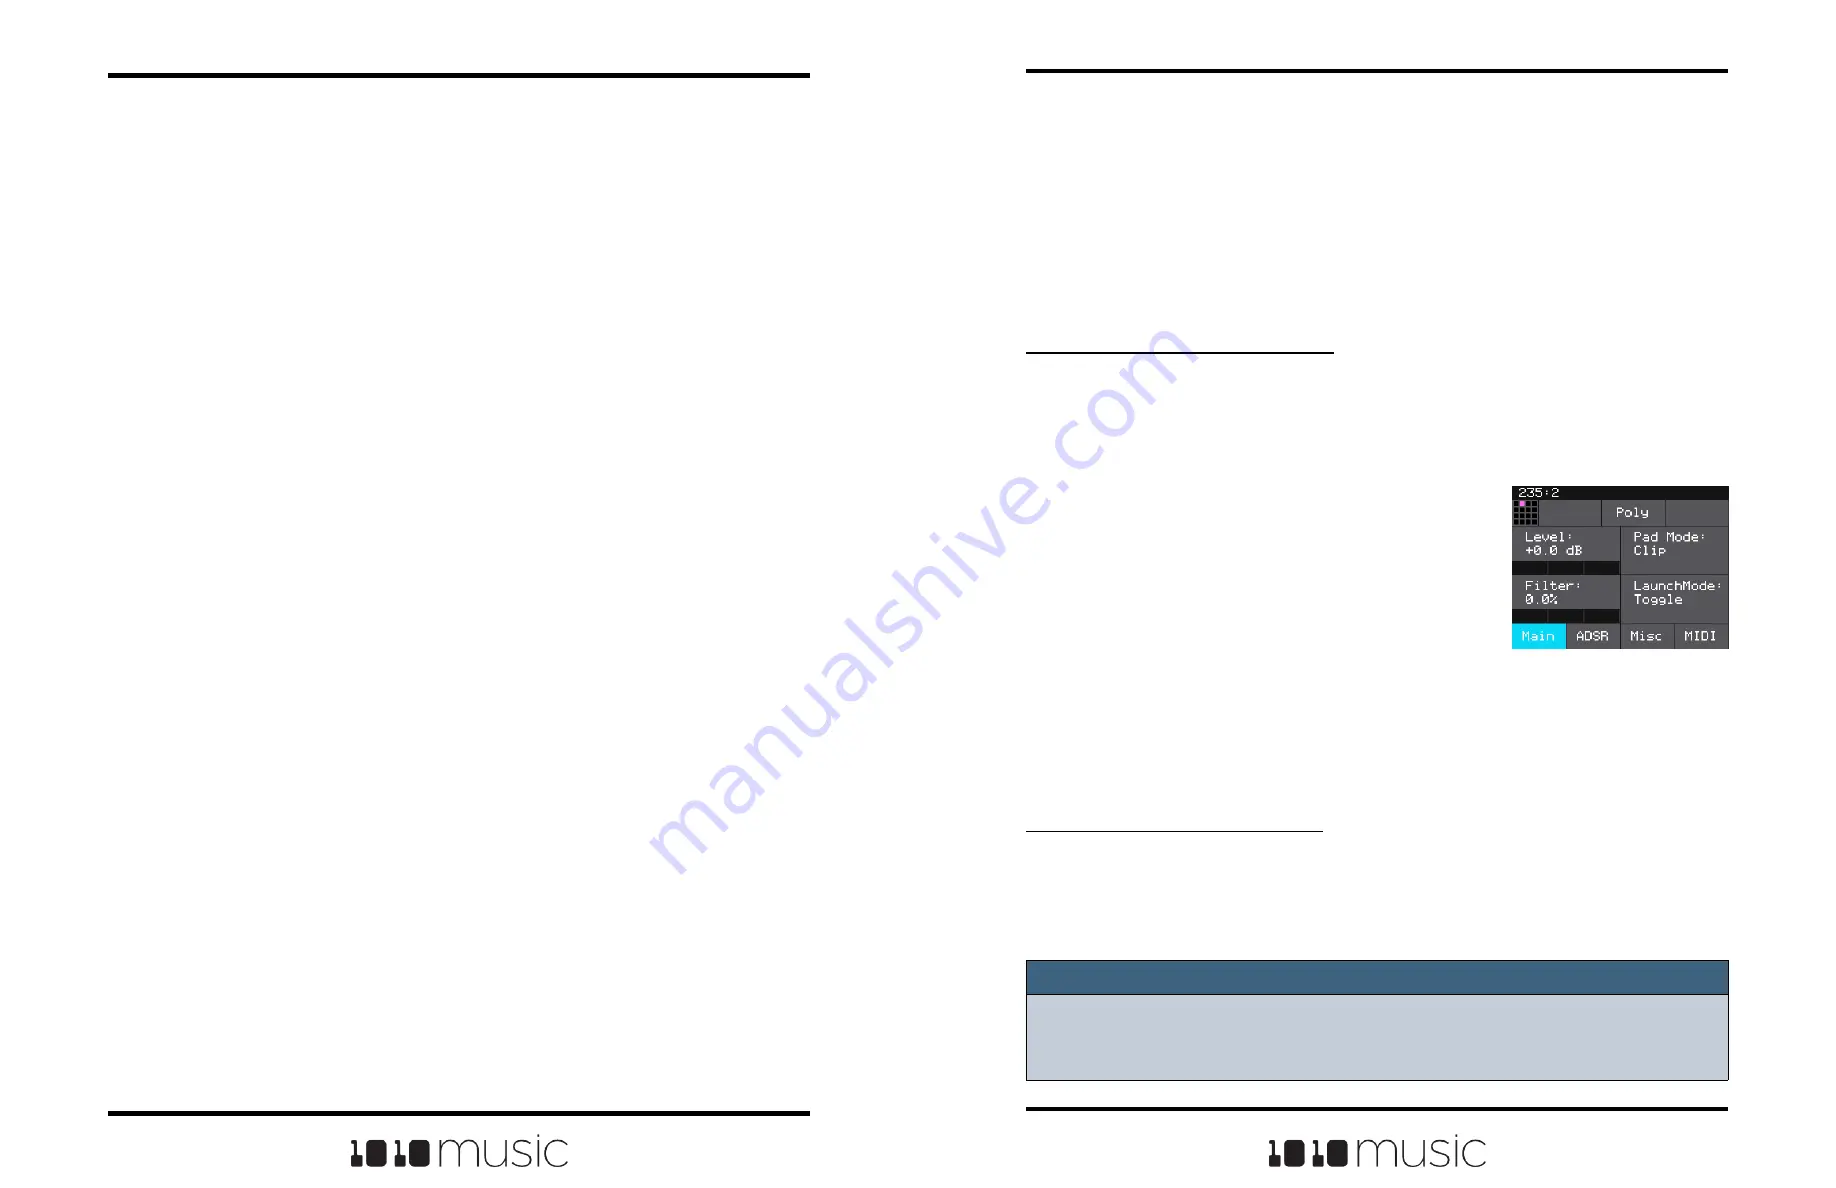
3.
Push INFO again to see the Parameters
screen for this pad.
4.
Choose the Pad Mode on the Main page of the
Parameters screen.
5.
Use the buttons across the bottom of the
screen to choose the desired page and update
the parameters as you normally would.
6.
Push HOME until you see the Menu screen,
then touch Presets to display the Preset
Management screen. Touch Save to save the
current preset, or touch File then Save As to
save to a new or different preset.
To Add a WAV file to a Template Pad:
1.
Select the pad you configured as a template on the Pads screen.
2.
Push INFO to display the Load and Record screen.
3.
Touch Load if you want to use an existing WAV file. Otherwise, begin
recording a new WAV as usual.
NOTE:
► Not all parameters are available before you add a WAV file to the Pad. For
example, you cannot add loop points to a sample mode pad because bitbox mk2
does not know how long the file will be.
Pad Parameters -
Template Mode


