Zte BLADE A512, User Manual
The Zte BLADE A512 is a high-performing smartphone designed to enhance your daily communication and entertainment experience. With a sleek design and advanced features, this device offers unparalleled functionality. Access the comprehensive User Manual for the Zte BLADE A512, available for free download at manualshive.com to maximize your enjoyment of this exceptional device.
Share
Download


Reviews:
No comments
Related manuals for BLADE A512

SPH-I300SS
Brand: Samsung Pages: 22

DT700
Brand: Nec Casio Pages: 390

Q55
Brand: QJO Pages: 32
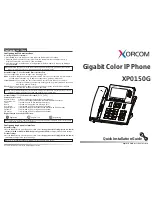
XP0150G
Brand: Xorcom Pages: 2

FUN 6 LITE
Brand: myPhone Pages: 39

FANCY STAND
Brand: Hama Pages: 112

NEX 2600
Brand: NEC Pages: 72

X6817
Brand: Infinix Pages: 11

Rave K-7
Brand: Kyocera Pages: 56

L600i
Brand: NTT docomo Pages: 68

Q66- Eclipse
Brand: Micromax Pages: 29

IP Phone 2001
Brand: Nortel Pages: 112

PH5003
Brand: PCD Pages: 16

SM-A025F
Brand: Samsung Pages: 95

Hitz230
Brand: i-mobile Pages: 39

525
Brand: NEC Pages: 187

GD580
Brand: LG Pages: 236

GD580
Brand: LG Pages: 210


