POWER STRIP
ZEN20
VER. 2.0
www.getzooz.com
USER MANUAL
Ÿ
Z-Wave on/off control of up to 5 electrical devices
Ÿ
On/off (charging/charged) reports from USB ports to the hub (no Z-
Wave control)
- turn
off
the charging device for best results
Ÿ
Energy monitoring for each of the 5 outlets
Ÿ
Built-in overload protection and ETL certification
Ÿ
Z-Wave Plus signal repeater to extend network range
Ÿ
S2 security protocol and the latest 500 Z-Wave chip for faster and safer
wireless communication
Ÿ
Model Number: Z
EN20
VER. 2.0
Ÿ
Z-Wave Signal Frequency: 908.42 MHz
Ÿ
Power:
120 VAC
Ÿ
Maximum Load: 15 A total (between 5 outlets)
Ÿ
Maximum Load for USB ports: 2.1 A total (between 2 ports)
Ÿ
Cord Length: 2 feet
Ÿ
Range: Up to 100 feet line of sight
Ÿ
Installation and Use: Indoor only
FEATURES
SPECIFICATIONS
2.1 A Max
CH 1
CH 2
CH 3
CH 4
CH 5
CAUTION
This is an electrical device - please use caution when installing and
operating the power strip. Remote control of appliances may result in
unintentional or automated activation of power. Do
NOT
use this Z-Wave
device to control electric heaters or other appliances which produce the
risk of fire, burns, or electrical shock when unattended.
INSTALLATION
Plug the
P
ower
S
trip into any standard grounded 110 V receptacle. Do
NOT connect any devices to the strip at this point. Turn the power
switch on (the RESET side) and click each of the channels control
buttons to see if the LED indicators come on and off. If the LED
indicators don’t light up at all, please try a different receptacle. If they’re
still off, please make sure the power switch is on. If the problem persists,
please get in touch with our support team:
BEFORE YOU PLUG ANYTHING IN
Make sure the load you are about to connect does NOT exceed 15 A
in power.
This Power Strip can hold up to 15 A in total. It means that the
power of all appliances connected to your ZEN20 at a given time can
NOT exceed 15 A. It doesn’t matter if this is just one device connected to
one of the outlets or 5 small appliances plugged into all of the Strip’s
outlets.
Connecting heavy duty equipment to this
P
ower
S
trip will DAMAGE
the device and may cause the connected appliance to malfunction.
DON’T USE WITH
OK. TO USE WITH
Ÿ
Washer
s
Ÿ
D
ryer
s
Ÿ
Refrigerator
s
Ÿ
Electric heater
s
Ÿ
Fans
Ÿ
Pumps
Ÿ
C
hargers
Ÿ
Routers
Ÿ
Floor Lamps
Ÿ
Tv’s and Video
Ÿ
Computers
Ÿ
Game Consoles
Ÿ
Alarm Clocks
Ÿ
Printers
Ÿ
Speakers
Ÿ
Audio Players
Not sure if your
equipment can be
safely controlled by
the
P
ower
S
trip?
Just ask:
X
Ÿ
This product should be installed indoors upon completion of any building
renovations
.
Ÿ
Prior to installation, the device should be stored in a dry, dust-and-mold-
proof place
.
Ÿ
Do not install the
Power Strip
in a place with direct sun exposure, high
temperature
,
or humidity
.
Ÿ
Keep away from chemicals, water, and dust
.
Ÿ
Ensure the device is never close to any heat source or open flame to prevent
fire
.
Ÿ
Ensure the device is connected to an electric power source that does not
exceed the maximum load power
.
Ÿ
No part of the device may be replaced or repaired by the user.
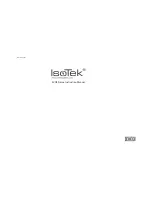
WARNING
Z-WAVE CONTROL
4
.
You will see 7 or 8 new on/off devices in your app: 5 channels for on/off
control, 2 channels for on/off monitoring (USB ports reporting charging/
charged status, no control), and possibly one master node to access and
adjust advanced settings in.
2
.
ADD DEVICE to your hub
CLICK
CH1
BUTTON
3 TIMES
QUICKLY
3
.
Finalize inclusion at the strip.
1. Plug the Power Strip into a grounded
receptacle you’re planning to use
it at (it doesn’t need to be close to the hub)
Initiate inclusion (pairing) in
the app (or web interface).
Not sure how? Get step-by-step instructions for adding
the
strip
to
SmartThings
,
Vera,
Wink
and other hubs
here:
www.support.getzooz.com
2.1 A Max
CH 1
CH 2
CH 3
CH 4
CH 5
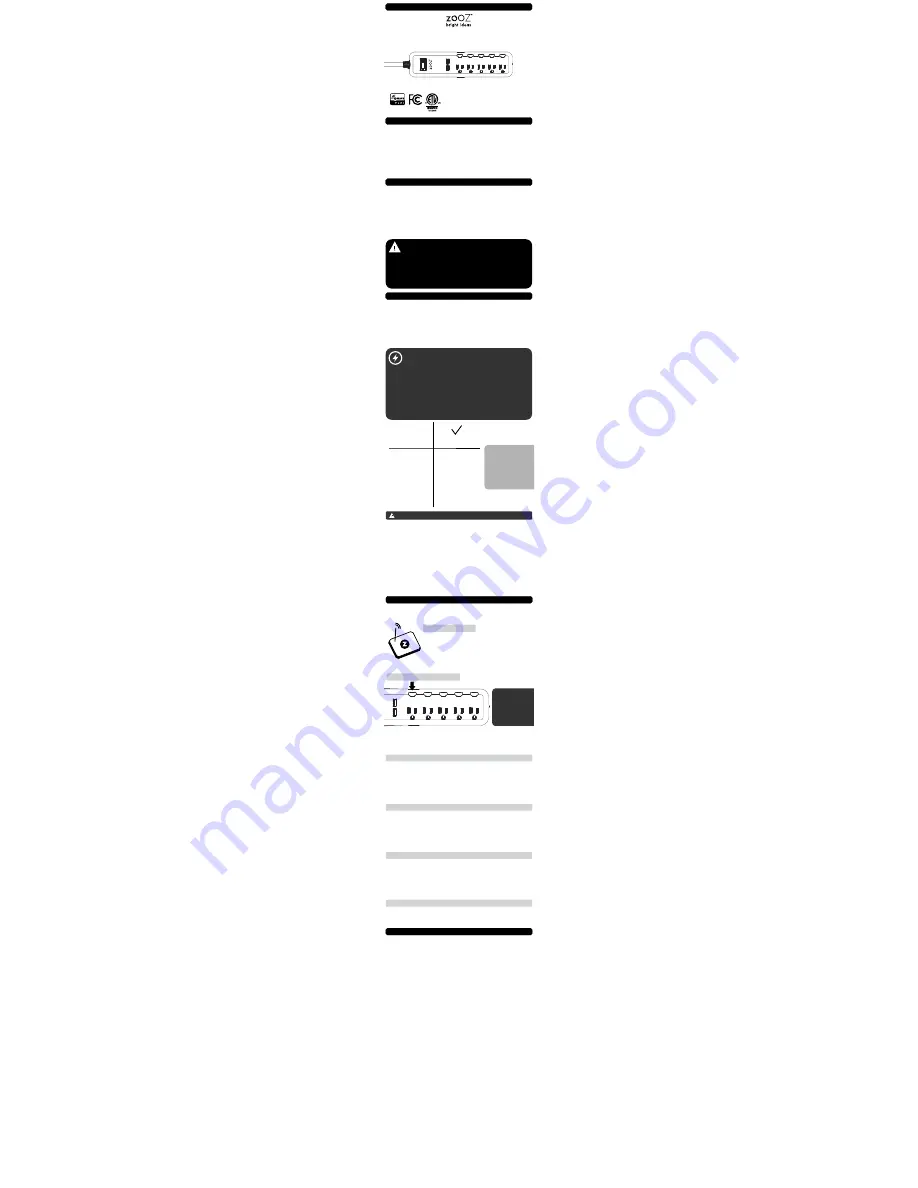
All LED indicators will start flashing.
NEED SOME HELP?
1. Bring the strip within direct range of your Z-Wave gateway (hub).
2
. Put the Z-Wave hub into exclusion mode (not sure how to do that?
.
3
.
Press and release the CH1 button 3 times quickly.
4. Your hub will confirm exclusion and all of the channels (child outlets)
and the main device will disappear from your controller's device list.
EXCLUSION (REMOVING / UNPAIRING DEVICE)
FACTORY RESET
TROUBLESHOOTING
The Power Strip won’t add to your system?
Try this:
1. Initiate
EXCLUSION
and click the CH1 button 3 times quickly.
2. Click the CH1 button
4-5 times
quickly
when adding it.
3. Bring the Power Strip
closer
to your hub, it may be out of range.
4. Double-check if the device is powered.
5
. Get troubleshooting tips for your hub at
www.support.getzooz.com
If your primary controller is missing or inoperable, you may need to reset
the device to factory settings. To complete the reset process manually,
click-click-click’n’hold
CH1 button
for at least 10 seconds
.
All LED
indicators will
flash
to confirm successful reset
.
NOTE: All previously recorded activity
and custom settings
EXCEPT for
the kWh record
will be erased from the device’s memory.
WARRANTY
This product is covered under a 12-month limited warranty. To read the
full warranty policy or file a warranty claim, please go to
www.getzooz.com/warranty
IN NO EVENT SHALL ZOOZ OR ITS SUBSIDIARIES AND AFFILIATES BE LIABLE FOR ANY
INDIRECT, INCIDENTAL, PUNITIVE, SPECIAL, OR CONSEQUENTIAL DAMAGES, OR
DAMAGES FOR LOSS OF PROFITS, REVENUE, OR USE INCURRED BY CUSTOMER OR ANY
THIRD PARTY, WHE-THER IN AN ACTION IN CONTRACT, OR OTHERWISE EVEN IF ADVISED
OF THE POSSIBILITY OF SUCH DA-MAGES. ZOOZ'S LIABILITY AND CUSTOMER'S
EXCLUSIVE REMEDY FOR ANY CAUSE OF ACTION ARISING IN CON-NECTION WITH THIS
AGREEMENT OR THE SALE OR USE OF THE PRODUCTS, WHETHER BASED ON
NEGLIGENCE, STRICT LIABILITY, BREACH OF WARRANTY, BREACH OF AGREEMENT, OR
EQUITABLE PRINCIPLES, IS EXPRESSLY LIMITED TO, AT ZOOZ'S OPTION, REPLACEMENT
OF, OR REPAYMENT OF THE PURCHASE PRICE FOR THAT POR-TION OF PRODUCTS WITH
RESPECT TO WHICH DA-MAGES ARE CLAIMED. ALL CLAIMS OF ANY KIND ARISING IN
CONNECTION WITH THIS AGREEMENT OR THE SALE OR USE OF PRODUCTS SHALL BE
DEEMED WAIVED UNLESS MADE IN WRITING WITHIN THIRTY (30) DAYS FROM ZOOZ'S
DELIVERY, OR THE DATE FIXED FOR DELI-VERY IN THE EVENT OF NONDELIVERY.
FCC NOTE
THE MANUFACTURER IS NOT RESPONSIBLE FOR ANY RADIO OR TV INTERFERENCE
CAUSED BY UNAUTHORIZED MODIFICATIONS TO THIS EQUIPMENT. SUCH
MODIFICATIONS COULD VOID THE USER’S AUTHORITY TO OPERATE THE EQUIPMENT.
STORE INDOORS WHEN NOT IN USE. SUITABLE FOR DRY LOCATIONS ONLY. DO NOT
IMMERSE IN WATER. NOT FOR USE WHERE DIRECTLY EXPOSED TO WATER.
This device complies with Part 15 of the FCC Rules.
Operation is subject to the following conditions:
1. This device may not cause harmful interference,
2. This device must accept any interference received, including interference that may
cause undesired operation.
This equipment has been tested and found to comply with the limits for a Class B digital
device, pursuant to part 15 of the FCC Rules.
These limits are designed to provide reasonable protection against harmful interference
in a residential installation.
This equipment generates, uses and can radiate radio frequency energy and, if not
installed and used according to instructions, may cause harmful interference to radio
communications.
However, there is no guarantee that interference will not occur in any given installation.
If this equipment causes harmful interference to radio or television reception, the user
may try to correct the interference by taking one or more of the following measures:
- Reorient or relocate receiving antenna
- Increase the separation between equipment and receiver
- Connect equipment into a separate outlet or circuit from receiver
- Consult the dealer or an experienced radio/TV technician for additional assistance
All brand names displayed are trademarks of their respective holders.
© Zooz 2018
KWH RESET
If you
’d like to reset the kWh record for any of the outlets, just click the CH
button next to the respective outlet
10 times
very quickly. Network
exclusion or factory reset will NOT automatically erase the kWh data.