


ELECTRONIC • OLEODYNAMIC • INDUSTRIAL
EQUIPMENTS CONSTRUCTION
Via Parma, 59 – 42028 – POVIGLIO (RE) – ITALY
Tel +39 0522 960050 (r.a.) – Fax +39 0522 960259
e-mail: [email protected] – web: www.zapispa.it
EN
User Manual
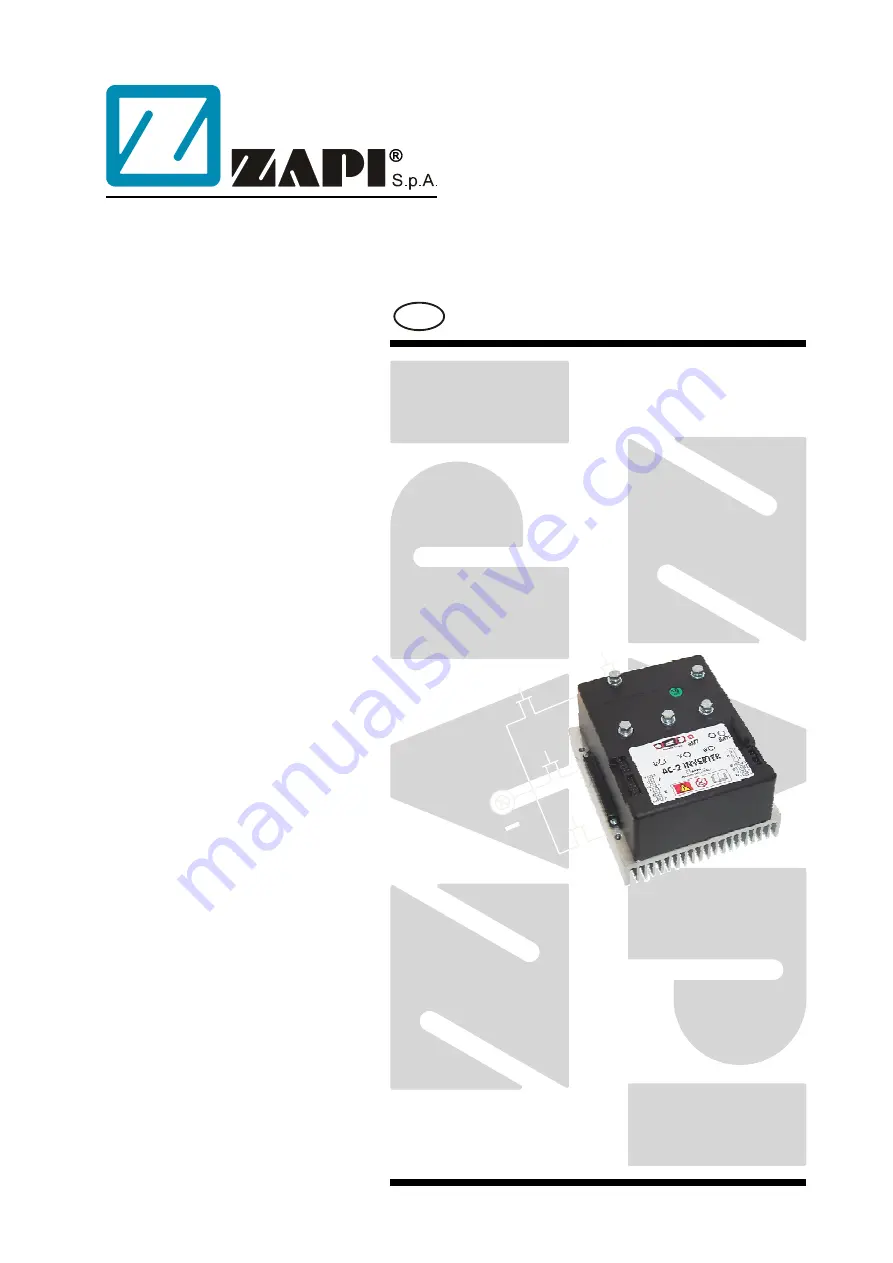
AC-2
INVERTER
Summary of Contents for AC-2
Page 21: ...4 8 Mechanical drawing ADEZP0AE AC 2 INVERTER User Manual Page 21 64...
Page 22: ...4 9 Connection drawing Traction configuration Page 22 64 ADEZP0AE AC 2 INVERTER User Manual...
Page 23: ...4 10Connection drawing Pump configuration ADEZP0AE AC 2 INVERTER User Manual Page 23 64...
Page 24: ...4 11Connection drawing Combi configuration Page 24 64 ADEZP0AE AC 2 INVERTER User Manual...


