Yeastar Technology MyPBX U300, Installation Manual
The Yeastar Technology MyPBX U300 is a powerful and reliable communication solution. Ensure a smooth installation process with our comprehensive Installation Manual, which can be downloaded for free from manualshive.com. This manual provides step-by-step instructions to assist you in setting up your MyPBX U300 and maximizing its functionalities.
Share
Download


Reviews:
No comments
Related manuals for MyPBX U300

MPX Node
Brand: Omnia Pages: 8

CMD220
Brand: Prology Pages: 27

NEARSCAPES 4.1
Brand: Bogen Pages: 2

IS 6132
Brand: Shure Pages: 18

AQUACIAT POWER LD 602R-3500R
Brand: CIAT Pages: 56

IROPZ48500
Brand: Carel Pages: 2

UCM6304
Brand: Grandstream Networks Pages: 20

VY-VZ
Brand: Commodore Pages: 18

XL-DH330PH
Brand: Sharp Pages: 33

508UAB
Brand: Boss Audio Systems Pages: 16
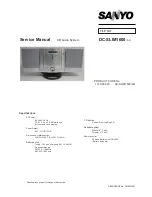
129 666 00
Brand: Sanyo Pages: 16
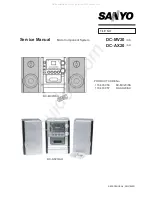
1 164 030 56
Brand: Sanyo Pages: 21

CMT-HPR99XM Marketing
Brand: Sony Pages: 2

CMT-HPR99XM
Brand: Sony Pages: 2

CMT-HPR90 Marketing
Brand: Sony Pages: 2

CMT-HPR90
Brand: Sony Pages: 2

CMT-GS30DAB
Brand: Sony Pages: 2

CMT-GS10
Brand: Sony Pages: 2


